How to Remove Background in Photoshop?
Removing the background from images is one of the most valuable skills in photo editing. It’s a service that almost every business needs, especially the ones selling products and services online. Whether it’s creating visuals for marketing, editing product images for e-commerce, removing backgrounds from fashion photographs, or replacing backgrounds from personal photographs, the background removal service is used for all. However, to remove background from images, multiple software programs are available, but the one used most frequently is Adobe Photoshop. This image editing software comes with powerful editing and background removal tools that generate clean and professional results.
In this guide, we have covered important methods to remove the background from an image in Photoshop and the importance of background removal services.
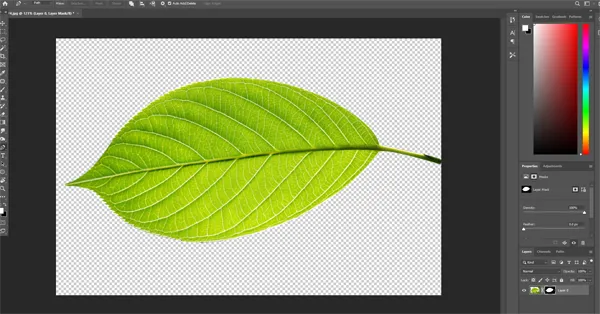
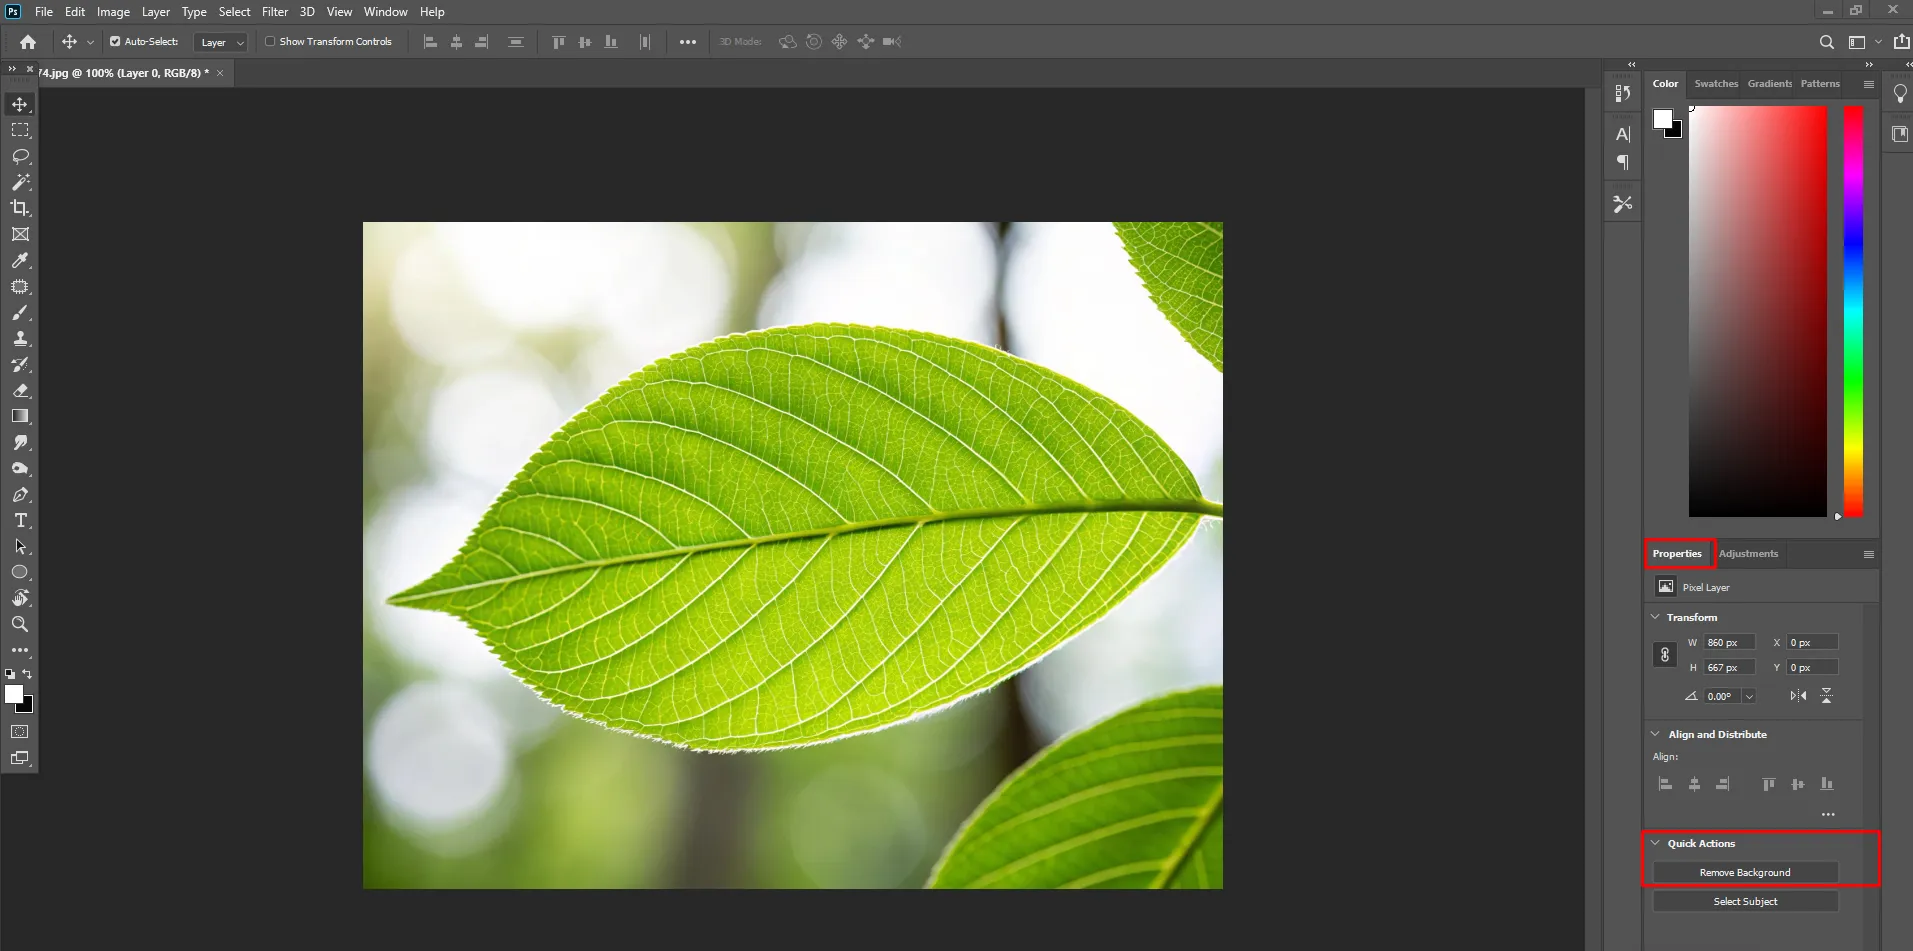
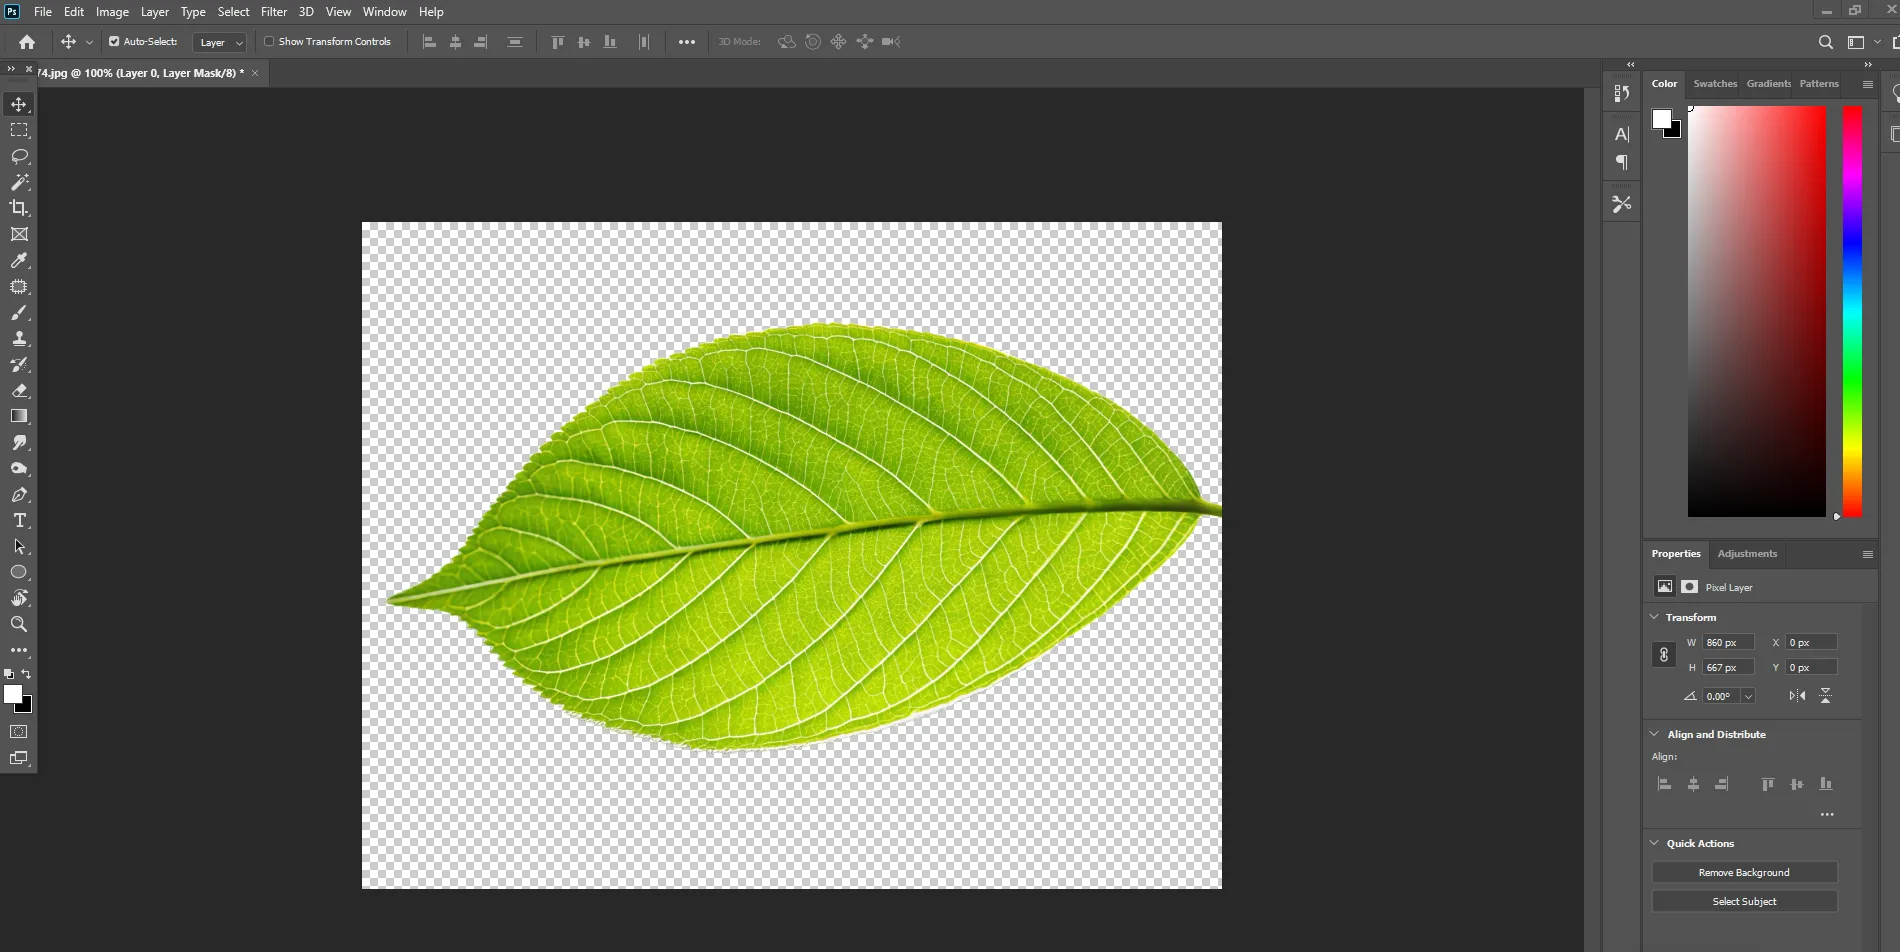
Method 1: Using the Remove Background Tool
Photoshop has this AI-powered feature that automatically removes backgrounds in seconds. It’s an ultimate convenience for anyone looking to quickly remove the background. The steps are super easy to follow.
Steps:
- First, open your image in Photoshop
- Go to the properties panel
- Click remove background
- Photoshop will automatically create a mask
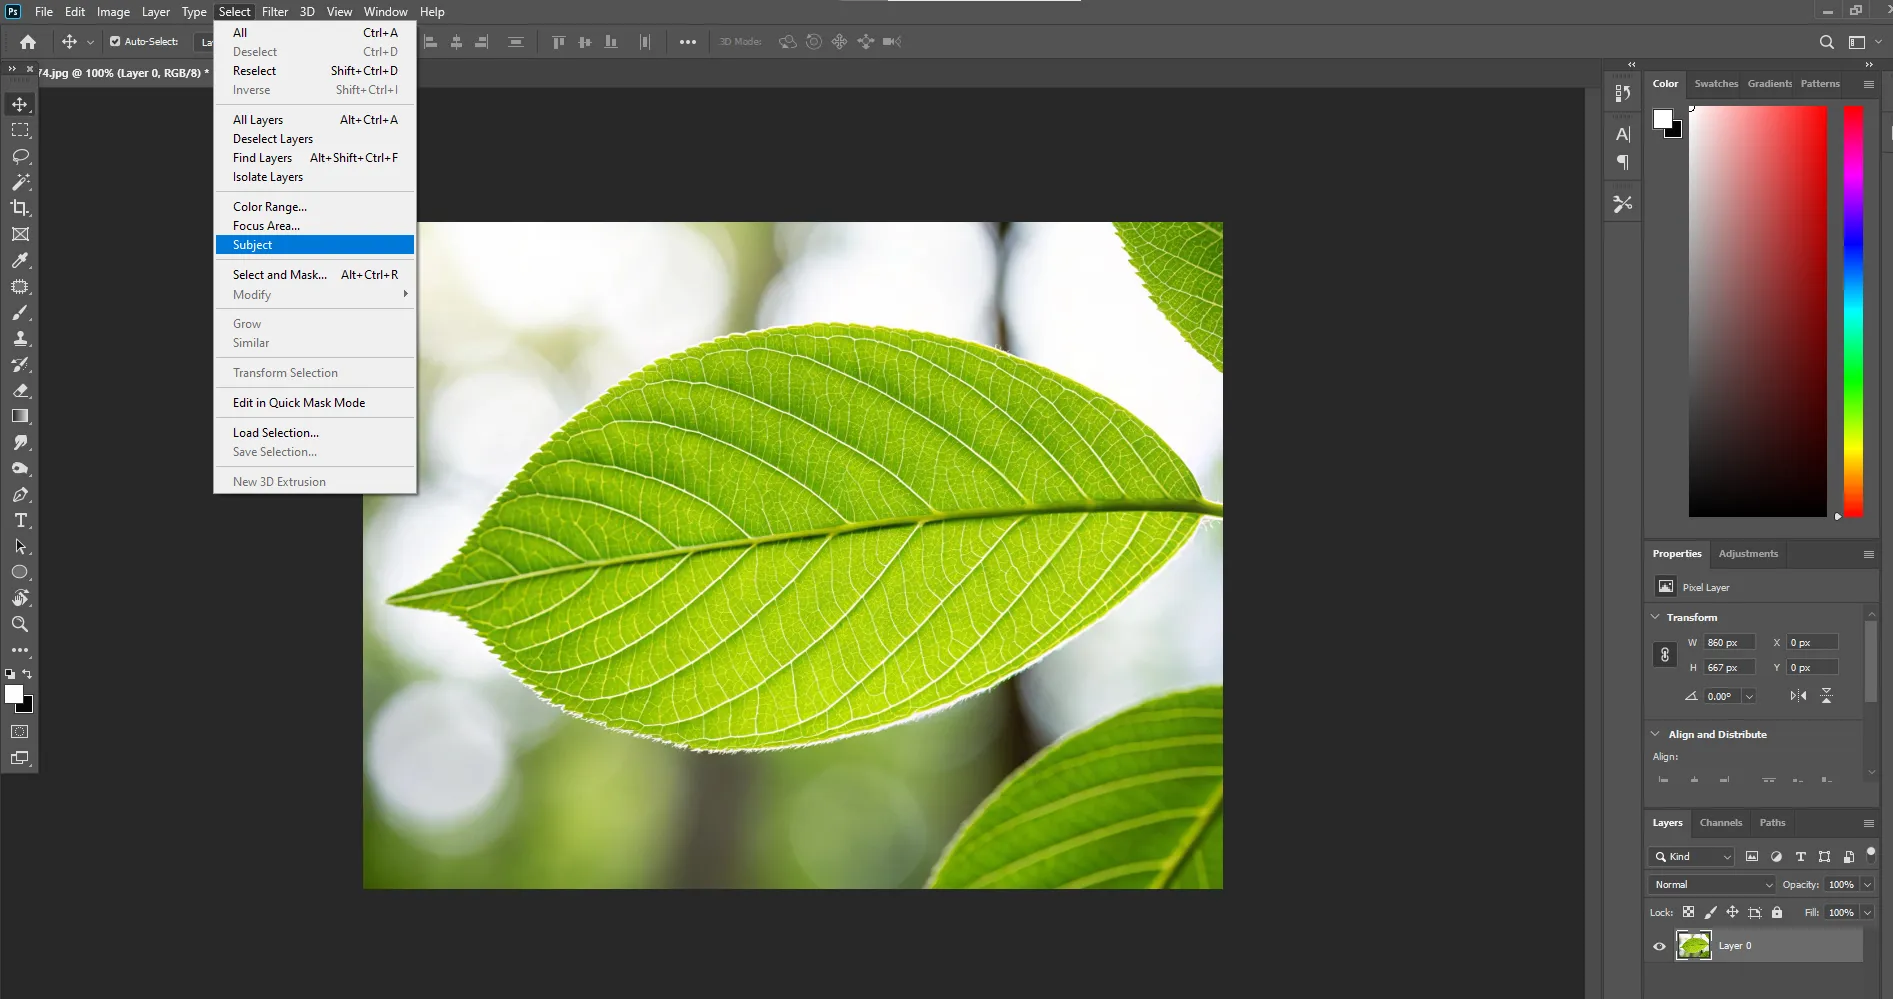
Method 2: Select Subject + Select and Mask
Every background removal has its own pros and cons. At times when images are complex, an AI-powered feature in Photoshop might not provide accurate results. That’s where using this method can be highly useful.
Steps:
- Open your image in Photoshop.
- Go to select > subject
- Click Select and Mask
Use tools like:
- Refine Edge Brush (for hair/fur)
- Smooth, Feather, Contrast sliders
- Output as Layer Mask
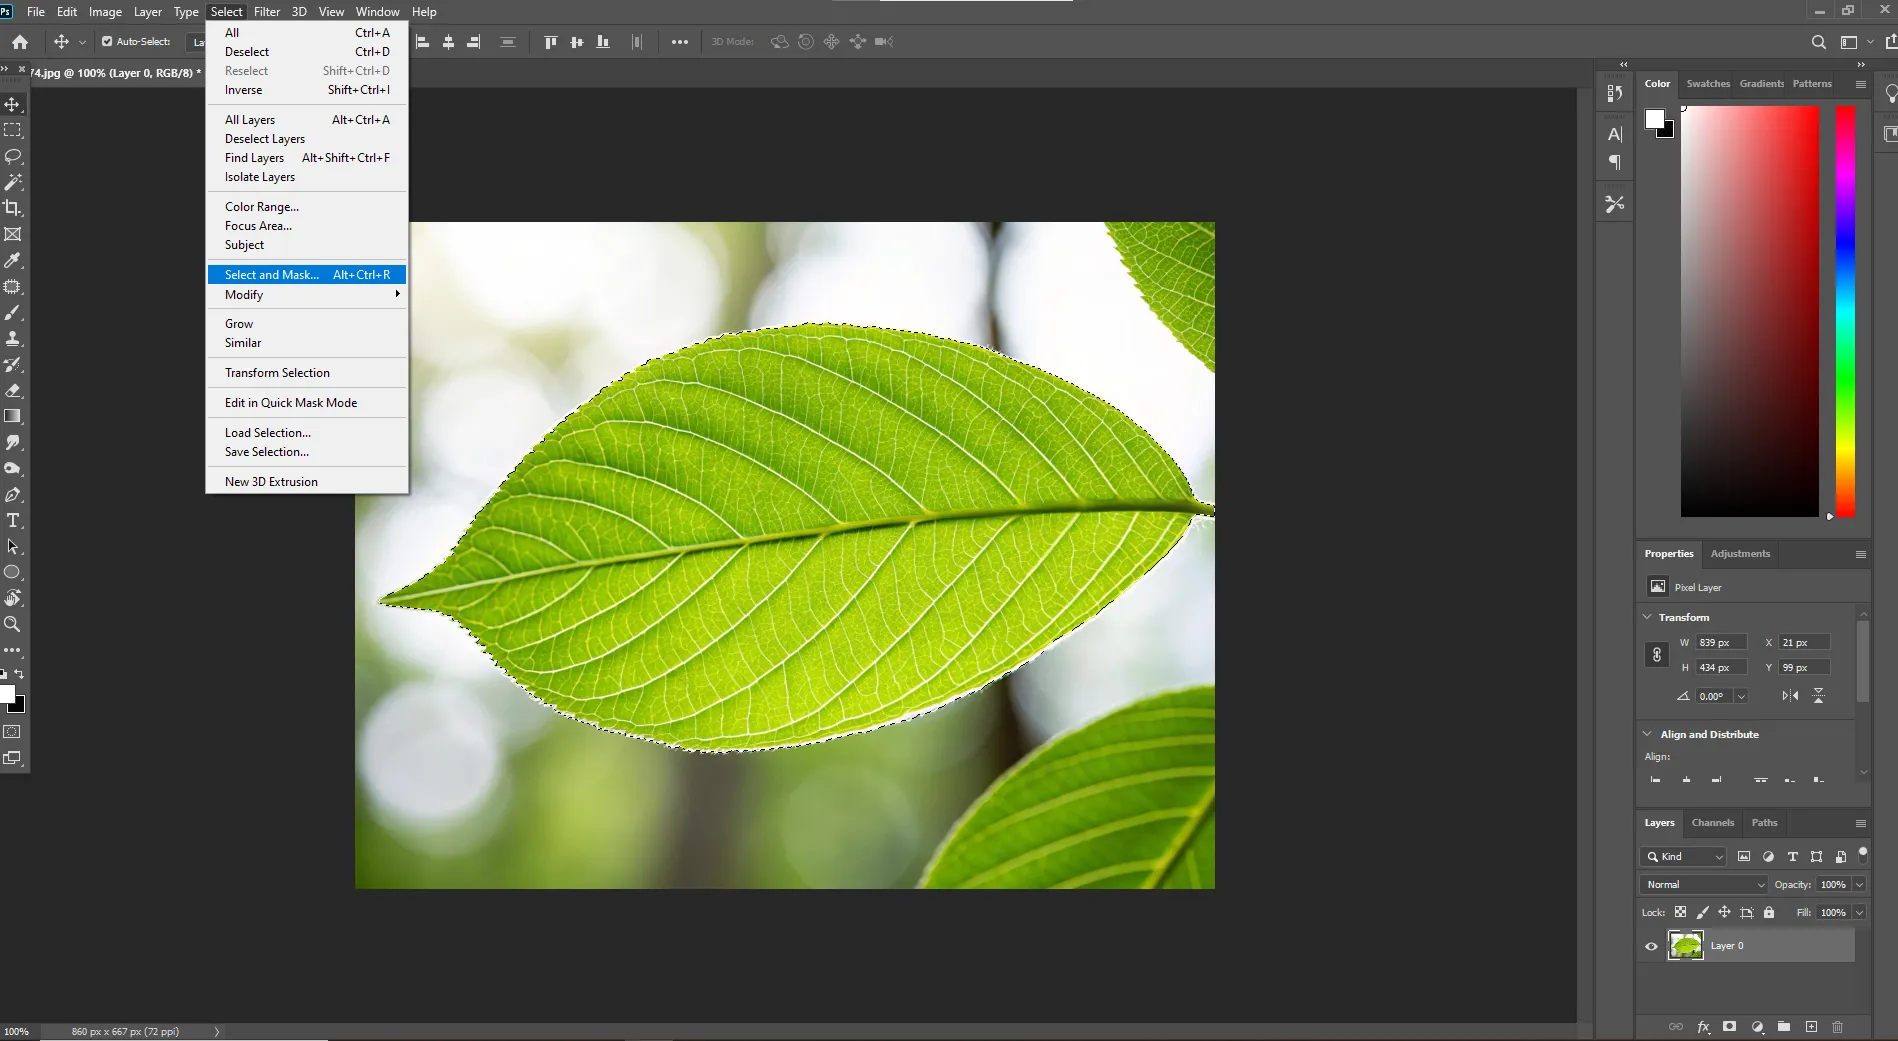
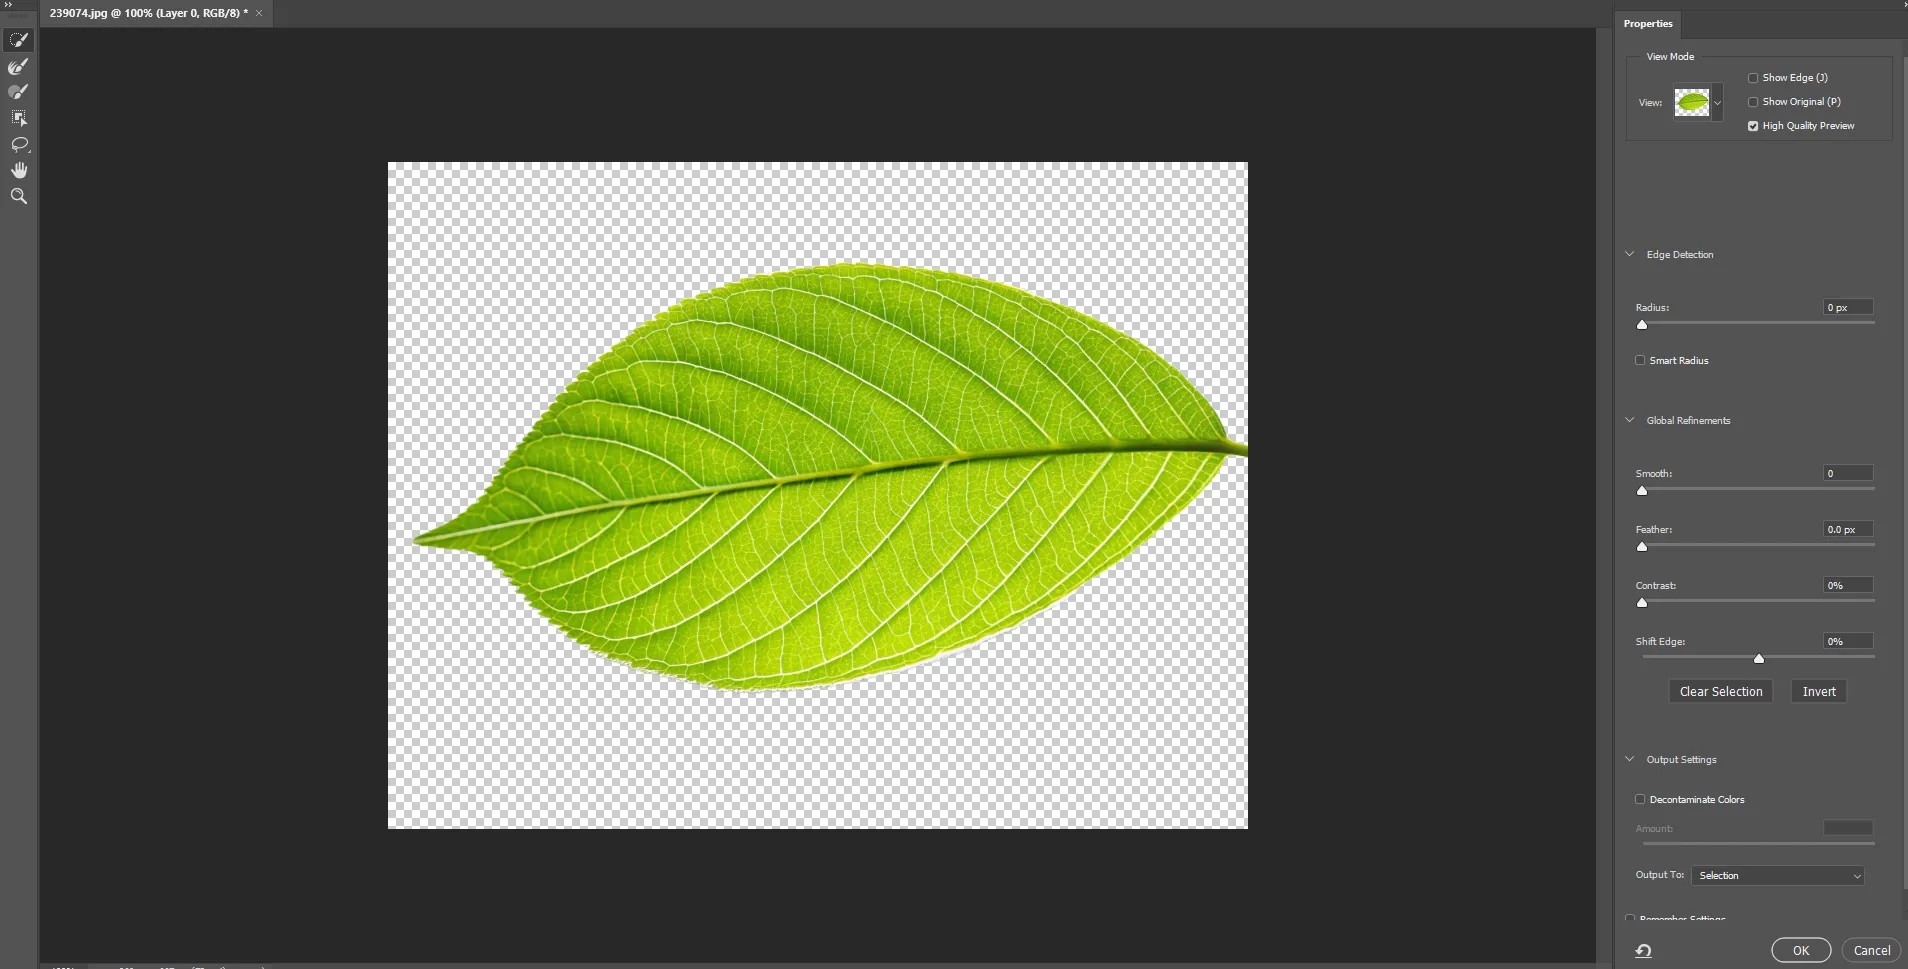
This method offers more precise editing over automatic background removal.
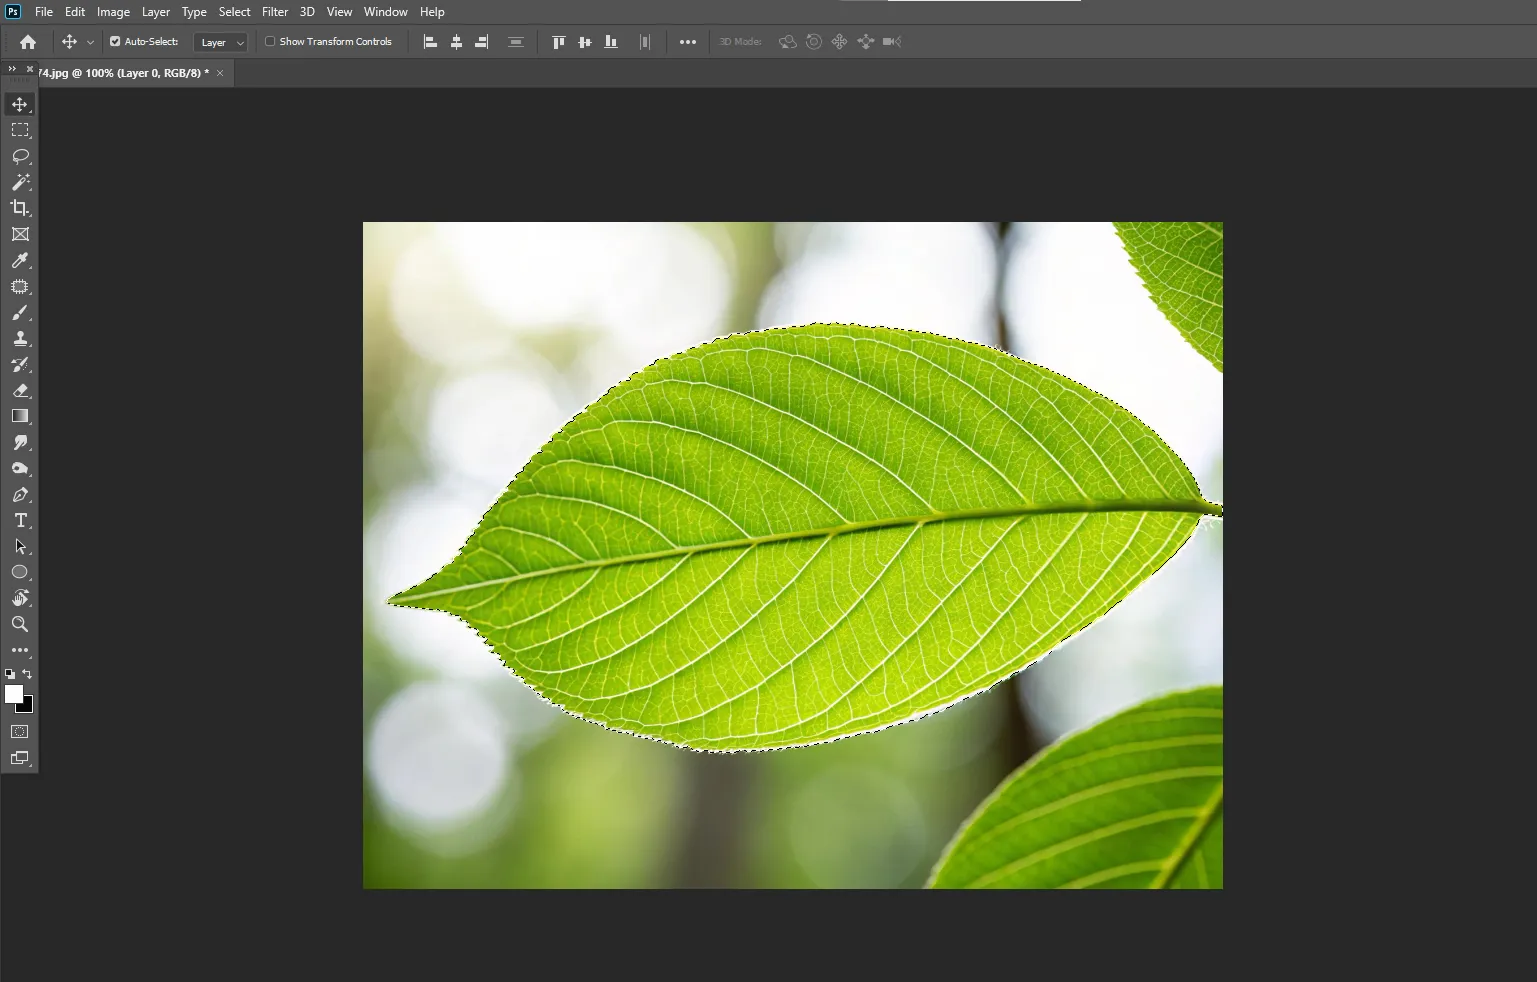
Method 3: Remove Background in Photoshop using Quick Selection Tool
When you need more control over image editing, the quick selection tool is useful. It offers good control over editing. Also, with this tool, one can quickly select large areas of the subject and add to or subtract from the selection.
Steps:
- Select the Quick Selection Tool (W)
- Brush the tool over the subject
- To subtract unwanted areas, you must select Alt/Option
- To refine, click Select and Mask
- Output as Layer Mask
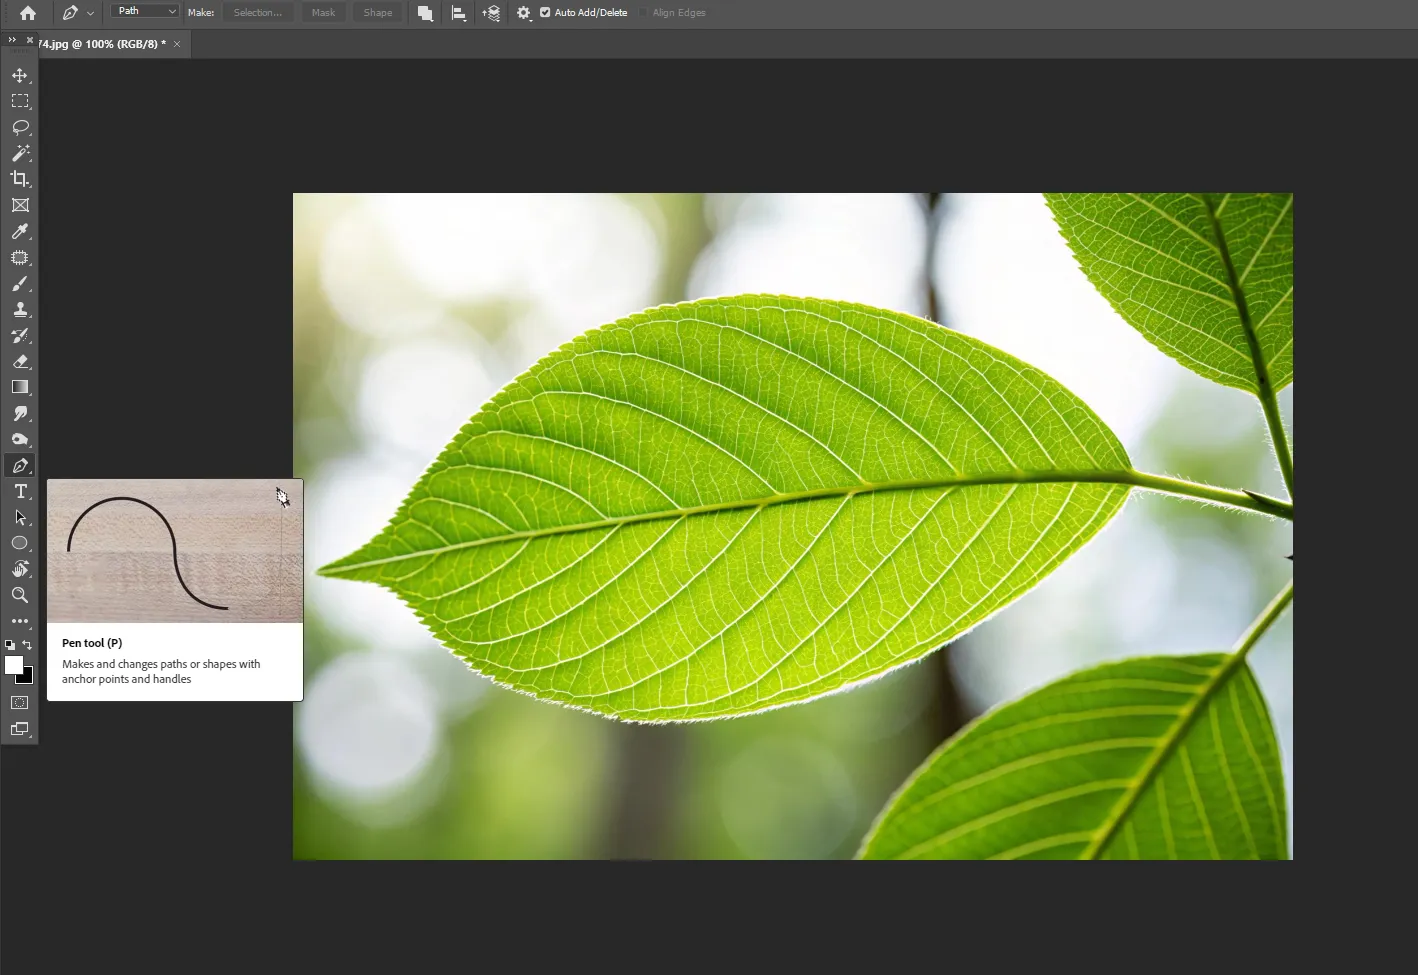
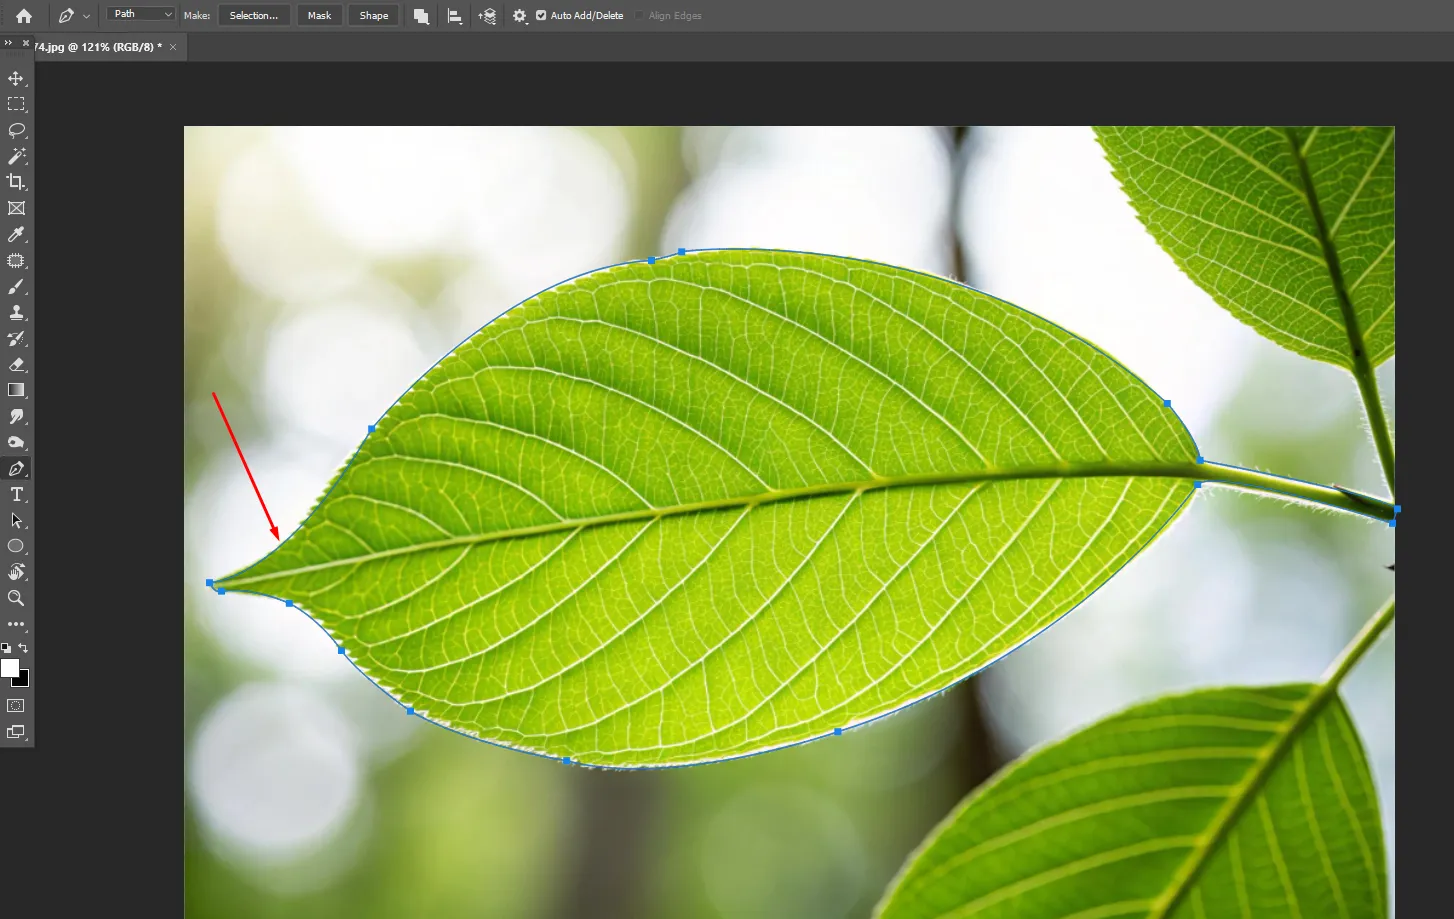
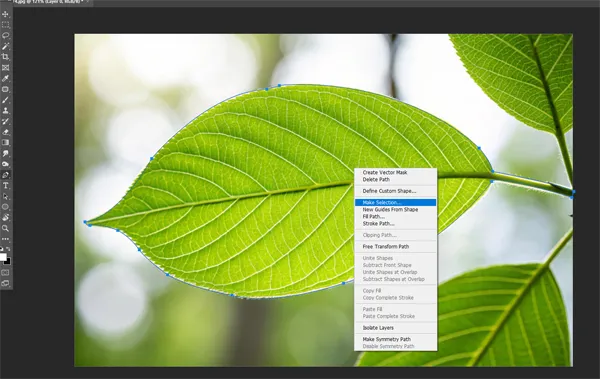
Method 4: Use a Pen Tool
For more precise control, you can use the pen tool. Using the pen tool, you can manually make the selection of the subject. Once you have created the entire path, use right-click to make a selection and add a layer mask. How to remove background in Photoshop using the pen tool?
Steps:
- Add the image
- Select the Pen Tool or use the shortcut by pressing (P)
- Carefully draw the path around your subject
- Use the right click and make a selection
- Then add a layer mask.

So, these are some of the methods by which you can remove the background from the image easily. However, if you don’t want to use these tools, then there is another option of using the eraser tool. You can manually erase the background in Photoshop with background eraser tool. However, it is a very time-consuming process, and the results are also not very accurate.
What are the important tips for removing the background more accurately?
Removing the background from an image accurately demands good control over tools and practice. However, to remove the background more accurately, you can use these editing tips:
- You should zoom the image frequently for accurate selection.
- Prefer creating a layer mask instead of deleting pixels.
- If you want to change the contrast and exposure of the image, then make adjustments before making a selection.
- You can even use a combination of tools for better selection.
So, these are some important tips for removing the background. However, if you need a professional background removal service for your business and want to outsource the service, then you can contact our team at Plexail.
What are the benefits of using a background removal service?
For someone selling products online or planning to share attractive visuals using a digital medium, using a background removal service benefits a lot. From removing clutter from the image to enhancing and highlighting the subject, and creating uniformity in product images to creating professional and consistent images, this editing technique completely transforms the images.
It helps bring the subject into focus and even helps to highlight the texture, material, and details of the subject.
The editing technique is highly versatile, making it suitable for editing all types of images.
The images help in maintaining consistency and uniformity across all the images.
It helps to remove unwanted elements, dust, and all sorts of imperfections from the image.
So, yes, background removal service has multiple benefits to offer.
Various businesses that can benefit from using a background removal service:
- Fashion industry
- Auction Houses
- E-commerce business
- Marketing agencies
- Jewellers
- And more
Outsource the background removal service to Plexail.
Removing background from complex images is not easy. This is especially for the subjects with hair, fur, or transparent elements. For such complex edits, you need professionals who can help you remove the background precisely. That’s where our team at Plexail helps. At Plexail, we deliver image editing and background removal services for all types of images. Whether you need background edits for fashion photographs, real estate listings, carousels, headshots, jewelry images, or for any other segment, we deliver it all.
Contact our team for bulk image editing and background removal service today. Discuss your requirements with our team and get the best price quote for the service. At Plexail, we promise fast delivery of services and ensure no compromise with the quality at any point.
FAQ’s
Q. Do you edit wedding images?
Yes, our team can edit wedding images.
Q. Does removing background reduce image quality?
No, the quality of the image is not affected if the editing is done in the right way.
Q. Do you manually remove the background?
Yes, our team manually removes the background to deliver images with the highest quality.