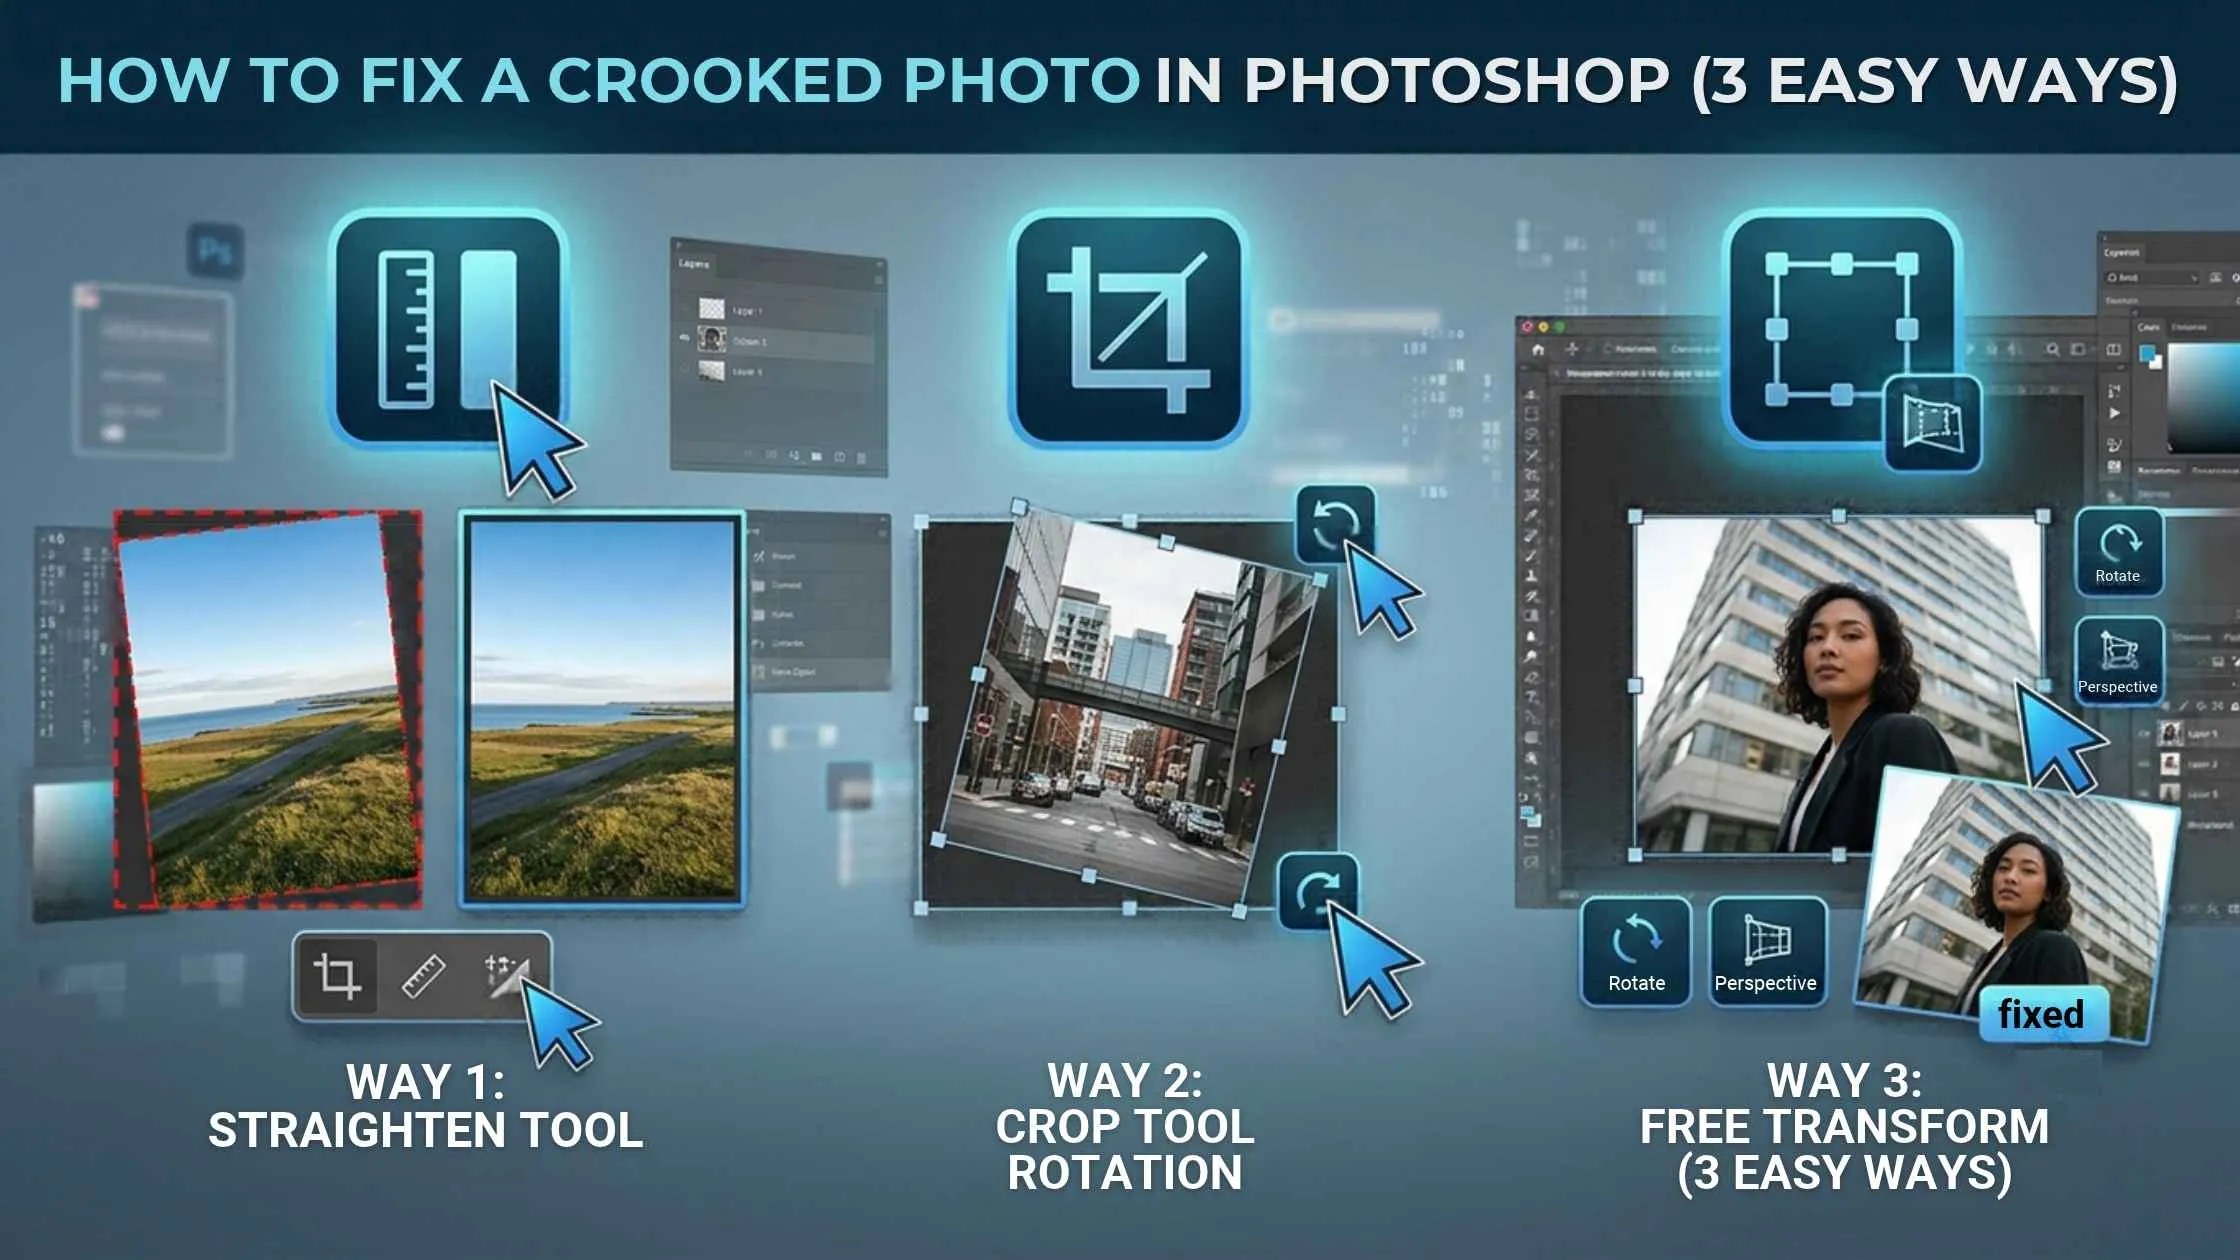
Key Takeaways
- The Free Transform tool lets you easily rotate your image or a single layer.
- The Ruler tool can be used to fix a crooked horizon without guessing the angle.
- The Crop tool can also be used to straighten your image and trim it at the same time.
- You can protect the edges of the image with Content-Aware crop or a larger canvas.
- You can rotate an individual layer without changing the whole image.
To fix a crooked photo in Photoshop, draw a line along the horizon with the Ruler tool and click Straighten Layer. You can also straighten a photo with Free Transform or the Crop tool’s Straighten option, and each method suits a different kind of image.
Have you ever taken a picture and noticed that the horizon is slightly tilted? Or perhaps you took a picture of a nice building, but the walls look slightly slanted? Or maybe you need to make a small adjustment to a product image before posting it on your website?
While small errors like this can make your image look unprofessional, you don’t have to retake the image. Adobe Photoshop allows you to easily rotate, tilt and straighten images. The three useful methods to rotate an image in Photoshop are Free Transform, the Ruler tool, and the Crop tool’s Straighten feature. Each one works differently, depending on what you need.
This guide will show you how to use all three, how to avoid losing the corners of your image, and which common errors to avoid when editing.
Rotate the Whole Image or Just One Layer
It is important to note that you can rotate your whole image or just a specific layer.
If you want to rotate your landscape image, you may want to rotate the whole image. However, if you are working on a design with text, shapes and images, you may only want to rotate one aspect of the design.
Photoshop provides different tools for both. To rotate your whole canvas, go to Image > Image Rotation. To rotate an individual layer, use the Free Transform tool.
3 Ways to Straighten a Photo in Photoshop
Method 1: Free Transform (Fastest for Small Fixes)
Free Transform feels just like turning the image by hand, which makes it great for quick edits.
- Double-click on the Background layer and click OK to unlock it.
- Press Ctrl + T (Windows) or Cmd + T (Mac).
- Move your cursor outside one of the corner boxes.
- Click and drag once the rotate cursor appears.
- Press Enter.
This method is great for quickly rotating product images, portraits, graphics or design elements.
Tip: Zoom in while editing so you can see any minor misalignment issues.
Method 2: The Ruler Tool (Best for a Crooked Horizon)
This method will surprise most beginners as you won’t need to guess what angle to rotate.
- Select the Ruler tool. This can be found by pressing I until you can see it.
- Drag it across an element that should be perfectly straight, for example a horizon or the edge of a shelf.
- Click Straighten Layer in the options bar. Alternatively, go to Image > Image Rotation > Arbitrary. The angle box will automatically be filled in.
- Click OK.
This method is great for landscape images, scanned documents, architecture and anywhere there is a clear straight line.
If the sea horizon in your holiday image is slightly rotated, simply draw a line with the Ruler tool. Photoshop will straighten the horizon for you.
Method 3: The Crop Tool’s Straighten Function
Want to straighten your image and also cut out any unwanted areas? The Crop tool can help.
- Press C to select the Crop tool.
- Click Straighten in the options bar.
- Draw a line across the horizon.
- Press Enter.
How to Rotate an Image in Photoshop Without Losing the Corners
If you rotate your image just a little, you’ll notice triangular gaps appear at the corners. There are two neat solutions to this:
- Content-Aware Crop: Tick the Content-Aware box in the crop options. Extend the box slightly past the edges of your image. Photoshop will fill in the gaps with similar details.
- Larger canvas: Go to Image > Canvas Size. Make it slightly larger and rotate. Crop as you wish.
Our personal recommendation would be to use Content-Aware Crop on landscape images. The sky and water will fill in nicely.
Common Mistakes to Avoid
- Rotating the entire canvas when you only need to rotate a layer.
- Only using one guideline. Check that the image is rotating correctly by using another line such as a door frame or window.
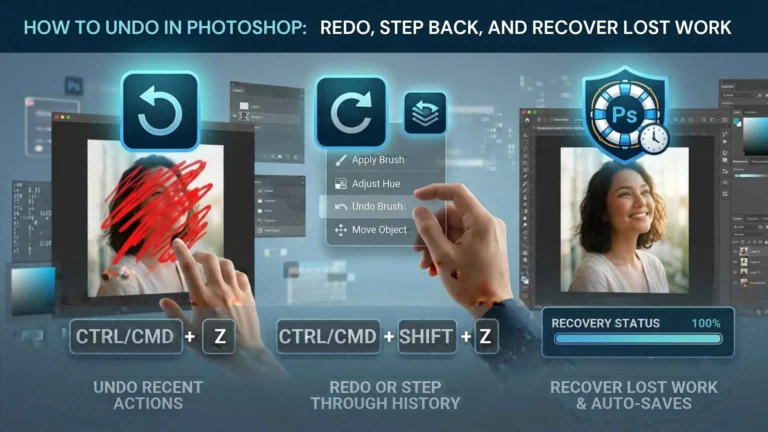
- Rotating multiple times. Rotating uses pixel sampling, which blurs details. Undo in Photoshop and rotate once.
- Confusing the Rotate View tool (R). This only rotates your view, not the image itself.
Need Help Straightening and Editing Your Photos?
Fixing one tilted photo only takes a minute, but a full set of listing, product or event photos can eat up your day. If you would rather hand it off, Plexail’s photo editing services can take the whole batch off your plate. For property listings, where slanted walls and uneven horizons are common, take a look at our real estate photo editing services. Online sellers can also get consistent, clean images through our e-commerce photo editing services.
Want to talk it through? Call +91 9819259097 or email info@plexail.com.