Key Takeaways
- HDR combines several bracketed exposures into one balanced photo.
- A tripod and locked composition are non-negotiable.
- Three to five frames cover most ordinary rooms.
- Editing should preserve natural color and perspective, not chase drama.
- HDR should support the property, not draw attention to itself.
What Is HDR Real Estate Photography?
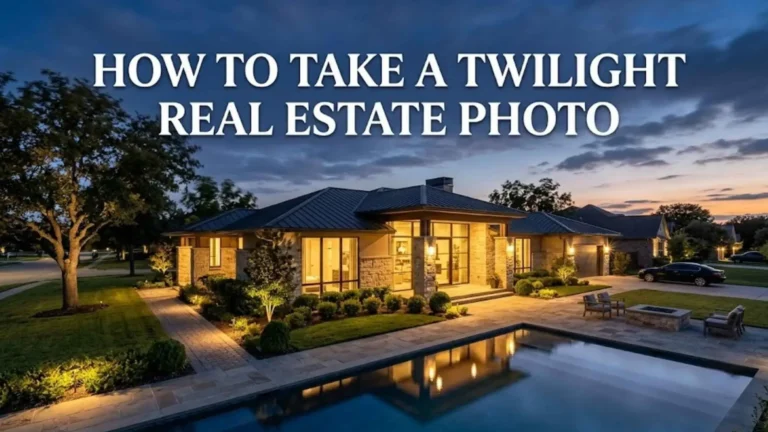
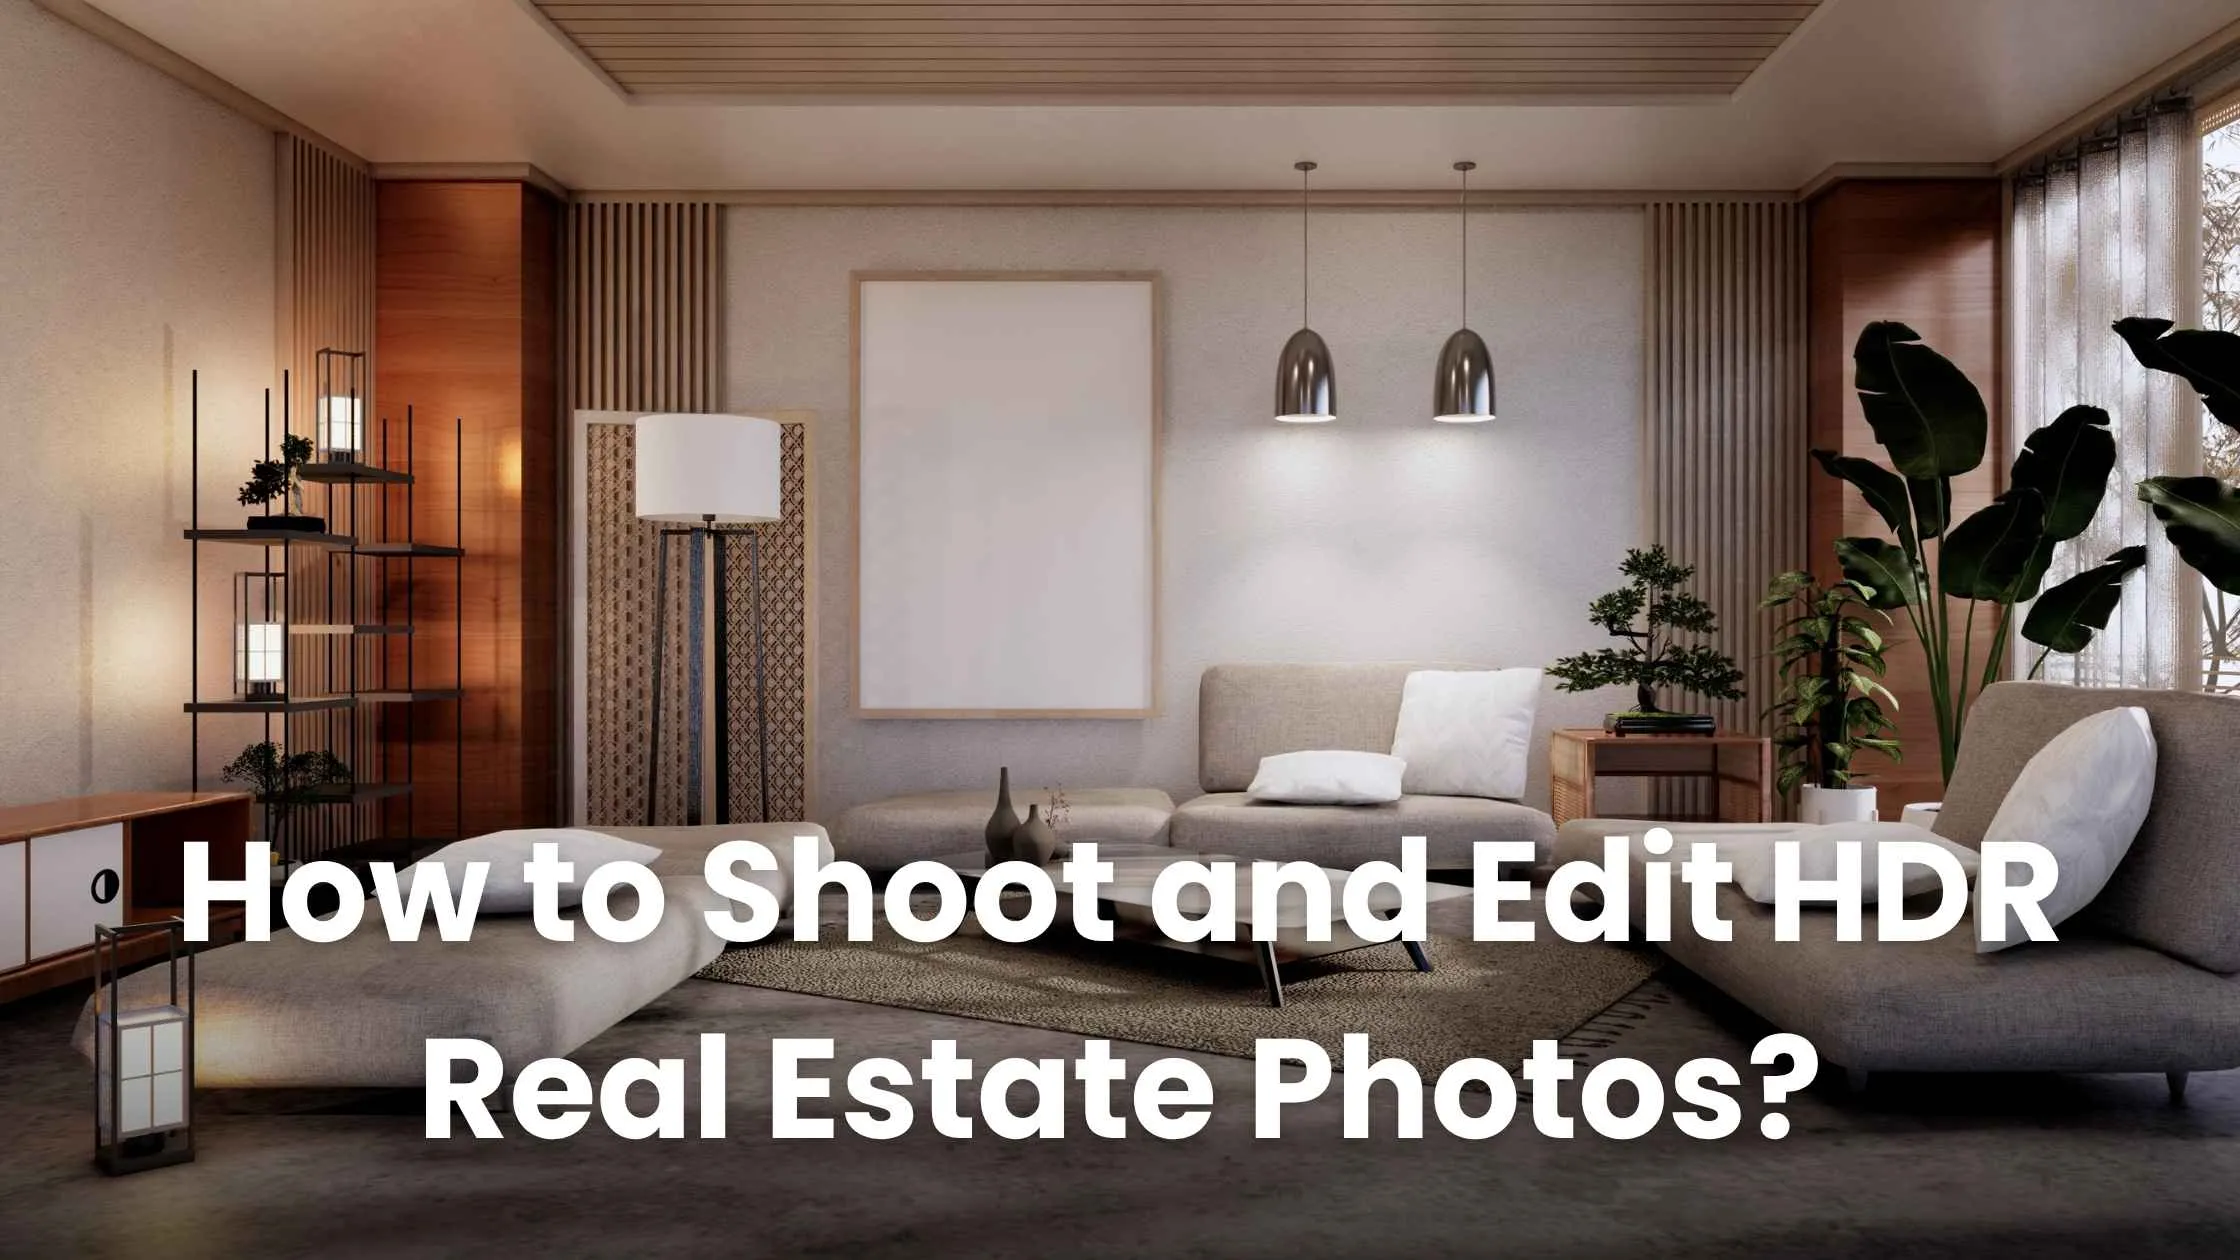
HDR real estate photography captures the same room at multiple exposures and blends them into a single photo, so both the darker interior and the bright window are properly exposed at once. It exists because a camera can’t hold as wide a brightness range as your eyes can in one go. Stand in a dim room and look toward the window, and your eyes adjust instantly; a camera has to pick one or the other in a single frame.
Bracketed shooting makes this possible: shoot the same scene at three different exposures (dark, middle, and bright), then merge them using editing software.
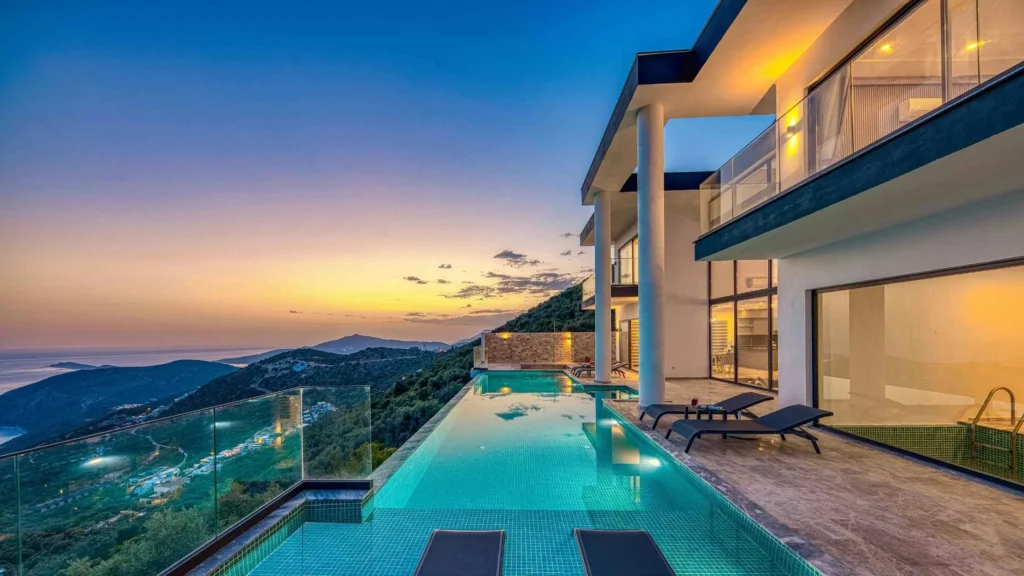
Done well, the result looks like a naturally lit room, nothing screaming “edited.” Overdone, it shows glowing window edges, flat grey shadows, and slightly off colors. The goal is clarity, not a manufactured look.
Gear and Camera Setup for HDR
Two pieces of gear matter most for HDR: a tripod and a wide-angle lens. Start with the tripod. It keeps the camera still between shots, which matters because even a tiny handheld shift between exposures causes blur or ghosting once the frames are merged. Use a remote shutter or the camera’s timer too, since even pressing the button by hand can nudge the camera enough to spoil the merge.
Next comes the lens. A wide-angle lens lets you fit a full room in the frame, but going too wide makes the walls look bowed. Before you shoot, check the frame edges for clutter and make sure vertical lines like door frames aren’t already leaning.
| Setting | Practical Starting Point |
|---|---|
| File type | RAW |
| Mode | Manual |
| Aperture | f/7.1 to f/11 |
| ISO | 100–400 |
| Focus | Set once, then switch to manual. |
| White balance | Fixed, not auto |
| Bracketing | 3–5 frames, ~2 EV apart |
How to Shoot Bracketed Exposures
Set the camera at chest height, leaving room around furniture. Turn on lamps for character, but watch mixed color temperatures, since warm lamps next to cool daylight complicate white balance. Open curtains, clear clutter, and check for reflections.
Aim toward important windows, but avoid the extreme edge of a wide frame, where distortion is worst. Shoot quickly, since shifting light or movement between frames throws off alignment.
A simple routine:
- Compose the shot and lock the tripod.
- Dial in focus, aperture, ISO, and white balance.
- Capture a dark, middle, and bright exposure.
- Check the histogram for clipped highlights.
- Scan for clutter before moving on.
Larger or trickier rooms sometimes need five exposures, but more frames mean more chances for something to shift.
How to Edit HDR Real Estate Photos
Import RAW files and group them together. Lightroom’s Photo Merge combines exposures into a single HDR file, with built-in alignment and deghosting to reduce motion blur.
A dependable order:
- Merge the bracketed exposures.
- Apply lens correction and straighten verticals.
- Set a believable white balance.
- Pull back blown highlights in windows.
- Open shadows carefully, without flattening the room.
- Fine-tune contrast and color.
- Clean up distractions or reflections.
- Export at the size and profile your platform requires.
Avoid pushing every slider hard at once. Small adjustments hold up better than one dramatic pass. If a window still looks blown out, mask just that area rather than darkening the whole photo.
Manual Blending vs. Automatic Merging
Automatic merging is faster and suits a full gallery on a deadline. Manual blending takes longer but gives more control: the best window from one frame, natural lamp glow from another. It wins in rooms with mirrors or reflections.
Some photographers now use AI real estate photo editing tools for initial masking or exposure correction. These save time but still need a human check, since AI might brighten one room well and create an odd glow elsewhere.
Common HDR Mistakes to Avoid
- Halos around windows or furniture: back off tone mapping and check masks along high-contrast edges.
- Grey, lifeless rooms: restore contrast; over-recovered shadows flatten a room.
- Oversaturated colors: lower vibrance and check walls, wood tones, and greenery separately.
- Ghosting: Use a deghosting tool or manually mask whatever moved.
- Leaning walls: fix perspective before adjusting color.
The strongest real estate image editing is usually the kind nobody notices. A viewer should see the room first, not the technique.
Should You Edit HDR Yourself or Outsource?
Editing your own work makes sense while building a portfolio, but it’s harder once every listing produces dozens of files. Outsourcing real estate photo editing cuts post-production time and keeps a consistent gallery look, with a solid provider handling exposure blending, color correction, and exports.
Plexail is built around this need, offering real estate photo editing that covers color correction, retouching, and virtual staging, with a reported 24–48-hour turnaround. Before choosing a provider, send a sample image and ask how revisions work.
Give Every Listing a Better Finish
Good HDR photography starts with careful shooting, but editing decides how polished the gallery looks. For natural, listing-ready results without hours on a screen, visit Plexail at plexail.com, or call +91 9819259097.