Key Takeaways
- Aerials show lot size, surroundings, and rooflines that ground photos miss.
- Paid drone work in the US needs an FAA Part 107 certificate.
- Always check airspace and local rules before you take off.
- Use Gentle Sunlight to Bring Out Property Details.
- Edit your drone shots so they match the rest of the listing.
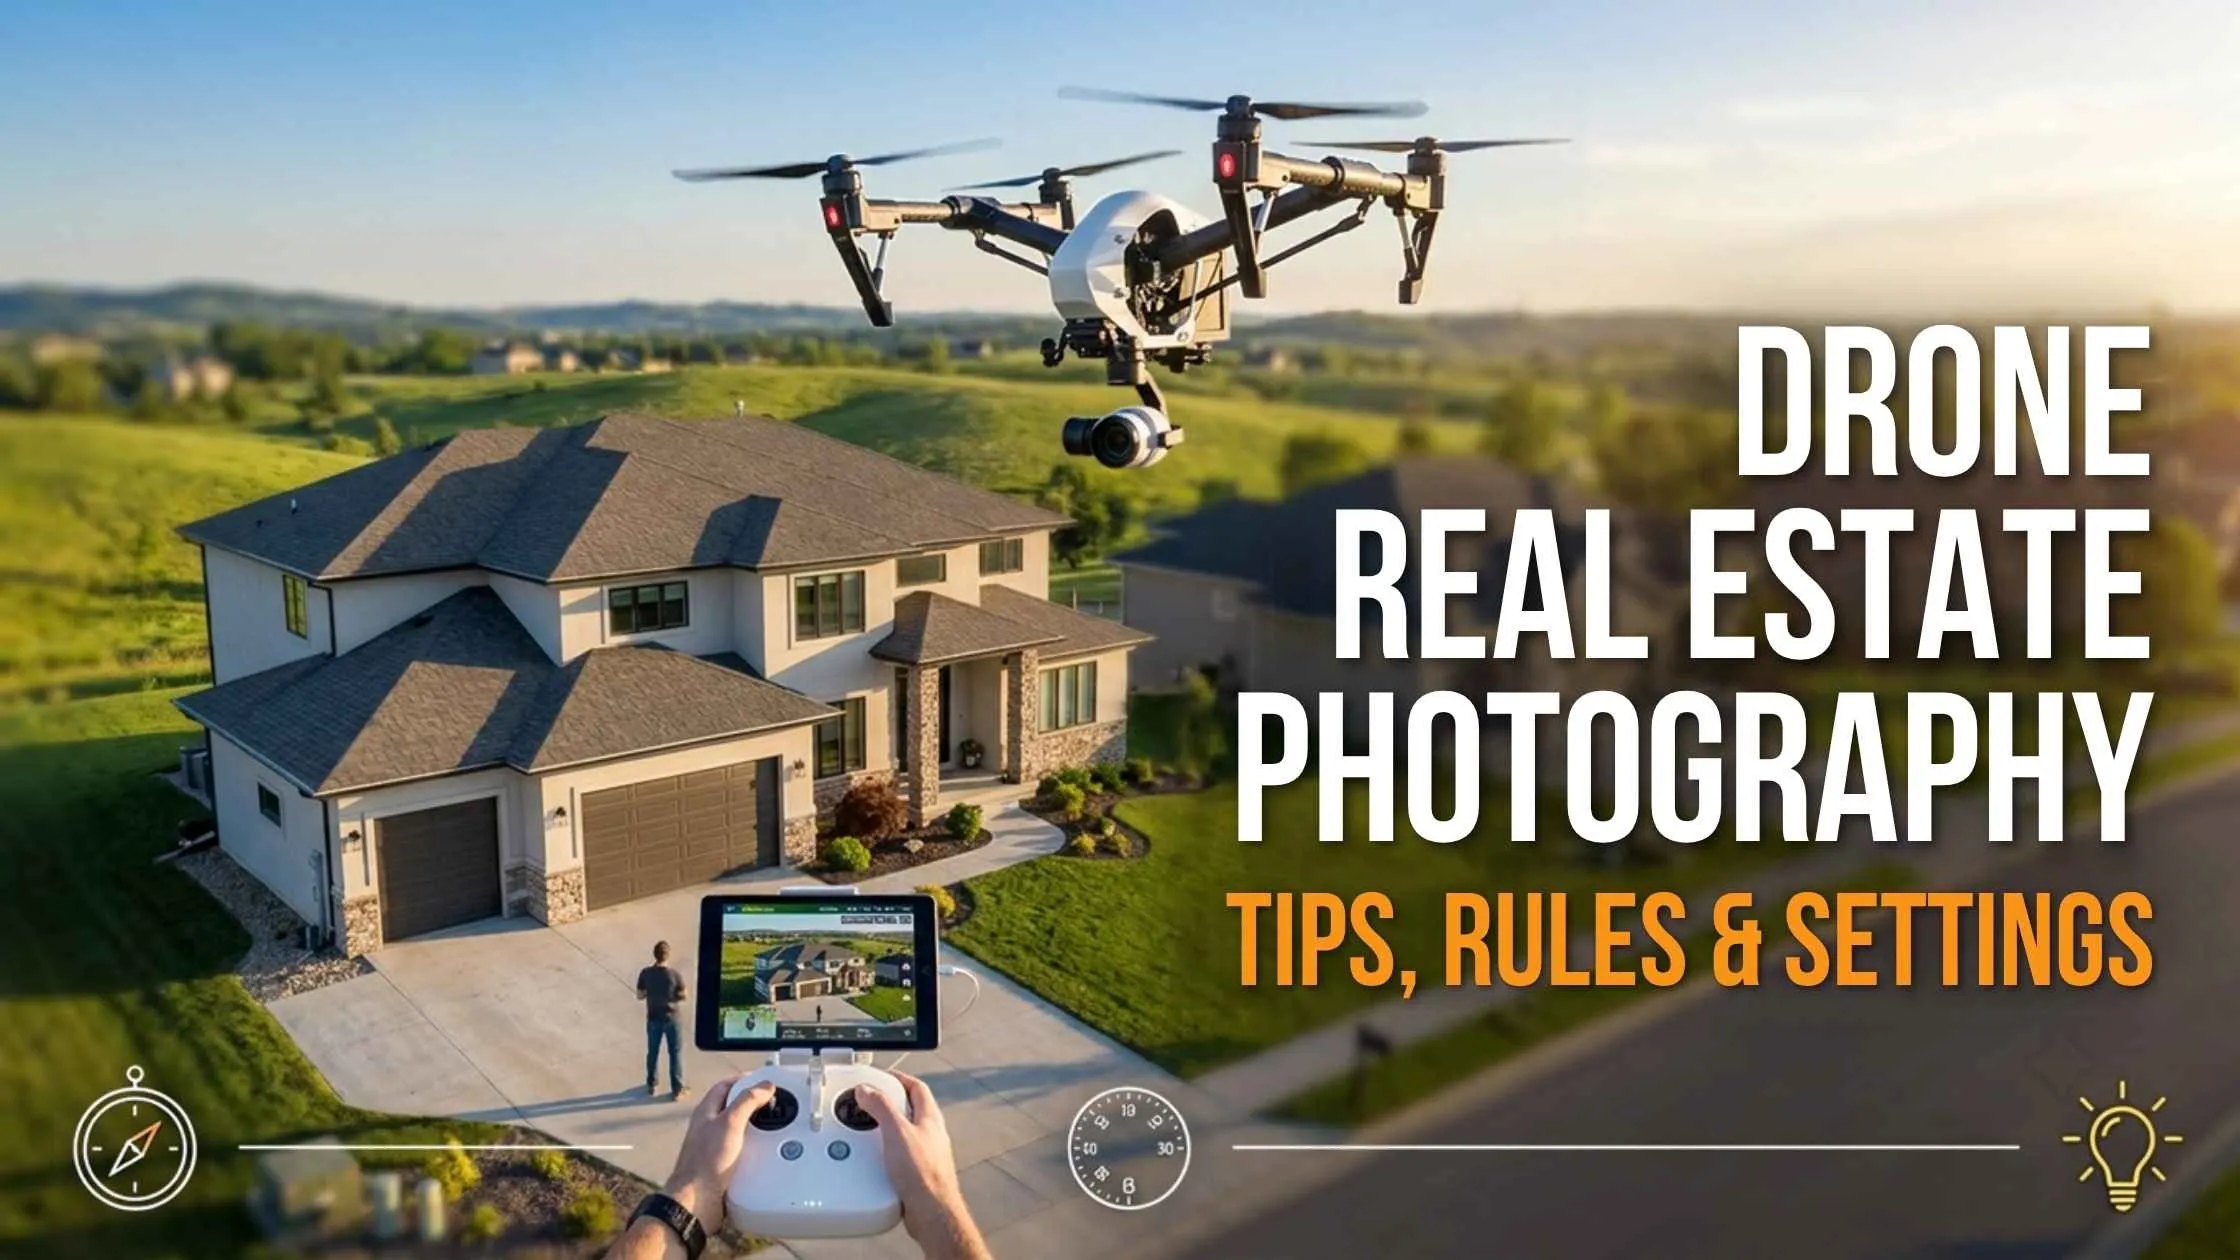
Drones offer an aerial perspective of listings that ground-level photos can’t provide, including lot size, surroundings, and rooflines. Shooting them legally means holding the right pilot certification for paid work, checking airspace rules, and flying a reliable camera drone. Follow safe flight habits and edit carefully, and your listings will stand out.
A ground shot shows the front door and the kitchen. It can’t show how close the neighbors are, whether the garden backs onto a park, or what condition the roof is in. Aerial views answer those questions. This guide covers the rules, gear, shooting tips, and editing.
Why Use Drones for Real Estate?
Most buyers want to know more than what’s inside the house. They’re curious about the backyard, the street, the parking, and how much land actually comes with the place. With one aerial pass, a real estate drone clears up all of these details for buyers.
Here’s what it can show:
- Show the true lot size and where the boundaries fall.
- Reveal the neighborhood, including schools, roads, water, and green space.
- Highlight features like pools, outbuildings, solar panels, and large gardens.
- Sell land and acreage, where ground photos rarely tell the story.
- Cover several nearby listings in one visit.
Drone photos for real estate work, especially well for acreage and empty plots, where a ground shot of grass says very little. Paired with 3D real estate photography, aerials give buyers a complete picture of both the property’s surroundings and its interior layout before they even book a viewing.
Rules and Licensing You Must Know
Let’s be clear about this one: it isn’t optional for paid work. If you’re in the US, an FAA Part 107 certification is mandatory for any commercial drone flying. You get it by passing a written exam on airspace, weather, regulations, and safety. Your drone also has to be registered if it weighs between 0.55 and 55 pounds.| Rule | What it means |
|---|---|
| Altitude | Don't fly higher than 400 feet above the ground. |
| Line of sight | Never let the drone drift out of your line of sight. |
| Airspace | Near airports, get approval through LAANC (the FAA's quick authorization system). |
| People | Don't fly over people who aren't part of the shoot. |
Rules differ by country, and they change. If you're flying in India, check the DGCA guidelines and the Digital Sky platform instead of relying on FAA rules. Need help with property visuals? Plexail can support your listing photography. Call +91 9819259097 or email info@plexail.com.
Selecting the Right Drone
The most expensive drone isn’t necessarily the best for real estate photography. A few specs matter more than the brand name:
- Camera Quality: at least 12 MP for photos and 4K for video
- Stability: a good gimbal (a motorized mount that keeps the camera steady) means sharper images
- Obstacle avoidance: useful around trees, chimneys, and power lines
- Flight time: 25 to 30 minutes per battery is comfortable
- GPS and range: steady positioning and a strong controller link
For beginners, a compact folding drone with a 1-inch sensor is usually plenty. If you shoot premium homes or twilight scenes, a pro model with a larger sensor handles low light much better. Whichever you pick, buy spare batteries, since wind and cold drain them fast.
How to Shoot Great Aerial Real Estate Photos
Scout the property before you fly. Look for takeoff spots, wires, and tall trees, and check the forecast.
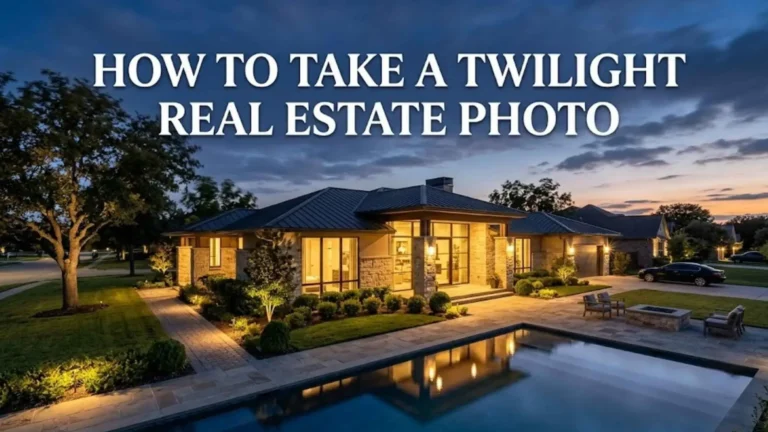
- Timing: Early morning and late afternoon give soft, warm light. Midday sun makes roofs look flat and shadows harsh.
- Altitude: 30-40 feet for a close hero shot of the house. Then go up 80 feet to 120 feet to show the lot and neighbors.
- Angles: A 45-degree angle suits the front of the home. A straight-down view works for boundaries and pools.
- Composition: Keep the house as the star, keep vertical lines straight, and include anything buyers care about, like a lake or park.
- HDR brackets: Skies are often much brighter than rooftops. Take three shots (normal, darker, and lighter) and blend them later. That’s HDR.
Editing Drone Real Estate Photos
Good editing is what separates a decent drone shot from a professional one. It also keeps real estate drone photography looking honest, so don’t overdo it.
- Lens correction: Fix distortion and dark corners.
- Sky and exposure balance: Blend your brackets so the sky has detail, and the roof isn’t too dark.
- Color matching: Match tones to your ground photos so the entire gallery feels like one shoot.
- Cleanup: Clean up empty space and trim stray branches or parked cars.
Shoot in RAW (an uncompressed file format) if your drone allows it. It gives you more room to fix mistakes. Want polished, consistent visuals without doing it all yourself? Reach out to Plexail at +91 9819259097 or info@plexail.com.