Key Takeaways
- GIMP is free to use and can be used for both personal and business purposes.
- Adding an alpha channel is an important step to complete before deleting your background.
- PNG preserves transparency, whereas JPEG does not.
- You can delete your background using GIMP, but if there are detailed areas such as hair or fur, you may need to edit the image further with care.
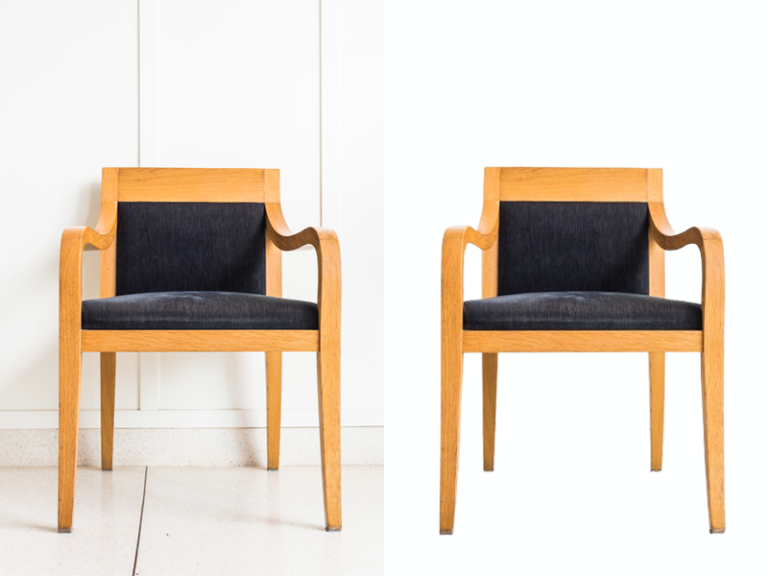
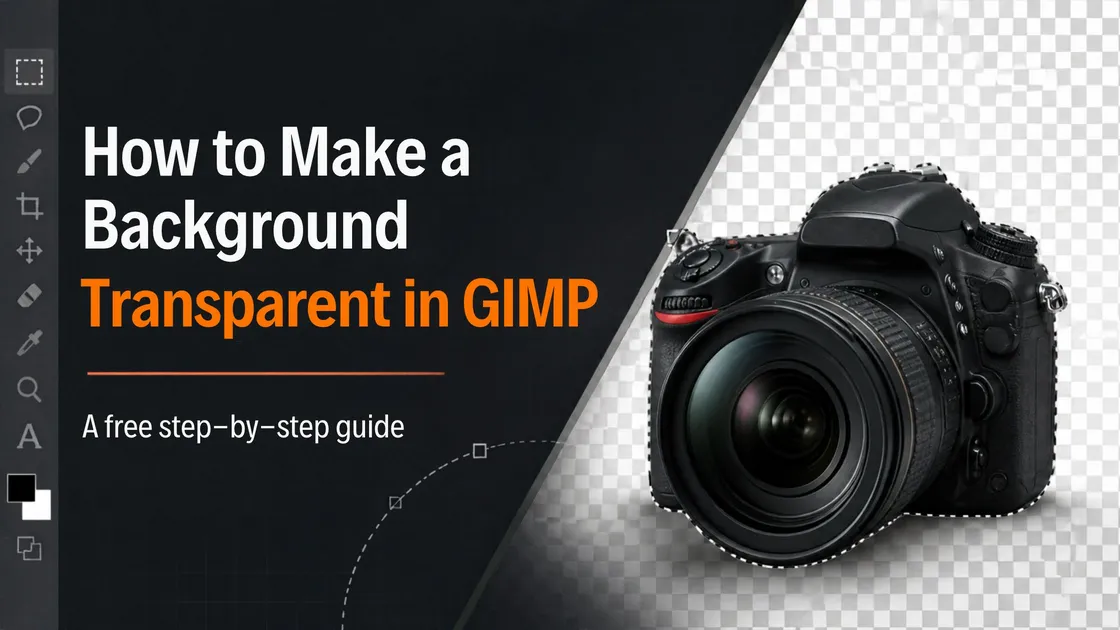
To make a background transparent in GIMP, add an alpha channel, select the background with Select by Color or Fuzzy Select, press Delete, and export the file as a PNG. The same steps work for product photos, logos and simple portraits.
Removing the backdrop of a photograph can radically transform how it looks. Removing the background of product images, logos, or social media graphics can give you much more flexibility with the image, as it has a transparent background. However, what if you don’t want to pay for Photoshop to remove just a couple of backgrounds?
Then GIMP is perfect for you. This free, open-source image editor has a variety of tools that can be used to edit out backgrounds. There is no need to pay for a subscription or have any professional editing skills.
Say you have taken a photo of a handmade ceramic mug on your kitchen counter. The lighting is perfect; however, the marketplace you are selling on wants a clean cutout with no cluttered worktop behind it. When looking at the price of high-end editing software, you feel shocked.
Whether you are editing a product image, logo, or a simple portrait, you will follow the same steps.
Step 1: Add an Alpha Channel
This invisible layer lets you have transparency. Without an alpha channel, deleting the background just fills the area with your background color instead of making it transparent.
Click on Layer, then Transparency, and then Add Alpha Channel. There will be no visible changes, which is why many new users overlook this step. Check your Layers panel: if the layer name is no longer in bold, you are good to go. If the menu item is grayed out, the alpha channel already exists.
Step 2: Select and Remove the Background
After adding your alpha channel, you can start to remove the background in GIMP. There are a few ways to select it, depending on how simple or complex your image is.Select by Color
Best for solid backgrounds. Select the tool, click the background, adjust the Threshold if needed, and hit Delete.Fuzzy Select
Best for backgrounds with similar tones. Click the areas you want to remove and adjust the Threshold.Paths Tool
Place anchor points along the edges to outline your subject manually. Once you have drawn your path, make a selection from your path and invert it with Select > Invert. Once you have selected your background, simply hit Delete. You should see a gray and white checkerboard pattern appear, showing that your image has transparency.Pro Tip: Clean Up the Edges
To see if there are any remaining pixels or rough lines near the boundary of your selection, zoom in to 200%. Use your Eraser tool to clean up any issues.
Step 3: Export as PNG (Not JPEG)
This is where a lot of people go wrong. After doing everything properly, you will notice that you have a white background after saving. This is most likely due to the file type.
JPEG cannot store transparency. PNG can. So choose File > Export As (Shift + Ctrl + E), end the file name with .png, and click Export. Plain File > Save only creates an .xcf project file, which is handy for later edits but useless on a website or listing.
Where GIMP Falls Short
Difficulty Editing Hair, Fur, and Fine Details
Hair, fur, and thin fibers can be harder to edit. Photoshop has a Select Subject tool which will automatically select wispy areas. GIMP can sometimes need some manual editing, and for very fine edges, image masking services give a cleaner result.
Complex Backgrounds Require More Editing
Complex and colorful backgrounds can take longer to edit. Sometimes you might have to manually trace using Paths. For product catalogs, clipping path services can take that tracing off your hands.
Time-Consuming for Bulk Image Editing
Big batches will take time as you have to go through each image. If you have dozens or hundreds of photos, background removal services are usually the faster option.
If you are only adding a transparent background to a few product images, a logo, or a simple portrait, then GIMP is perfect.
Get Professional Help With Background Removal
Learning how to make a background transparent in GIMP comes down to three habits: add the alpha channel first, clean up the edges, and export as a PNG.
Short on time, or have a large batch of product photos? The team at Plexail offers professional photo editing services and ecommerce photo editing services, so you get clean cutouts without the manual work. Get in touch with Plexail today. Call +91 9819259097 or email us at info@plexail.com.