Key Takeaways
- Selecting the person cleanly is key, but the blending is what makes the result believable.
- Matching the lighting, color balance, and shadows is what makes everything look natural.
- Photoshop has the tools for this, such as Select Subject, Select and Mask, Curves, and Color Balance.
- Soft edges, realistic shadows, and consistent image quality help you avoid the obvious cut-and-paste effect.
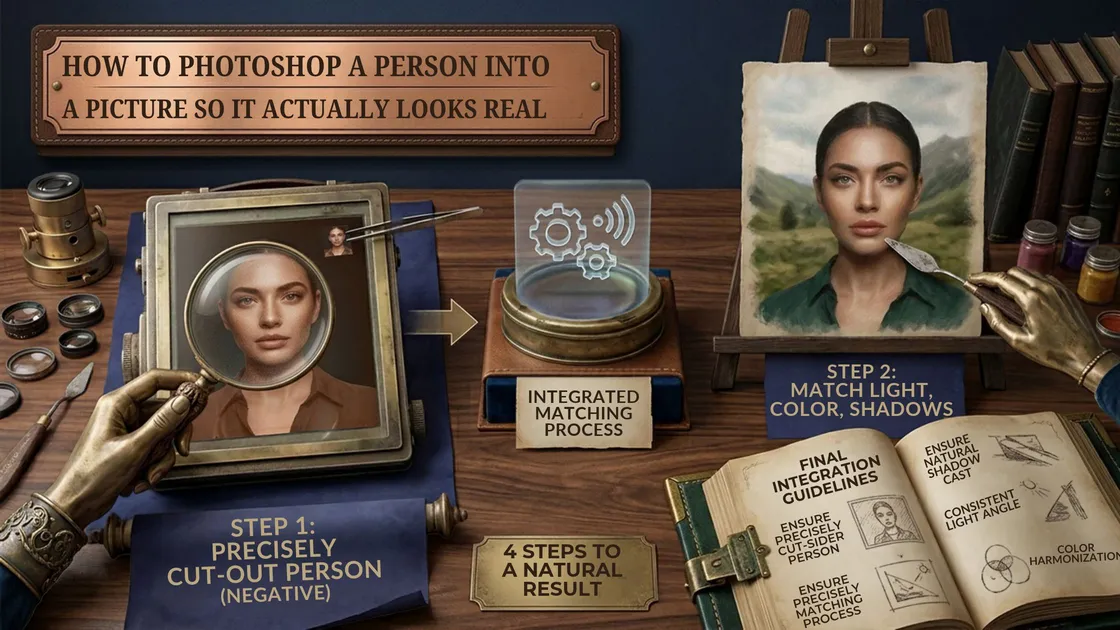
To Photoshop a person into a picture, cut them out with Select Subject and Select and Mask, move them onto the new photo, then match the light direction, color temperature, and shadow to the scene.
Have you ever had a nice group photo but someone wasn’t able to attend? Or maybe you have two family photos you would like to merge. You can achieve this in Photoshop.
Imagine it’s your grandmother’s 80th birthday and everyone is in the garden to celebrate. However, your cousin Zara is stuck in traffic, so the picture is taken without her. Two weeks later, someone asks if you can add her in.
Yes, you can. It may seem complicated, but it is quite easy. If you are wondering how to Photoshop a person into a photo, the short and honest answer is that cutting someone out and moving them into the image is only the first step. You also need to match the lighting and colors, and give your subject a realistic shadow.
The same process works when adding someone to a group photo to fill a gap, merging two family photos, or creating a composite piece. Knowing how to Photoshop someone into a photo means going far beyond the selection tool. Let’s go through how to do it.
How to Photoshop Someone Into a Photo, Step by Step
Step 1: Cut Out the Person Cleanly
Every method of how to Photoshop someone into a photo starts with a clean cutout, and most of the work can be done in Photoshop itself. If the original background is cluttered, our guide on how to remove a background in Photoshop covers more cutout methods.
- Open the image of your missing person and go to Select > Subject. Photoshop will automatically make a selection around them.
- Click Select and Mask and use the Refine Edge Brush tool around areas such as hair, blurred clothes, hands, fingers, and feet. This removes any leftover background pixels.
- Change the output to New Layer with Layer Mask. A layer mask hides parts of the layer without deleting them, so you can always fix your mistakes.
- Drag the cutout across to the picture you want to add them to and scale them to the correct height.
Step 2: Match the Light Direction
Look carefully at your new picture and decide which way the shadows are going. If everyone’s shadows point to the left, the sun must be on the right. To make the added person blend in with the background, you will need to match the lighting.
If the light on your cutout comes from the wrong direction, go to Edit > Transform > Flip Horizontal. If it is only slightly off, rotate the layer a few degrees instead. Check the softness of the light as well. In bright sun, shadows are sharp, whereas on a cloudy day they are softer. Your person should look like they were in the same weather conditions.
Step 3: Match Color Temperature and Tone
This is where a lot of composite images go wrong. A scene taken at golden hour has a warm, orange tone, while one taken in shade or on a cloudy day looks cooler and bluer. If your person was photographed in different lighting, they will look like a sticker.
Our recommendation:
- Create a Curves or Color Balance adjustment layer above your person.
- Alt/Option-click between the two layers to clip the adjustment. This way it only affects your person, not the whole picture.
- Tweak the colors to match the scene, making them warmer or cooler as needed. Adjust the brightness so their skin tone matches everyone else’s.
Step 4: Add a Believable Shadow
- Duplicate the layer containing your subject and fill it with black. Lock the transparent pixels first so only the person’s shape is filled.
- Drag the shadow beneath the original layer, then go to Edit > Transform > Distort and tilt it to follow the ground.
- Go to Filter > Blur > Gaussian Blur and lower the opacity until the shadow looks natural.
- Make sure the shadow is darkest at the bottom, around their feet.
Common Mistakes That Make a Composite Look Fake
| Giveaway | Why it looks fake | Quick fix |
|---|---|---|
| Too harsh edges | The person looks pasted on | Tweak your mask and apply a slight feather |
| Wrong direction shadows | The light sources don’t match | Redraw your shadow to fit within the scene |
| Inconsistent grain/noise | Different cameras show different texture | Add noise to the subject |
| Different color temperature | Skin looks too warm or too cool | Use a clipped Color Balance layer |
Get Professional Help With Photo Compositing
Cutting out the subject is only half the job. Matching light, color, and shadow is what makes an added person look like they were really there.
Short on time, or not getting the blend right? The team at Plexail handles professional photo manipulation services and photo editing services, so you can skip the trial and error and get natural-looking results. Get in touch with Plexail today and let the experts handle your next edit. Call +91 9819259097 or email us at info@plexail.com.
Frequently Asked Questions (FAQs)
How do I Photoshop a person into a picture?
Cut the person out with Select Subject and Select and Mask, then move them onto the new photo. Match the light direction, color temperature, and shadow so they look like they belong in the scene.