Key Takeaways
- For simple images, the one click Remove Background button or Select Subject is usually enough.
- For clean, product style edges, the Pen tool (a clipping path) gives the sharpest cutout.
- For hair and fur, the Channels method keeps the fine strands automatic tools destroy.
- Always cut out onto a new layer so you can drop in a new background later.
Method 1: The Remove Background Button
Fastest option. In the Properties panel, with your layer selected, click Remove Background. Photoshop uses AI to find the subject and mask the rest. It is instant and works well on clear, high contrast subjects. Use it as your first try, then refine from there.
Method 2: Select Subject
Choose Select > Subject (or the Select Subject button with a selection tool active). Photoshop selects what it thinks is the main subject, and you add a layer mask to hide the background. You get more control than the one click button because you can tidy the selection before you commit to the mask.
Method 3: Quick Selection Tool
- Step 1. Pick the Quick Selection tool (or the Magic Wand for very plain backgrounds). Set it to ‘Add to Selection’ and size the brush to your image.
- Step 2. Drag across the areas you want. Hold Alt/Option and drag to subtract. Zoom in and shrink the brush for the fiddly bits.
- Step 3. Right click the selection, choose Select and Mask, clean up the edges with the smoothing sliders, and output to a layer mask.

Method 4: The Pen Tool
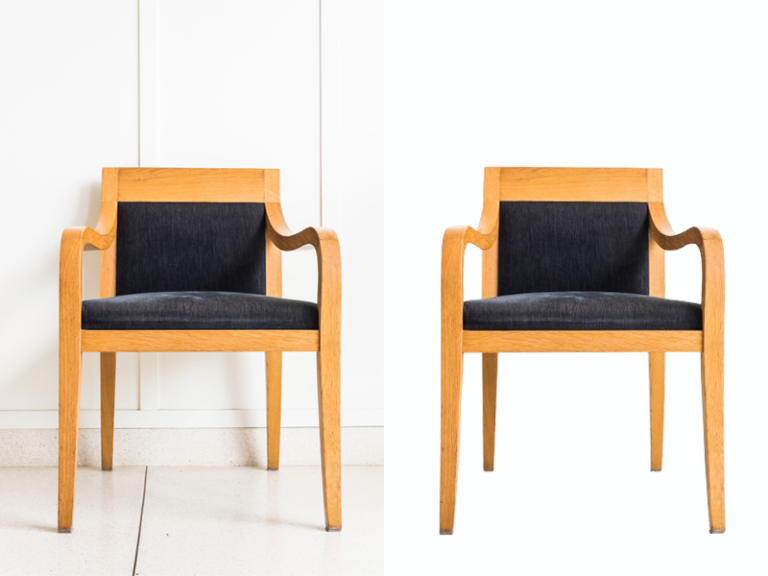
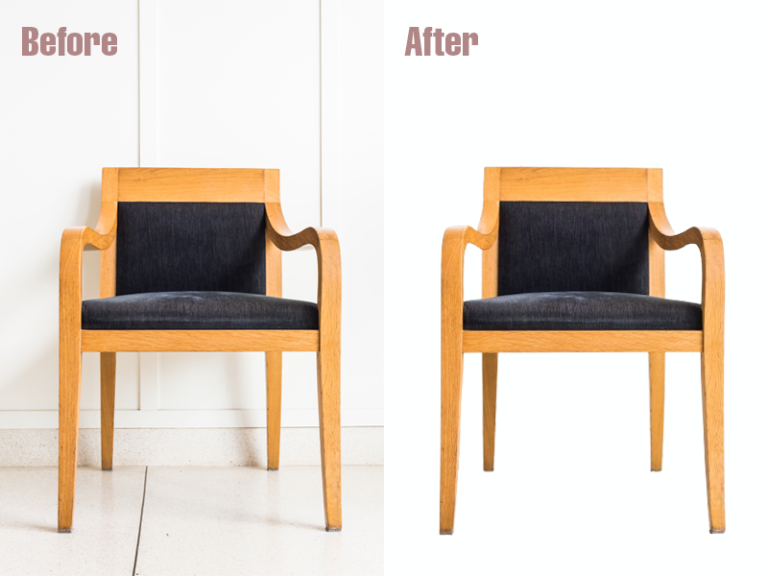
For products and anything with clean, defined edges, the Pen tool draws a clipping path: a precise, hand made outline. It is slower, but it produces the crispest, most professional cutout, which is exactly why product and e commerce editing leans on it instead of automatic selection.
Method 5: Channels, for Hair
Automatic tools mangle hair. The Channels method builds a selection from the image’s own contrast and keeps individual strands. Pick the channel with the most contrast between subject and background, duplicate it, push the contrast with Levels, and use it to build a mask. It is the advanced route, and it is the difference between a believable cutout and an obvious one.
Which One, and When to Outsource
Quick rule of thumb. Clear subject on a simple background: start with Remove Background or Select Subject. Product or hard, defined edges: Pen tool. Hair, fur, or wispy edges: Channels. If the first automatic attempt is ninety percent there, refine it with Select and Mask rather than starting over.
One image is a quick job. Hundreds of product shots cut cleanly onto white with matching shadows is a production task, and that is where a background removal or clipping path service is faster and more consistent than doing it by hand. The other advantage of cutting onto a new layer is that you can drop in any background afterward and still tweak the subject, brighten it, recolour it, adjust its edges, without starting over.