Key Takeaways
- A clipping path is a closed vector path drawn with the Pen tool around an object.
- The Pen tool gives the most precise, professional edges, better than automatic selection.
- Save the path in the Paths panel for reuse, and export as EPS when needed.
- The Pen tool takes practice, but accuracy comes quickly with repetition.
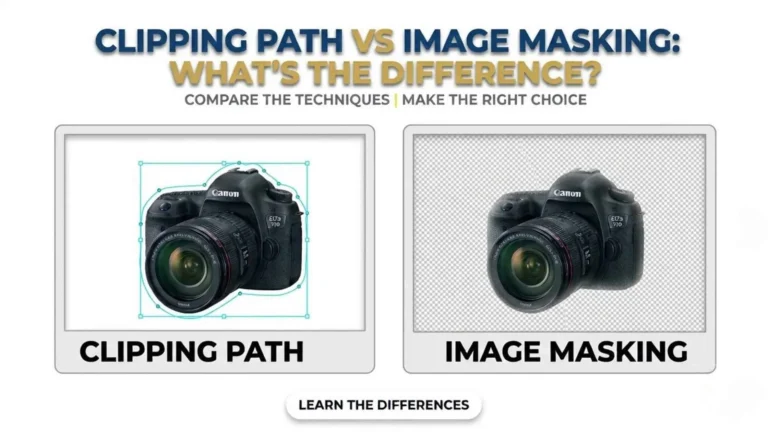
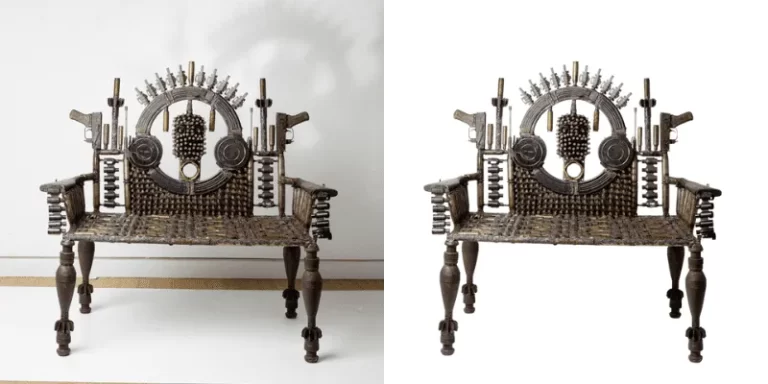
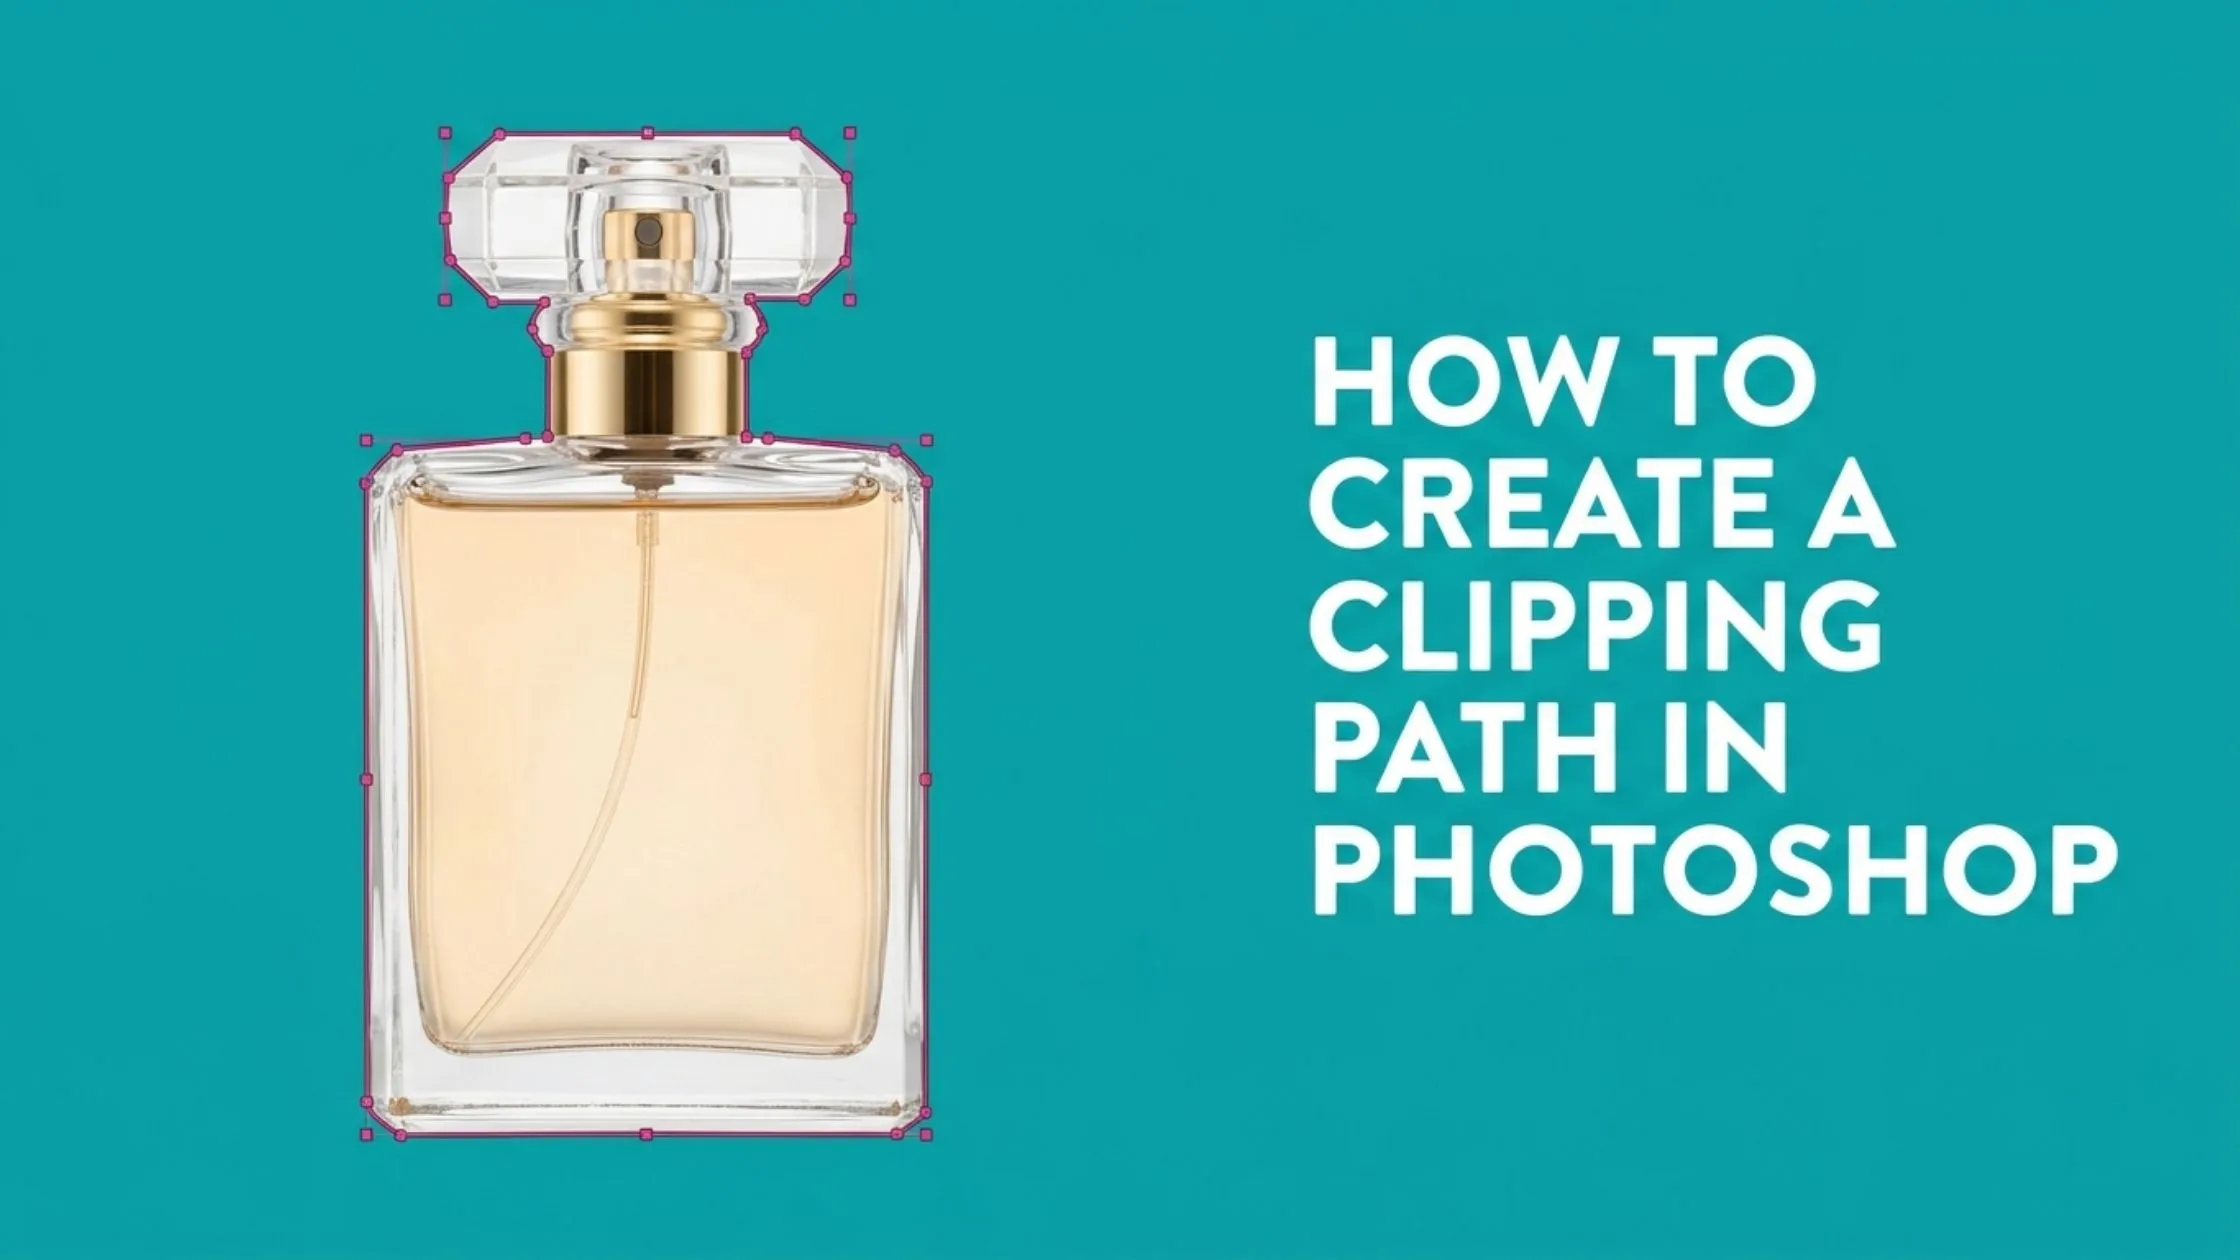
A clipping path is a closed vector outline, drawn with the Pen tool, that defines exactly which part of an image to keep. It is the foundation of clean, professional cutouts, and the basis for background removal, product isolation, and composites. This guide shows how to create clipping path outlines from scratch and save them correctly, so you end up with a precise, reusable path.
What a Clipping Path Is
A clipping path is a closed vector path, made in software like Photoshop or Illustrator, that precisely outlines an object. Anything inside the path is kept; anything outside can be removed or replaced. Because a Photoshop clipping path is a vector, it stays crisp at any size and can be reused, which is why it is the professional standard for product cutouts.Step 1: Open Your Image
Launch Photoshop and open the image you want to work on (File > Open) to start your clipping path Photoshop workflow. For a clean result, start with a sharp, well-lit image; out-of-focus or low-contrast edges are much harder to trace accurately. Zoom in so you can see the subject’s edges clearly.Step 2: Pick the Pen Tool
Choose the Pen tool from the toolbar, or press P. In the options bar, set it to “Path,” not “Shape.” Unlike automatic selection, the Pen tool lets you place points exactly where you want them, which gives you clean, professional edges.Step 3: Trace the Edge
Click along the edge of your object to place anchor points all around it. On curves, click and drag to make a smooth line that follows the shape.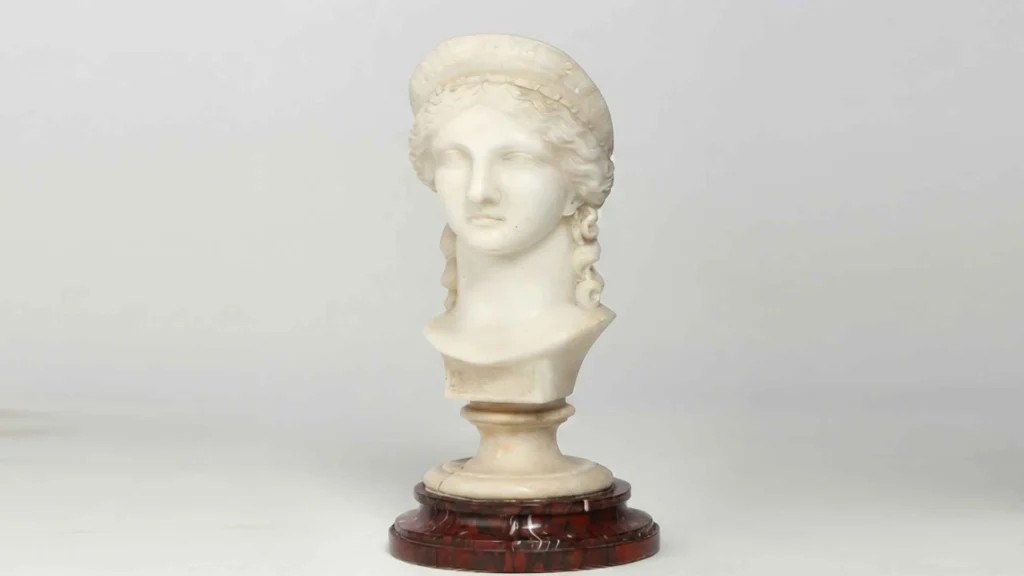
Step 4: Save the Path
Open the Paths panel by going to Window > Paths. Your work path will show up there as “Work Path.” Double-click it, name it, click OK, and it’s saved. If you skip this step, the path can be replaced the next time you draw a new one. A named path stays with your file and can be reused whenever you need it, which saves a lot of time on repeat jobs.Step 5: Export or Apply the Path
Depending on your needs, save the file as a Photoshop EPS (File > Save As > Photoshop EPS) with the clipping path selected, common for print and layout, or apply the path as a layer mask (or turn it into a selection) to isolate the object within Photoshop for editing or background removal.
Practice Makes Precision
The Pen tool takes practice to master, and your first paths may feel slow and slightly rough. That is normal. With repetition, placing and adjusting anchor points becomes fast and intuitive, and your edges get noticeably cleaner. If you need many paths quickly or to a consistent professional standard, businesses often hand off to dedicated clipping path services.