Key Takeaways
- Desaturate (Ctrl + Shift + U) is the fastest method, but it often gives flat, muddy gray results because it ignores how different colors should look in tone.
- The Black & White adjustment layer and Channel Mixer let you decide how dark or bright each color becomes.
- A Curves adjustment layer restores the contrast and depth that the conversion takes away.
- Use adjustment layers instead of direct edits so you can change your mind later.
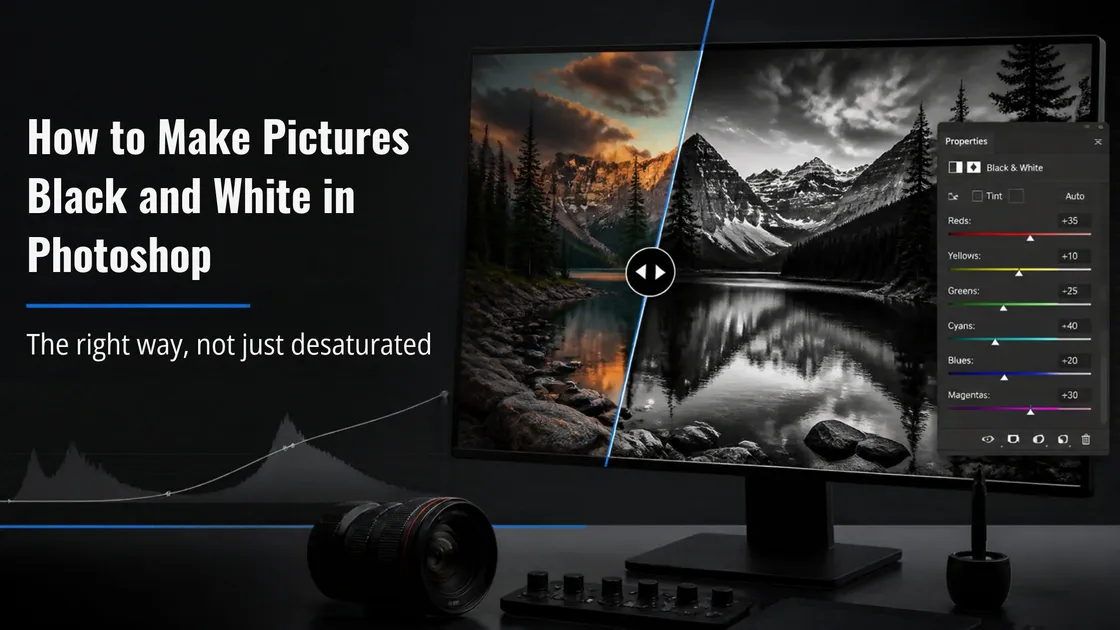
To make pictures black and white in Photoshop, go to Layer > New Adjustment Layer > Black & White, then adjust the color sliders until each tone looks right. A Curves adjustment layer on top brings back the contrast the conversion takes away.
The quickest way to turn a color image into black and white in Photoshop is also the flattest. A Black & White adjustment layer takes a few more seconds but gives you control over how each color becomes a shade of gray.
That control matters in real work. Portraits need soft, natural skin tones. Real estate exteriors need a sky that doesn’t disappear into the roof. Product shots look timeless in monochrome, and some brands maintain a consistent black-and-white style across every image.
This guide covers why plain desaturation falls short, how to make pictures black and white in Photoshop using an adjustment layer, and how to restore contrast so the final image has more impact.
Why Desaturate Alone Looks Flat
The Desaturate command removes all color from the image and keeps only the brightness of each pixel. That is the problem. Your eye separates a red rose from its green leaves mostly by color, not brightness. If both are equally bright, desaturating turns them into nearly the same gray, and the difference disappears.
Think of a green tablecloth with a red apple on it. In color, it stands out. After a quick desaturation, it can look like a gray blob on a gray surface.
| What You See in Color | What Happens After Desaturation |
|---|---|
| Red lips against green leaves | Both become a similar mid-gray |
| Blue sky behind white clouds | Sky turns pale, and clouds lose their shape |
| Orange shirt on a brown wall | Subject blends into the background |
Desaturate still works for quick previews or photos with strong natural contrast. For anything you plan to publish or send to a client, you want more control.
Better Method: Black & White Adjustment Layer
This is the easiest way to learn how to make photos black and white in Photoshop while staying in control.
Steps to Convert a Photo Using a Black & White Adjustment Layer
- Open the photo in Photoshop.
- Go to Layer > New Adjustment Layer > Black & White, then click OK.
- The photo turns gray, and a Properties panel opens with six sliders: Reds, Yellows, Greens, Cyans, Blues, and Magentas.
- Move a slider toward the right to brighten that color, or toward the left to make it darker and richer.
How to Adjust Color Sliders for Different Photos
- Portraits: Raise Reds and Yellows to brighten skin tones. Lower them for a more dramatic look.
- Landscapes: Pull the Blues down to deepen the sky and make clouds stand out.
- Product photos: Move the slider for your product’s main color until it clearly separates from the background.
Quick Tip: Use the Targeted Adjustment Tool
Alternative Method: Use the Channel Mixer
For finer control, add a Channel Mixer adjustment layer (Layer > New Adjustment Layer > Channel Mixer) and select Monochrome.
The Red, Green, and Blue sliders work like the colored filters film photographers once put on their lenses. Keep the three values adding up to about 100%. Much higher, and highlights may blow out. Much lower, and the image may become too dark.
Once you know how to make photos black and white in Photoshop this way, you will rarely go back to one-click conversion.
Adding Contrast and Depth Back In
A converted photo often looks a little dull, even after adjusting the sliders. Here are two ways to improve it.
Add a Curves Adjustment Layer With an S-Curve
- Go to Layer > New Adjustment Layer > Curves.
- Click once near the middle of the diagonal line to create a control point.
- Slightly pull down a point in the lower-left area and slightly pull up a point in the upper-right area.
The line forms a gentle S. Shadows get deeper, highlights get brighter, and the image gains depth. Keep it gentle because a steep S-curve can make the photo look harsh.
Try a Subtle Vignette
A vignette darkens the corners so the viewer’s eye moves toward the center of the image.
Add one using Filter > Lens Correction > Custom, or paint a soft dark gradient on a separate layer. A good vintage effect should stay subtle. If it is obvious at first glance, dial it back.
Common Mistakes to Avoid
| Mistake | Why It Hurts | Better Approach |
|---|---|---|
| Flattening too early | Locks in the conversion, so you cannot fine-tune the tones | Keep adjustment layers until you are fully done |
| Ignoring the color sliders | Default settings give average results | Test each slider, even briefly |
| Pushing contrast too far | Highlights and shadows lose detail | Check the brightest and darkest areas as you adjust |
| Using the same settings for every image | Every image has different colors | Treat each photo individually |
Need Help With Your Black-and-White Photos?
Learning how to make pictures black and white in Photoshop is a skill worth knowing, but not everyone has the time to edit every image by hand.
If you have a batch of photos that need clean, professional conversion, the team at Plexail can handle it for you. Our portrait retouching services, ecommerce photo editing services and real estate photo editing services deliver polished results that match your style.
Reach Plexail anytime at +91 9819259097, or email info@plexail.com and tell us what you need.
Frequently Asked Questions (FAQs)
What is the difference between Desaturate and Black & White in Photoshop?
How do I make a black-and-white photo look less flat?
Can I convert to black and white without losing detail?
Are there free Photoshop actions for black-and-white conversion?
How do black-and-white photos need different editing than color ones?
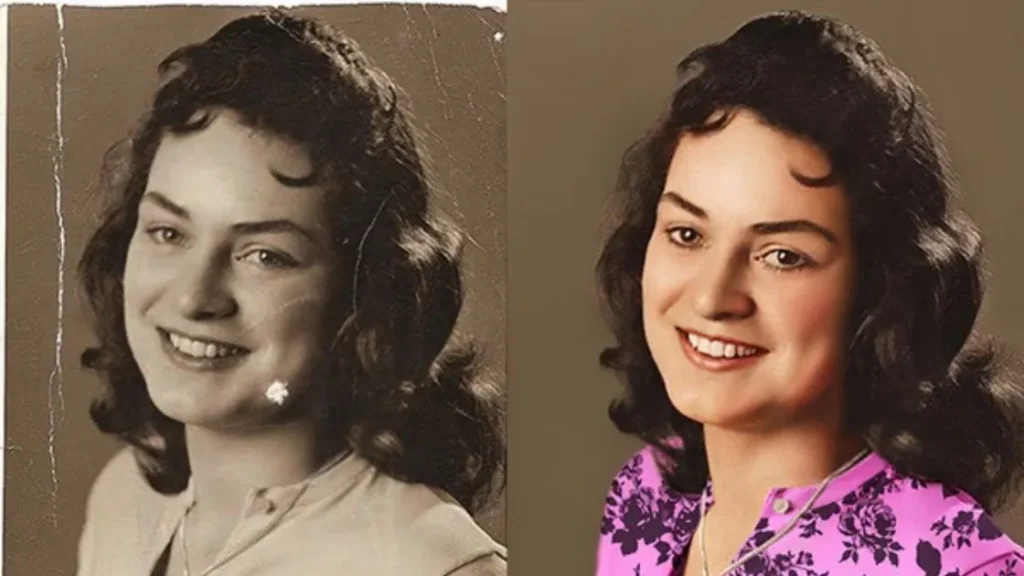
Color hides a lot of flaws. Once it is gone, all you have left is tone, shape, and texture, so contrast and sharpness do most of the work. Blotchy skin, dust spots, and uneven backgrounds also stand out more, which is why a little photo retouching goes a long way.