Key Takeaways
- A good scan is where restoration starts. The resolution and bit depth you scan determine how much detail you can bring back later.
- Flatbed scanners generally produce better restoration source material than sheet-fed scanners.
- Scanning software (like VueScan or SilverFast) should match your scanning device and source type, print versus film negative.
- Software choice for the actual restoration work should match the complexity of the damage and your own comfort level with editing tools.
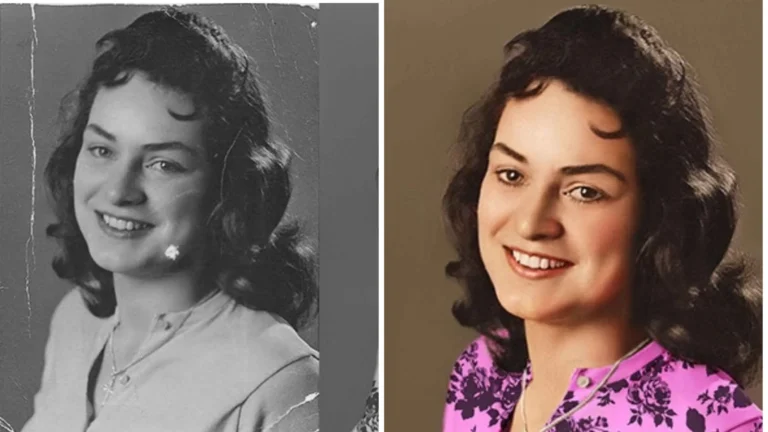
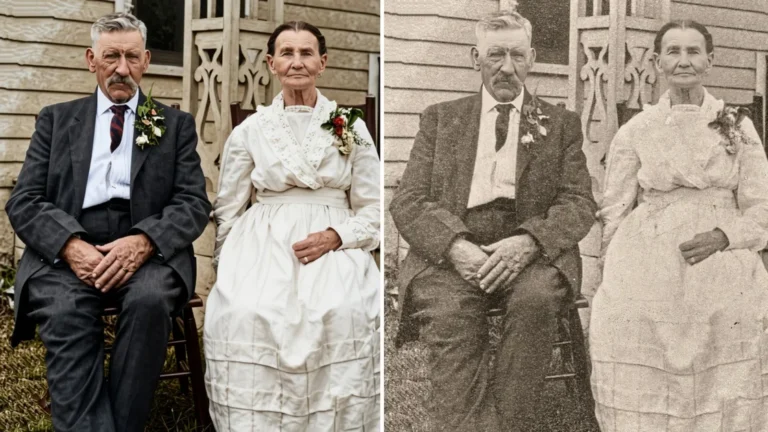
Digital tools can bring faded photos back to life, recover damaged family photos to something close to their original quality, or even better than the print ever looked. Getting there requires the right process and the right tools, not just picking a filter and hoping for the best.
Step 1: Scanning the Original
Whether you’re scanning a print or a film negative, this first step determines how much restoration is needed later. A flatbed scanner usually gives better results than a sheet-fed one, because the photo lies flat and isn’t pulled through rollers. It’s worth using the best equipment you can get at this stage, since any problems introduced here are hard to fix afterward.Step 2: Choosing Scanning Software
Pick scanning software that works with your scanner and suits what you’re scanning. VueScan is a popular choice for scanning photo prints because it’s easy to get started with and works with scanners. SilverFast is often the pick for film negatives, as it has more advanced controls for that kind of work.Step 3: Choosing the Right Resolution
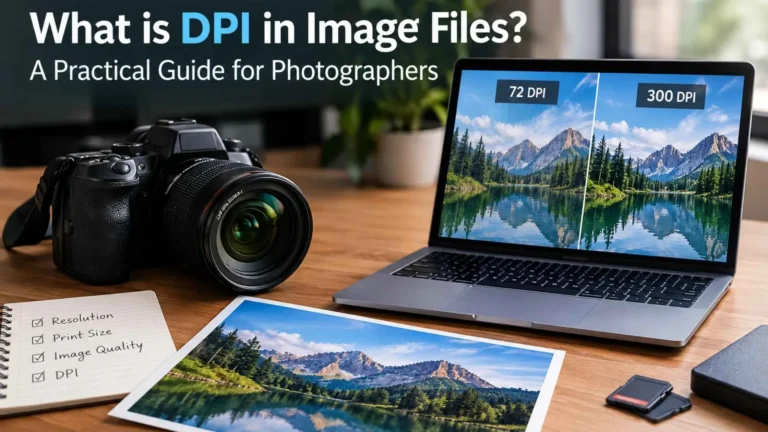
Scan prints at 400 to 600 DPI or higher. More resolution captures more sharpness and detail. Test a few settings and check them on screen before the final scan.
Use the highest bit depth available, ideally 16 bits per channel. It gives you room to retouch without banding in smooth gradients.
Step 4: Saving the Scanned File
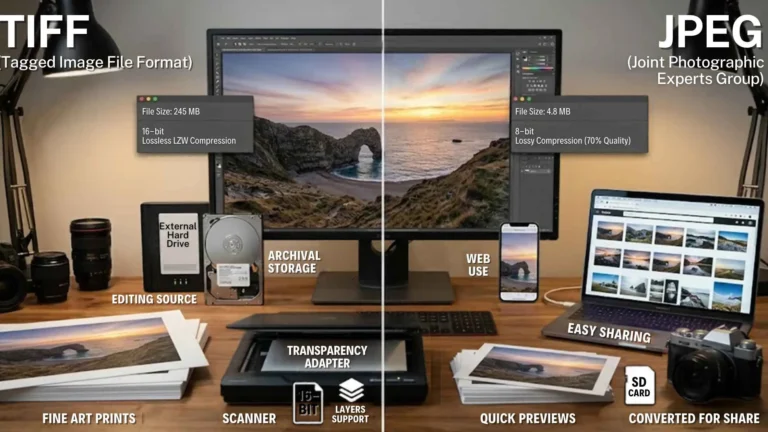
Preserve as much detail as possible in how you save the file. If your scanner and software support it, save in a format that supports the negative digital file, giving you more flexibility later.
If restoring a black-and-white photo, save in grayscale. For color images, a color scan (even of a photo that will ultimately look black and white) can make it easier to identify and remove stains, since color information helps distinguish damage from the actual image content.
If you have the original film negative, it’s often a better restoration source than a print, since it hasn’t been subject to the same physical wear. Film negatives are more fragile to physical damage, so handle and scan them carefully.
Step 5: Choosing Restoration Software
Photoshop is one of the most popular tools to retouch old photos and restore them. It handles background removal and color correction, and the Clone Stamp covers damage with clean pixels. It takes practice, but beginners can learn it.
Beyond Photoshop, other options exist depending on your needs and budget, ranging from full-featured alternatives with one-click restoration features to open-source tools that support restoration work at no cost. Before committing to a specific tool, check that it is still actively maintained and available. Restoration software options change over time, and a tool that was standard a few years ago may have been discontinued or replaced.
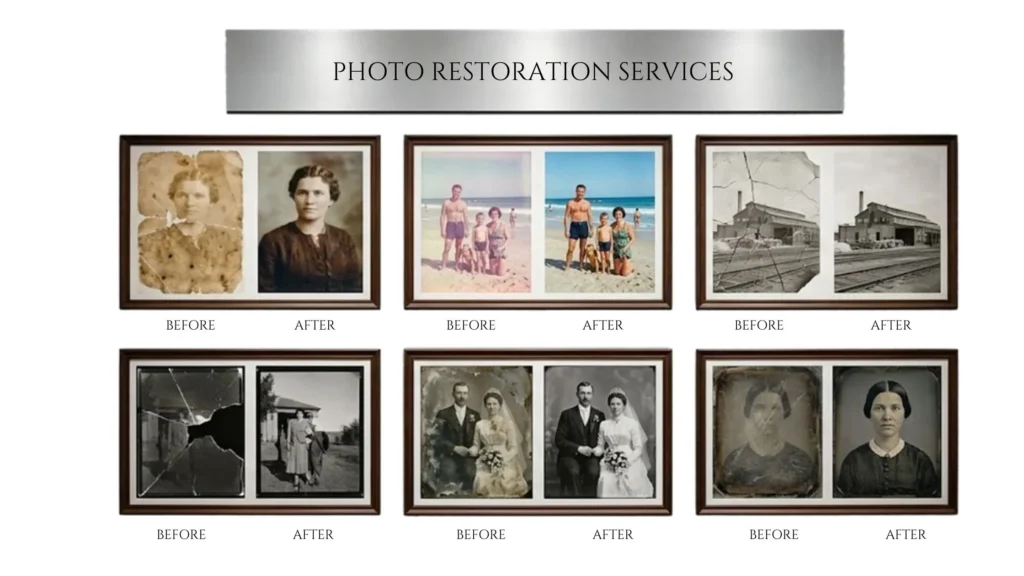
What Makes Restoration Genuinely Difficult
Photo restoration takes real time and skill, especially for severely damaged photos where large sections of the original image are missing entirely. In these cases, a restorer uses context clues from the surrounding image and knowledge of similar photos from the same era to reconstruct convincingly, a different and harder skill than simply correcting color or removing scratches on an otherwise intact photo.