Key Takeaways
- Enhancement starts with a high-resolution scan. Everything is done on the digital copy, never the original.
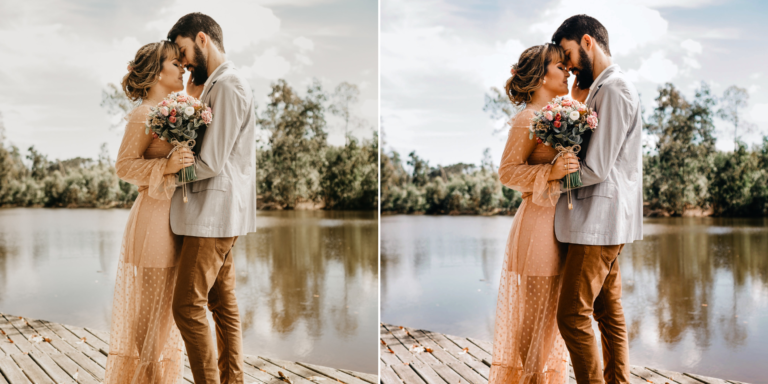
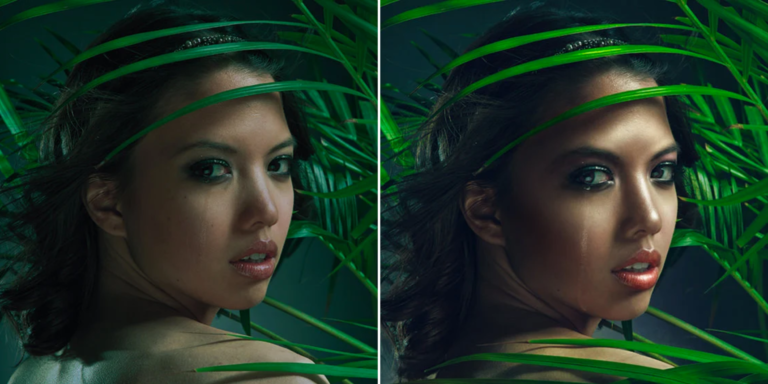
- Colour correction and rebuilding faded detail bring a photo back to life.
- Clearing scratches, stains, and tears removes the damage that hides the subject.
- AI tools (upscaling, colourisation, denoising) speed the work, but judgment keeps it authentic.
Why It Is Worth Doing
Old photographs carry sentimental value nothing replaces, moments from the past worth passing on. But time is unkind to physical prints, and fading, discolouration, and damage build up. Choosing to retouch old photographs preserves these memories in a durable digital form you can reprint and share, so a single fragile print becomes something the whole family can keep.Start With a Good Scan
Every enhancement starts with a high-resolution scan of the original (usually 600 DPI or more) to capture every surviving detail. From there, all the work happens on the digital copy, so the original print is never altered or risked. A good scan is the foundation, so prepare each old photo for retouching by scanning it flat, uncropped and dust-free; the more detail it captures, the more there is to work with.Colour Correction for Vibrant Results
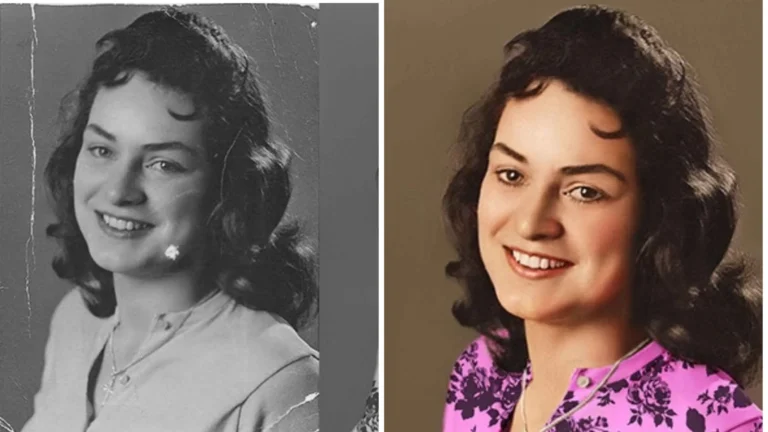
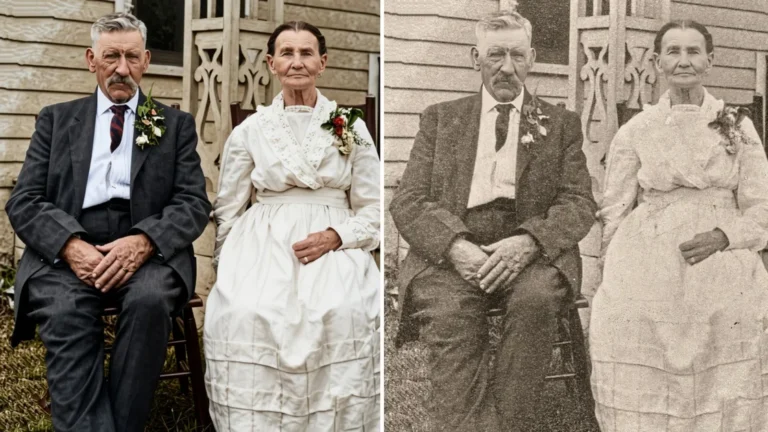
Age shifts colours: prints yellow, fade, or take on a cast. Colour correction restores accurate, rich tones, making a photo look far more recent than it is. For black-and-white images, AI colourisation can add plausible, natural colour, though it is an interpretation and should be used thoughtfully.Rebuilding Faded Detail
Faded or washed-out areas can be rebuilt with both traditional techniques (levels, contrast, careful manual work) and modern AI upscaling, which can sharpen soft detail and raise resolution. The aim is to recover what is genuinely there, not to invent detail that was never captured.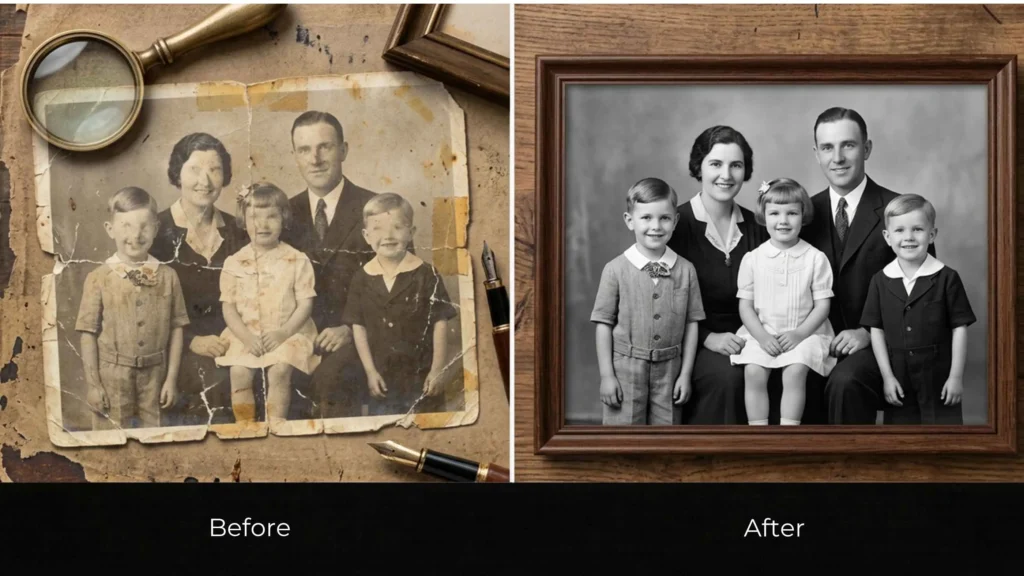
Clearing Scratches, Stains, and Tears
Physical damage, scratches, stains, creases, and tears hide the subject and date the image. Careful digital repair removes them, rebuilding damaged areas by hand using surrounding detail. This is often the biggest step, clearing decades of wear to reveal the photo underneath. Photo restoration and retouching together cover both the repair and the refinement. The healing tools in our guide to removing unwanted objects from photos work the same way on marks and stains.
Keeping the Original Feel
The most important rule is to hold back. A good edit keeps the photo true to itself, with its age, its mood, and the people looking the way they really did. Today’s tools make heavy edits so easily that the restorer’s judgment matters most. Knowing when to stop is what keeps a restoration faithful instead of fake.How Long It Takes
Turnaround depends almost entirely on the damage. Light work, fixing a colour cast, lifting faded contrast, clearing a few scratches, is quick and often done in a day. Heavier restoration, rebuilding torn or missing areas, repairing extensive damage, or colourising a black-and-white image, takes longer because much of it is careful manual work. For a batch of family photos, providers usually quote per image based on condition, and it is worth prioritising your most fragile or most treasured prints first.