Key Takeaways
- Small blemishes and sensor spots: Spot Healing Brush. Larger objects: Clone Stamp, Patch, and Content-Aware or Generative Fill.
- The secret to a clean removal is rebuilding a believable background where the object was.
- Work on a duplicate layer so every removal stays reversible.
- For complex scenes or high volumes, a professional retoucher is faster and cleaner than fighting it yourself.
Choose the Right Tool for the Job
- Spot Healing Brush: one click on small distractions (spots, blemishes, dust); Photoshop samples nearby pixels automatically.
- Healing Brush: like above but you choose the source area, for more control.
- Clone Stamp: copies pixels exactly from a source point; best for hard edges and repeating patterns.
- Patch Tool: draw a selection around an object and drag it to clean texture to replace it.
- Content-Aware Fill / Generative Fill: select the object and let Photoshop rebuild the background; the fastest route for larger objects.
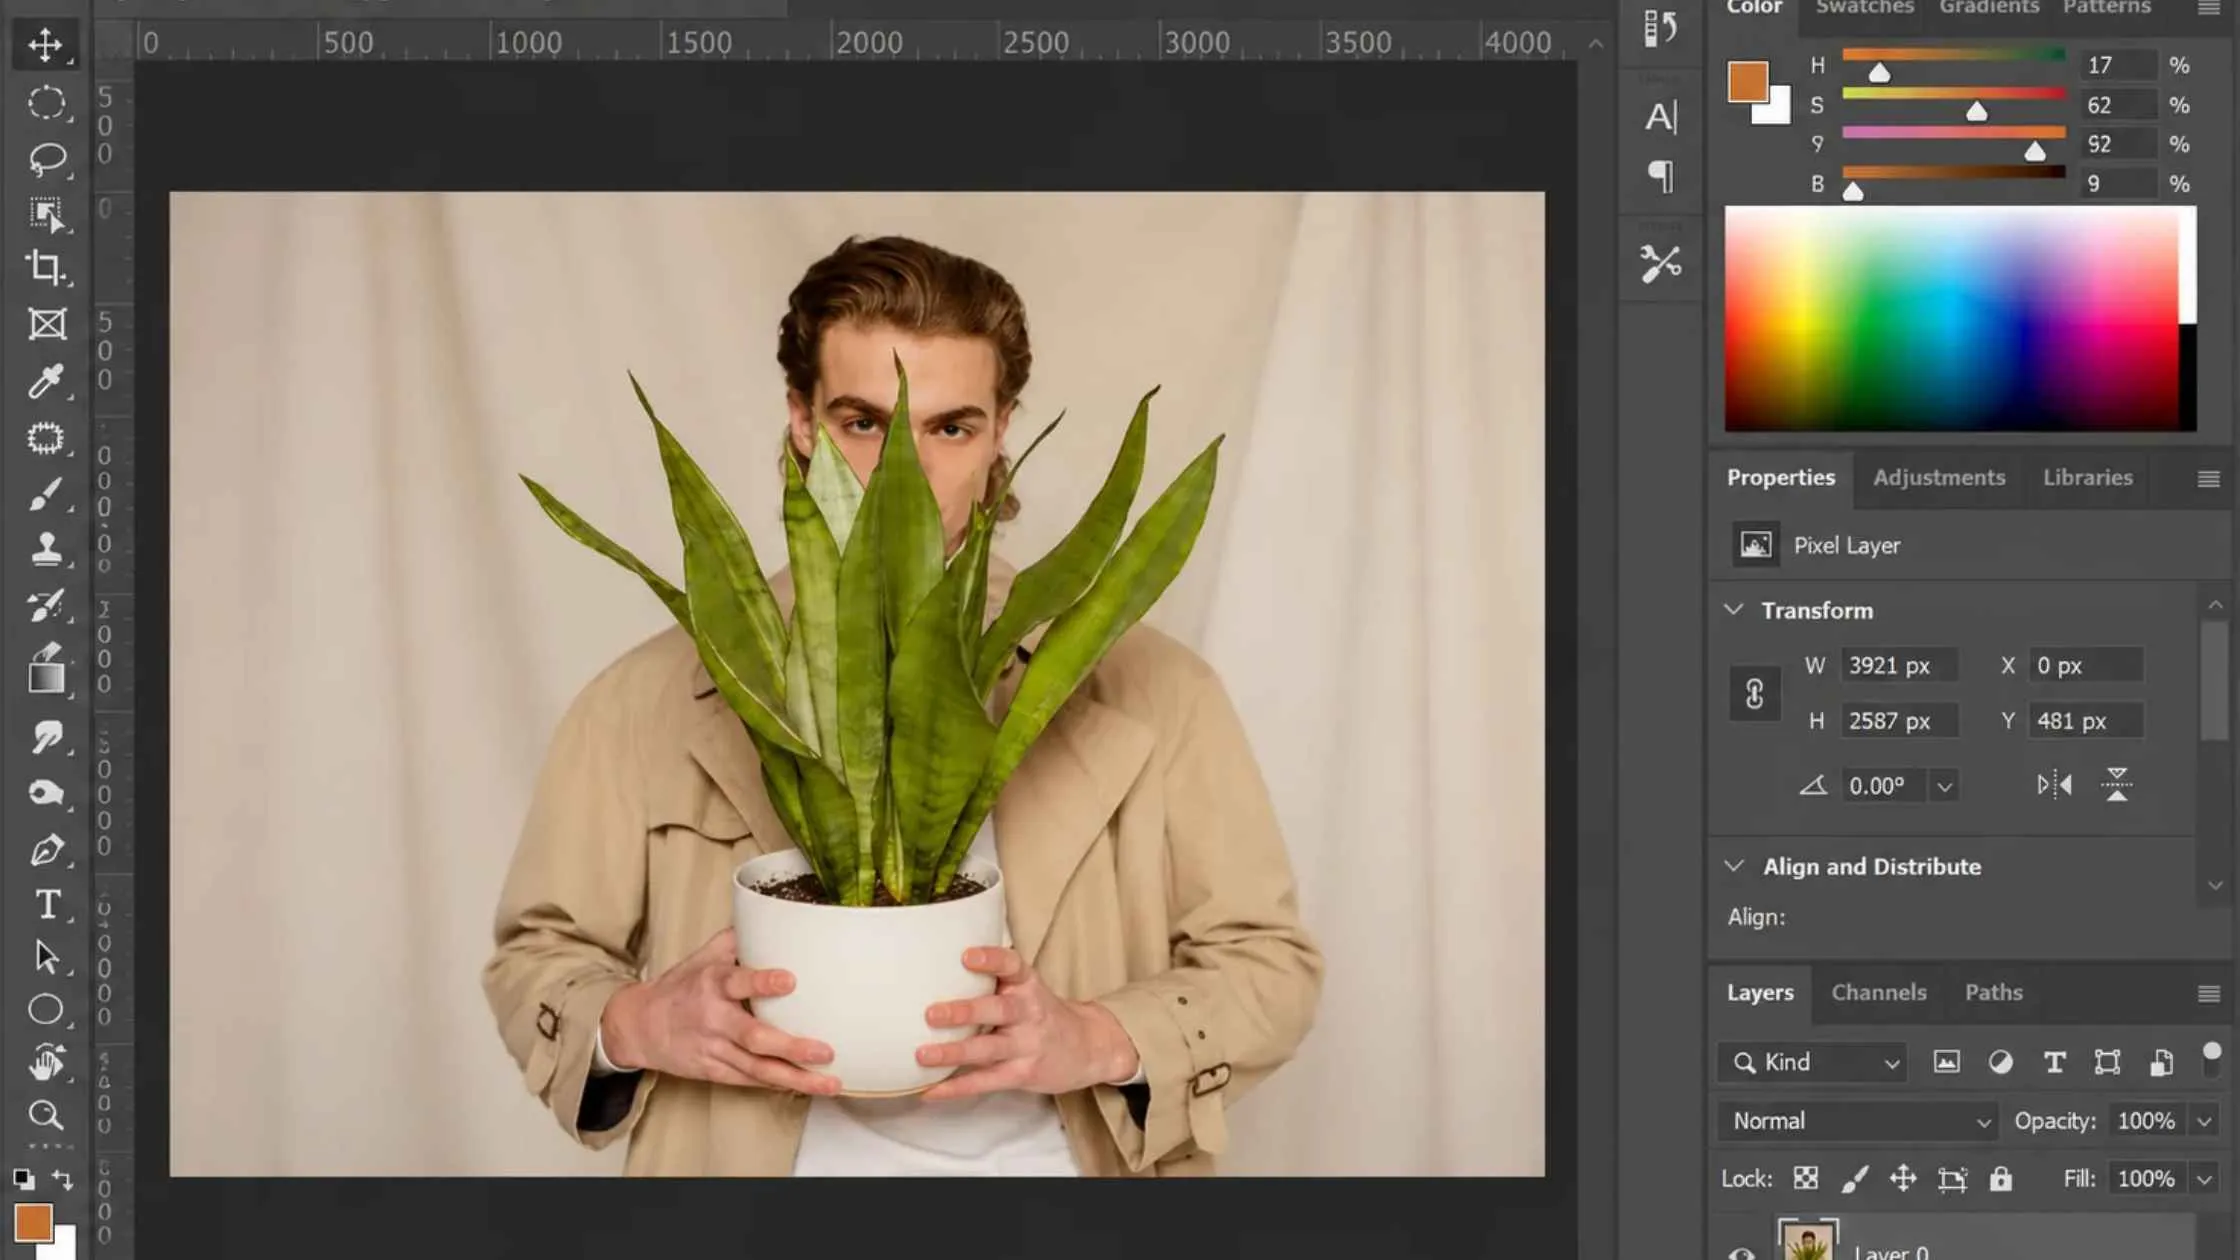
Step-by-Step: Removing an Object in Photoshop
Step 1: Duplicate Your Layer
Duplicate your layer (Ctrl/Cmd + J) so the original stays intact.Step 2: Remove Small Objects
For a small object, select the Spot Healing Brush, size it slightly larger than the object, and brush over it.Step 3: Remove Larger Objects
For a larger object, make a loose selection around it with the Lasso, then use Edit > Content-Aware Fill (or Generative Fill) and let Photoshop rebuild the background.Step 4: Clean Up Seams and Patterns
Clean up any repeating patterns or seams with the Clone Stamp, sampling (Alt/Option + click) from matching texture.Step 5: Inspect the Result
Zoom in to 100% and check edges, shadows, and textures where the object met the background. This is where sloppy removals show.Step 6: Export the Image
Flatten and export when the result looks natural.
Why the Background Rebuild Matters Most
Learning to remove an object from a photo is easy; making the space behind it look natural is the real skill. Straight lines must stay straight, textures must repeat believably, and shadows and lighting must stay consistent. On busy or detailed backgrounds, this is painstaking manual work, which is where automated apps usually fail and leave smears. Good photo cleanup hides every trace of the original object. If the whole background is the problem, you can change the background of a picture instead.
When to Outsource Object Removal
If it’s just one holiday photo, you can handle it yourself, even with a free app like TouchRetouch. But for product shots, real estate photos, event galleries, or any commercial work, especially when there are a lot of images, it’s better to bring in a professional retoucher to retouch photos for you. They can remove objects cleanly, match the shadows, and rebuild the background, and they’ll do it in a fraction of the time it would take you. Keeping every image consistent at that scale is exactly what we do for photographers and brands.