Key Takeaways
- For a quick, non-commercial edit, free online tools remove and swap a background in seconds.
- For control over edges, hair, and shadows, Photoshop is still the standard.
- The hardest part is always the selection: clean edges are what make a swap look real.
- For product catalogs or large volumes, outsourcing is faster and more consistent than doing it yourself.
Changing a background can completely change a photo: a distracting room becomes a clean studio white, a flat product shot gains a lifestyle scene, a portrait moves from a messy wall to a soft gradient. The method you choose depends on how good the result needs to be and how many images you have.
If you are wondering how to change background of a picture, there are three routes: fast free tools for one-off images, a proper Photoshop workflow for full control, and outsourcing for volume or commercial-grade results.
The Two Ways to Change a Background
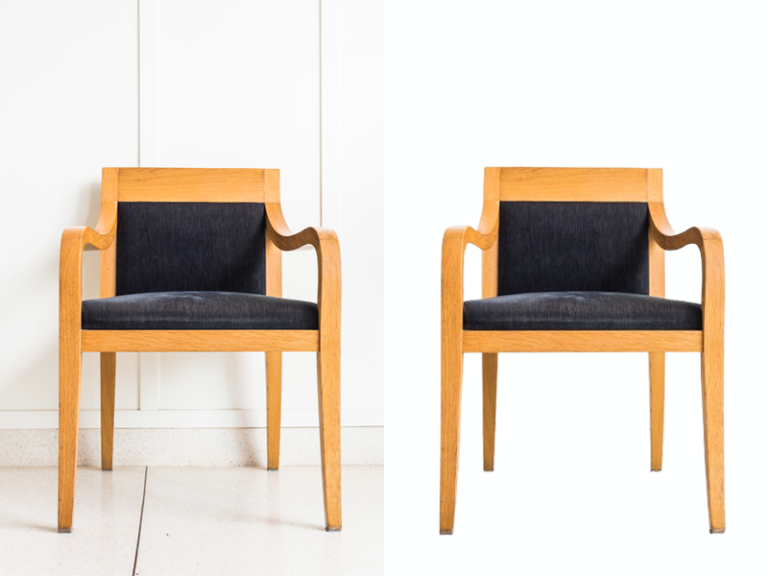
Knowing how to edit the background of a picture, or how to edit backgrounds of pictures in bulk, comes down to two steps: separate the subject from its current background, then place a new background behind it. You can do this automatically (AI tools) or manually (Photoshop). Automatic is faster; manual is cleaner on tricky edges like hair, fur, glass, and jewelry.Free and Online Tools (Fast, Good Enough for Casual Use)
- Remove.bg: instant automatic cutout, best for simple subjects
- Canva: remove background (Pro) then drop in a new scene or color
- Fotor and Photopea: browser-based editors with selection tools
- GIMP: free desktop alternative to Photoshop for manual work
How to Change a Background in Photoshop (Step by Step)
Step 1: Open and Duplicate Your Image
Open your image in Photoshop and duplicate the layer (Ctrl/Cmd + J) so you always keep the original.
Step 2: Select the Subject
Select the subject: use Select > Subject for a fast start, then refine with the Quick Selection or Object Selection tool. For hard-edged products, a clipping path gives an even cleaner cutout.
Step 3: Refine the Edges
Sharpen the edge using Select & Mask, Smart Radius, and brushing the edge hair or fur so the edges remain natural.
Step 4: Create a Layer Mask
Create a mask on the layer (by clicking the mask button) to hide the old background rather than deleting it.
Step 5: Add the New Background
Import the background by going to File > Place Embedded and dragging it underneath your subject layer. Not sure what to put behind a product? These creative background ideas for product photography are a good place to start.
Step 6: Blend the Subject with the Background
Blend in with the background: match the lighting and tone and add a shadow.
Step 7: Export the Image
Export: File > Export > Export As (PNG for transparency, JPEG for a finished background).

When to Outsource Background Editing
If you are editing a product catalog, real-estate photos, or hundreds of images that need matching backgrounds, doing it yourself stops being worth the time. A professional editing team delivers clean, consistent cutouts with natural shadows at scale, and matches every image to the same standard. That is exactly the kind of work photographers, realtors, and online sellers hand to us.