Key Takeaways
- Keep the lighting simple. A single window or lamp gives you soft, natural shadows instead of a messy tangle.
- Shoot what’s already in your kitchen. A mug, a lemon, or a ring is plenty to start with.
- Give your subject room to breathe. A little empty space makes the main object the star.
- Photos for your business? A professional can get you sharp, sales-ready images without the trial and error.
The best still life photos make people pause: a peach resting on linen, a perfume bottle catching window light, a stack of old books glowing in late sun. None of it happens by accident.
Still life photography is what happens when you set up a few ordinary objects, such as fruit, flowers, or something you sell, and shoot them with careful light and a thoughtful layout. Every choice, from the first prop to the last shadow, is yours. Whether you’re building a portfolio or selling online, strong still life images do the talking before you say a word.
What is Still Life Photography?
Still life photography is portraiture for objects. Your model is a pear, a perfume bottle, or a chipped teacup, and it never blinks, fidgets, or asks how it looks. All the personality in the photo comes from you: the angle you choose, the light you shape, and the story you tell with a few carefully placed props.
The idea is old. Painters in 17th-century Holland arranged fruit, flowers, and glassware to show off light and texture, and photographers picked up the same habit in the 1800s because early cameras needed long exposures and objects could sit still. Today, the style powers everything from food menus to product pages and gallery walls.
Still Life Photography Examples and Ideas
Not sure what to shoot? Start with a theme you like, and the rest of the setup will fall into place. These still life photography examples work for beginners and professionals alike.
| Theme | What To Shoot | Quick Tip |
|---|---|---|
| Food | Citrus slices, a loaf of bread, spilled spices | Shoot fast, since fresh food wilts under lights |
| Flowers | A loose bouquet, single stems in a bottle | Use soft side light to show petal texture |
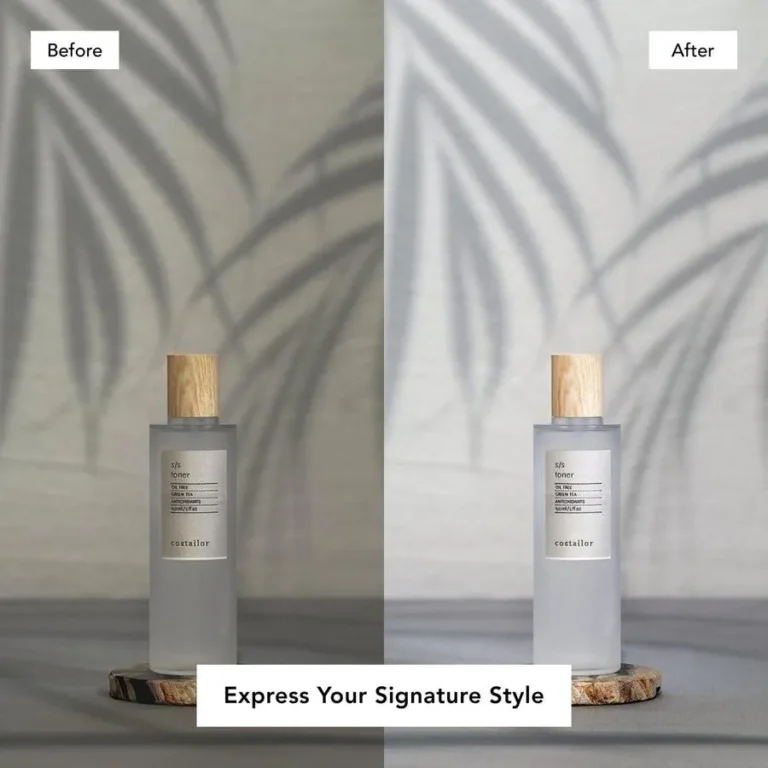
| Product | Skincare, watches, candles, handmade goods | Keep the background plain so the item leads |
| Vintage | Old keys, cameras, teacups, worn books | Warm tones and a wooden surface add age |
| Shadow | Glassware, a plant, a single fork | Use a hard, direct light and let shadows become the subject |
| Monochrome | Objects in one colour family, or black and white | Vary texture so the image doesn’t feel flat |
Simple Still Life Setups at Home
You don’t need a studio. A table and a little patience. The easiest setup uses window light and a foam board. Put a table beside a window, place your subject on it, and stand a white foam board on the opposite side. The board bounces light back into the shadows and softens them, working like a pro reflector for a few dollars.
If daylight is unreliable, a small LED lamp with a softbox gives steady, even light at any hour. Keep it off to one side of the subject rather than pointing straight at it, and the object will look rounder and more three-dimensional
Backgrounds don’t need to cost much either. Poster board in black, white, or grey colour is a reliable start. A linen napkin, an old wooden cutting board, a tile sample from the hardware store, or even plain wrapping paper taped to a wall can add texture and mood
Composition and Lighting Tips
Great still life photography usually comes down to a handful of habits, and most of them are free.
Start with the rule of thirds. Picture your frame as a three-by-three grid and place the subject on one of the lines or crossing points instead of dead centre. It instantly feels more balanced. Leave some space around it. This negative space calms the image and, if the photo is for marketing, leaves room for text.
When you’re arranging more than one object, try groups of three or five. Odd numbers tend to look more natural than pairs. And don’t settle for the first angle you try. Shoot from above, at eye level, and slightly below, because the best view is rarely the obvious one.
On lighting, stick to a single source. Fewer lights mean fewer confusing shadows. Hard, direct light provides dramatic, defined shadows, while moving it closer to your subject or adding a diffuser softens them, and a reflector fills them in. Decide what mood you want before you start moving things around.
Gear You Actually Need
The honest list is short. A tripod matters most, because it keeps your shots sharp and lets you tweak the arrangement without losing your frame. After that, you need one good light (a window works) and a reflector (white foam board is enough).
As for the camera, either a proper camera or a phone is enough. A camera gives you more control over depth of field, while a phone is quick and surprisingly capable in good light. Hold off on extra lenses and gadgets until you know what you actually miss.
When Great Photos Need to Do a Job
Practising at home is a brilliant way to learn. But if your photos need to sell a product, fill a website, or make a menu look irresistible, trial and error gets expensive fast.
That’s where Plexail steps in. Our e-commerce photo editing team handles retouching, color correction, and background clean-up, so every product looks sharp, consistent, and ready to convert. Skip the guesswork. Reach out to Plexail today to get your still life photos edited.
Frequently Asked Questions
What is still life photography?
What are good still life photography ideas for beginners?
What equipment do I need for still life photos?
How do I light a still life shot at home?
What is the best background for still life photography?
Can I shoot still life with a phone?
What makes a still life photo look professional?
Clean light, a simple background, and a well-planned layout do most of the work. The final polish, such as removing dust and correcting colour, is what makes it look truly professional.