Key Takeaways
- The warp tool in Photoshop lets you stretch, bend and reshape an image or layer. You can find it under Edit > Transform > Warp.
- Making subtle changes to the mesh and control points keeps the image realistic and its proportions intact.
- Converting your layer to a Smart Object lets you reopen the warp and make changes later.
- Photoshop warp is useful for product mockups, curved text, photo retouching and creative effects.
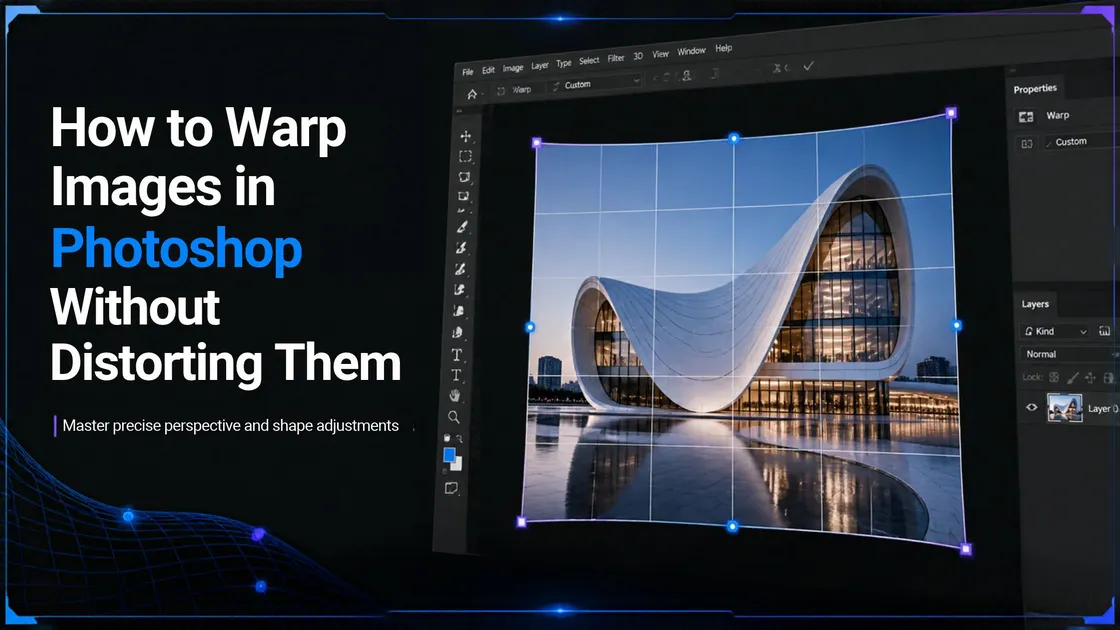
To warp an image in Photoshop, select your layer, go to Edit > Transform > Warp, and drag the grid points or handles until the image follows the shape you want. Press Enter to apply the change.
Have you ever tried to apply a flat sticker to a curved bottle in Photoshop and struggled to make it look natural? Or maybe you wanted to change the shape of part of a photograph without affecting the whole image? The Photoshop warp tool makes this much easier.
Good news! You do not need advanced editing skills to learn how to warp image in Photoshop. The warp tool in Photoshop lets you bend and distort an image or layer using a mesh grid, which controls specific parts of the image so they follow a certain shape. If you are still getting comfortable with the basics, this beginner guide to photo editing in Photoshop is a good place to start.
Too much distortion can make an image look unnatural, though. In this guide, we will show you where to find the warp tool, what controls it has and how to use it to create useful effects with ease.
Where to Find the Warp Tool in Photoshop
The warp tool in Photoshop is easy to locate. You can open it in two ways:
- Using the menu: Select your layer and go to Edit > Transform > Warp.
- Using Free Transform: Press Ctrl+T (Windows) or Cmd+T (Mac). Then click the small icon in the top options bar to switch between Free Transform and Warp mode.
Convert Your Layer to a Smart Object First
Right-click your layer and choose Convert to Smart Object. This protects your original pixels and lets you reopen your warp whenever you want.
How to Warp an Image in Photoshop: Step by Step
Here is the basic process from start to finish:
- Select your layer. Open your image and click the layer you want to warp. If it is a locked Background layer, double-click it to unlock it first.
- Convert it to a Smart Object. Right-click the layer and choose Convert to Smart Object.
- Open the warp tool. Go to Edit > Transform > Warp, or press Ctrl+T (Windows) or Cmd+T (Mac) and click the warp icon in the options bar.
- Reshape the image. Drag the points, handles or grid lines until the image follows the shape you need. You can also pick a preset from the Warp dropdown in the options bar and refine it by hand.
- Apply the change. Press Enter to confirm. Because the layer is a Smart Object, you can go back into the warp later.
Using the Mesh Grid for Precise Control
When you enable the warp tool in Photoshop, you will see a grid with a number of points and handles over your image.
For example, if you are adding a logo to product packaging that has a slight curve, moving the whole image would be too much. Using these points lets you fine-tune only the area that needs it, which gives a more natural look.
A few techniques can help you work more effectively with the mesh grid:
- Move individual points. Click and drag an anchor point to fine-tune certain areas without affecting too much of your image.
- Use the handles. The tiny handles around the control points help smooth out any curves.
- Add grid lines. Choose how many grid lines you want: 3×3, 4×4, 5×5 or a custom number.
- Use split controls. Add horizontal, vertical or cross grid lines to edit smaller sections.
Sometimes a simple grid is enough. Too many control points can make editing harder, especially if you are new to Photoshop warp.
How to Keep a Warped Image Looking Natural
This step is often overlooked in tutorials, which is why many warped images end up looking odd.
- Take your time. Make small changes rather than dragging too far at once. Press Enter to apply your changes, then go back into warp again. Small movements give you a realistic curve.
- Check it against something. Turn on the grid (View > Show > Grid) or drag a guide across your image. If lines that should be straight look curved, you have overdone it.
Signs You Have Overdone the Warp
Look at the edges of your warp. Stretched pixels tell you that you have pulled too far. Watch out for:
- Blurred or smudged details at the edges.
- Text that has suddenly become wider or thinner in one place.
- Textures that look like they are melting.
If you see any of these, undo your last step and pull less. Starting with a high-resolution image also helps, as Photoshop has more pixels to work with and there is less visible stretching.
A good warp should not be noticeable.

Common Uses of the Photoshop Warp Tool
You can use the Photoshop warp tool for more than reshaping a photograph. Here are a few examples:| Use case | Example | Quick tip |
|---|---|---|
| Creating product mockups | A label wrapped around a bottle or jar | Curve the top and bottom edges separately |
| Minor lens correction | A slightly bowed shelf or doorway in a product photo | Nudge edges until lines look straight |
| Creative effects | A wavy poster headline or a bending photo collage | Use the Flag or Wave-style presets, then refine |
When you are trying to correct real lens distortion from a camera, it is usually best to use the lens correction tools in Photoshop's Camera Raw. However, the warp tool can be useful when you need a specific, targeted correction.
For more complex reshaping or compositing work, professional photo manipulation services are a better fit than a quick warp.
Get Professional Help with Photo Editing
Learning how to warp images in Photoshop comes down to a few habits: make small adjustments, check your work against a grid, and use a Smart Object so you can edit again later.
Short on time, or want flawless results without trial and error? The team at Plexail offers professional photo editing services and photo retouching services so you can get clean, client-ready images. Get in touch with Plexail today and let the experts take the next edit off your plate. Call +91 9819259097 or email us at info@plexail.com.
Frequently Asked Questions (FAQs)
Where is the warp tool in Photoshop?
What is the difference between Warp and Puppet Warp in Photoshop?
How do I warp text onto a curved surface in Photoshop?
Can I undo a warp without losing other edits?
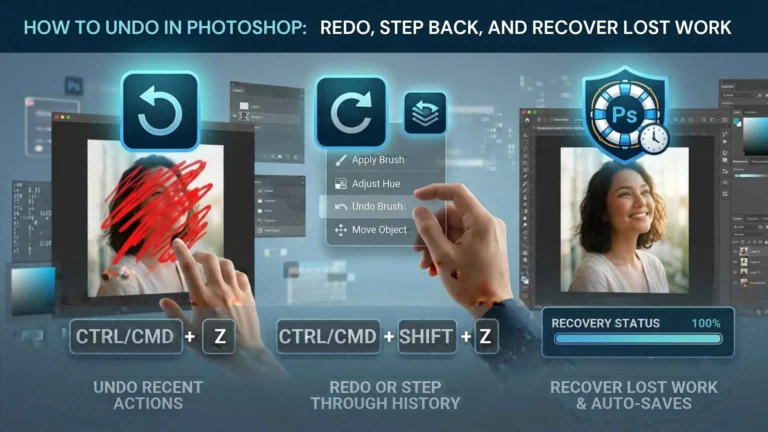
Yes. Press Ctrl+Z (Windows) or Cmd+Z (Mac) straight after the warp, or go back using the History panel (Window > History). If you made your layer a Smart Object, you can also reopen the warp later and change it. For more options, see our guide on how to undo in Photoshop.