Key Takeaways
- Soft, diffused light reduces glare on gold, silver, and polished stones, at home or in a studio.
- A tripod is essential because even slight movement softens close-up shots.
- Clean every piece first, since dust and fingerprints are magnified at close range.
- Shoot at a mid-range aperture, around f/11 to f/16.
- Use focus stacking when one frame can’t keep a whole ring sharp.
Learning how to photograph jewelry comes down to three things: sharp detail, controlled reflections, and true-to-life color. At home, a bright window, white paper, and a tripod can get you there. In a studio, you can shape the light more precisely by using a diffusion tent together with softboxes. The method is the same either way.
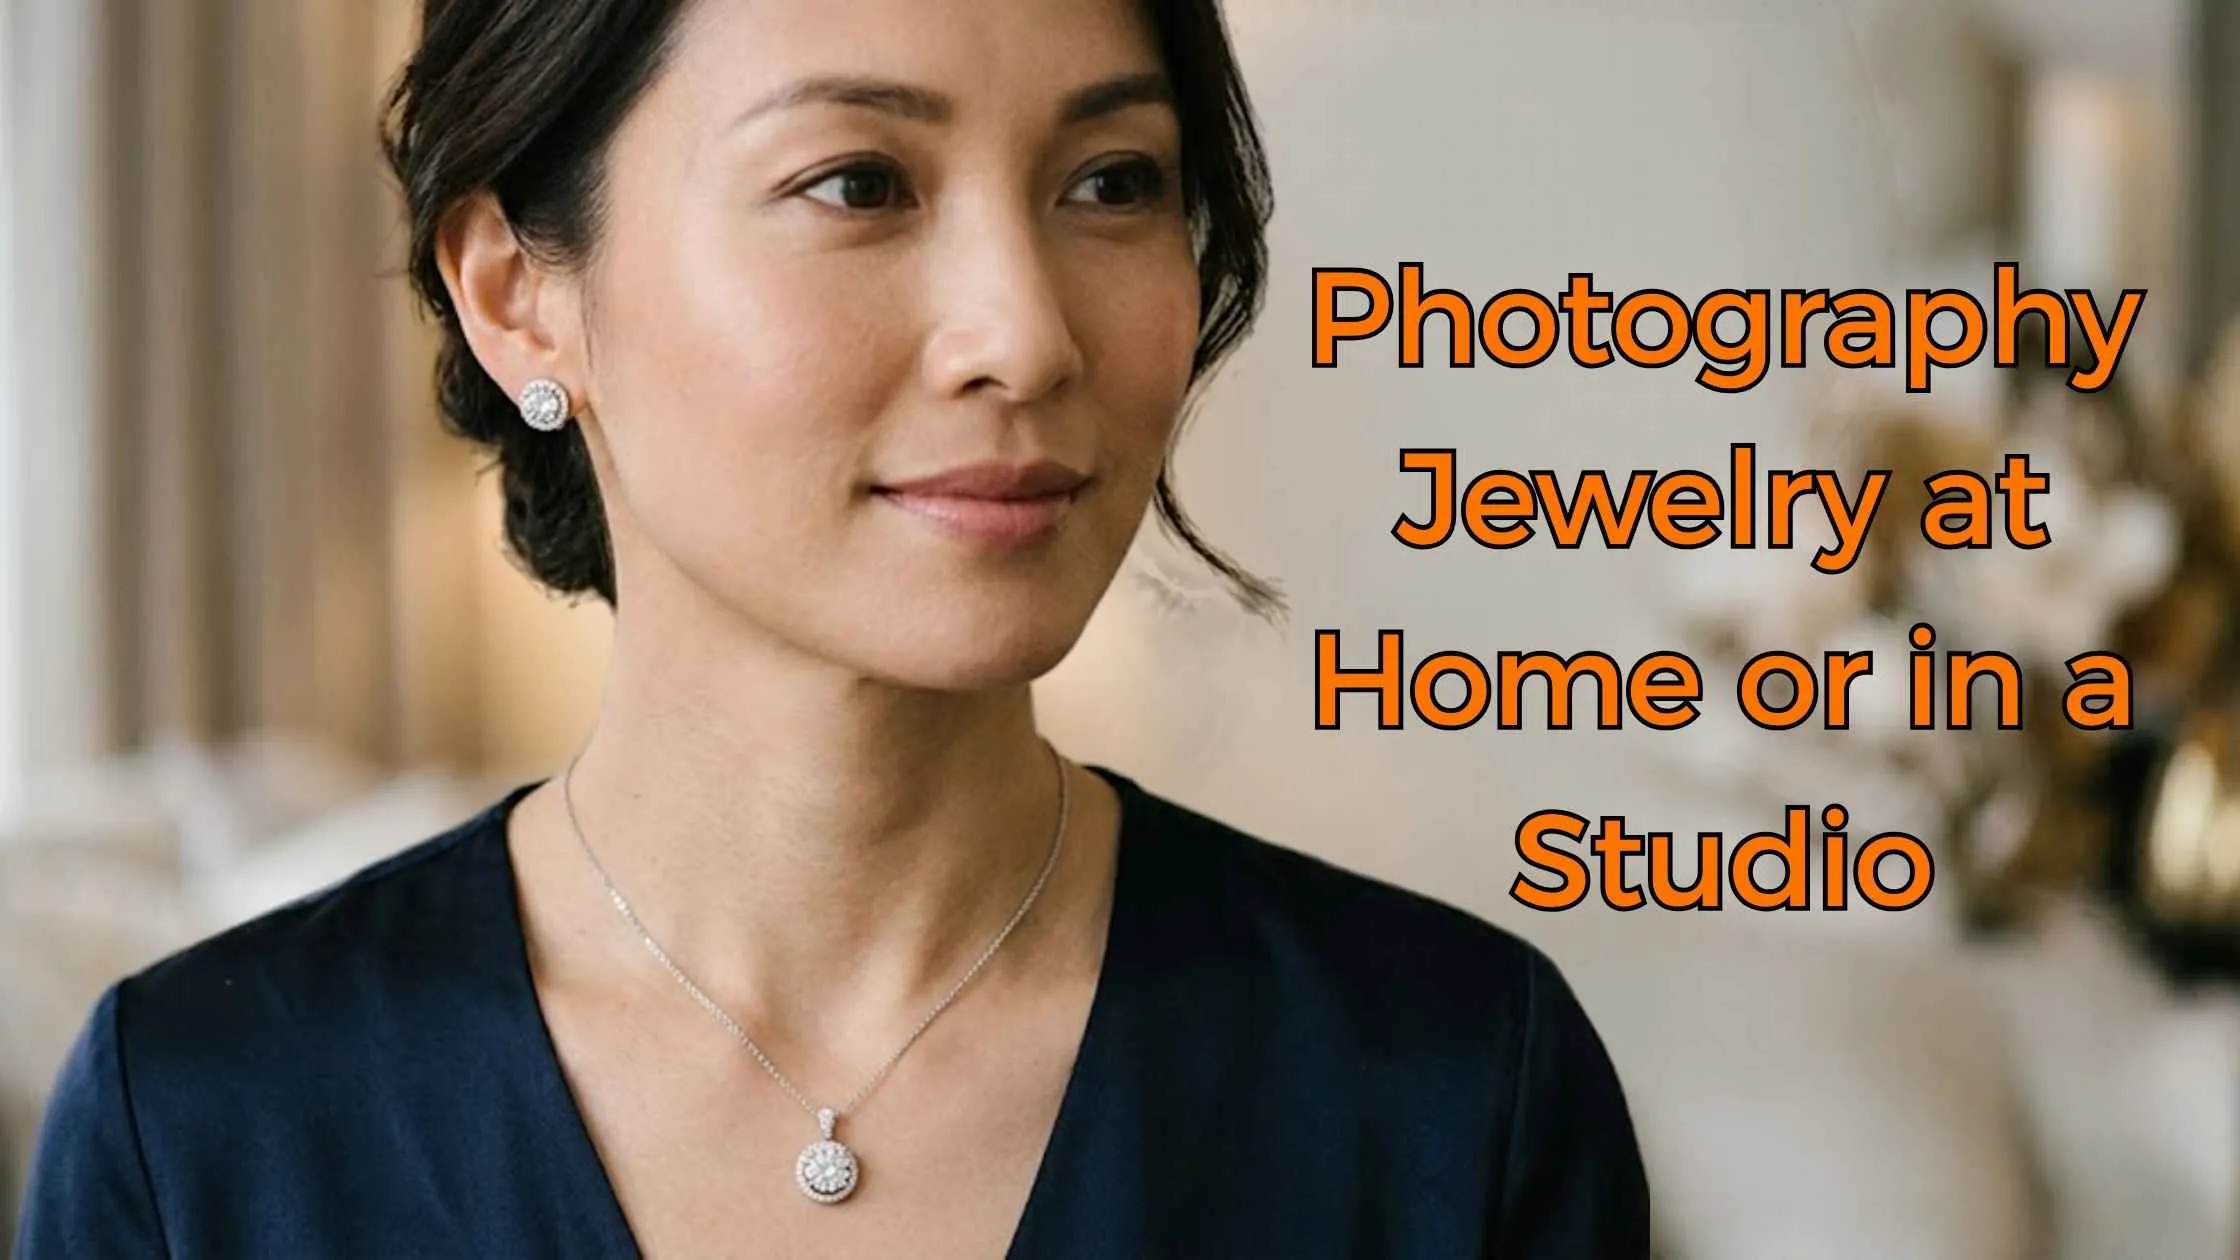
Jewelry is one of the hardest subjects to shoot. It’s tiny and highly reflective, so a ring can mirror your camera, your window, or even your face, while dust and fingerprints look huge up close. This guide covers gear, lighting, focus stacking, and editing for both a home setup and a studio. If you sell online in the US, good jewelry photography also helps cut returns, because shoppers judge metal color and stone quality from the picture alone.
Gear for Jewelry Photography
A DSLR or mirrorless camera gives you the most control, but a recent smartphone with macro mode works well for smaller pieces. A home setup and a studio setup use different tools for the same jobs. Compare them below: If you plan to shoot often, our roundup of the top 10 photography equipment can help you decide what is worth buying.
| Item | Home setup | Studio setup |
|---|---|---|
| Camera | Smartphone or DSLR | DSLR or mirrorless with a 90–105 mm macro lens |
| Light source | Bright window | Two softboxes or LED panels (about 5500K) |
| Diffusion | White paper or a thin sheet | Light tent or lightbox |
| Fill light | White foam board | White reflector cards |
| Support | Small tripod | Sturdy tripod with remote shutter |
Lighting Jewelry Without Harsh Reflections
Metal behaves like a mirror. A bare bulb creates harsh hotspots, while a dark room can leave silver looking dull and gray. The fix is diffused light, which simply means light softened before it reaches the piece.Lighting at home
- Place a table beside a large window and switch off ceiling lights so the colors don’t clash.
- Tape thin white paper or a white sheet over the glass.
- Put the jewelry on a white surface.
- Set a foam board on the opposite side to bounce light into the shadows.
Lighting in a studio
- Put the jewelry inside a light tent.
- Aim two lights at the tent from either side, at roughly 45 degrees.
- Shoot through the front opening, or cut a hole in a white card and shoot through that, so the metal doesn’t reflect in your lens.
- Wear dark clothing, because a bright shirt can show up in polished metal
Getting Sharp, Detailed Shots
Sharpness is where most beginners struggle when learning how to take pictures of jewelry. At close range, depth of field becomes very shallow, so a ring may look crisp at the front and blurry near the band. These settings are a reliable starting point:| Setting | Recommended | Why it helps |
|---|---|---|
| Aperture | f/11 to f/16 | Adds depth without over-softening |
| ISO | 100–200 | Keeps noise low |
| Shutter speed | Whatever exposes correctly | The tripod prevents blur |
| Focus | Manual | Gives precise control |
| File format | RAW | Easier color correction |
Focus Stacking for Jewelry: What It Does and Where It Helps
Focus stacking is a technique where you shoot the same piece again and again, shifting the focus a little further back each time, from the nearest edge to the farthest. Editing software then merges the best-focused parts of every frame into one image that is sharp from front to back. Programs such as Photoshop, Helicon Focus and Zerene Stacker can do this. It works especially well for:
- Rings with deep bands or raised stones
- Layered pendants
- Bracelets with textured links
Don’t move anything between shots. The camera, jewelry, and lights must stay put, and the only thing you adjust is where the lens focuses. A simple ring may need 8–15 images, while a detailed piece can need more. Most phones can’t do this manually, so it suits a DSLR or mirrorless setup best.
Tips for Different Types of Jewelry
Each type of piece has its own trouble spots, so adjust your setup as needed:
- Rings: Tilt the ring slightly toward the camera so both the stone and the band show, and shoot a straight-on view as well.
- Necklaces and chains: Lay them flat on a white surface or hang them from a bust or hook. Straighten the chain so it does not twist or tangle.
- Earrings: Shoot them as a pair, either side by side or hanging from a small stand, and keep them level.
- Bracelets and watches: Use a cuff stand or a rolled towel wrapped in white paper so the piece holds its round shape.
- Diamonds and gemstones: Add the small directional light mentioned above and check the stone from a few angles, because the sparkle changes with every small shift in position.
Backgrounds and Styling
White is the safest background for online stores because it looks consistent across product pages. Neutral gray or soft black also works, especially for silver, diamonds, or dark gemstones. Lifestyle surfaces such as linen or matte stone add warmth for social media, but skip busy patterns and bright props that compete with the jewelry. For more styling ideas, see our examples of still life photography, since many of the same layouts work for jewelry.
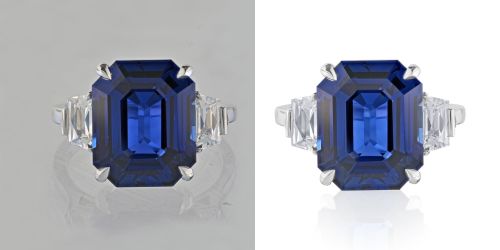
Before shooting, polish the metal, blow away dust, and check for lint. Arrange necklaces so the chain drapes loosely and the clasp stays out of view. For rings, a clear acrylic holder or a pea-sized piece of removable putty under the shank will keep them standing straight and steady. Many online stores ask for pure white backgrounds, and a background removal service can fix shots that were not taken on white.
Need professional jewelry photography without the technical hassle? Call Plexail on +91 9819259097 or email info@plexail.com. Our team also provides jewelry photo editing services for brands across the USA.
Editing Jewelry Photos
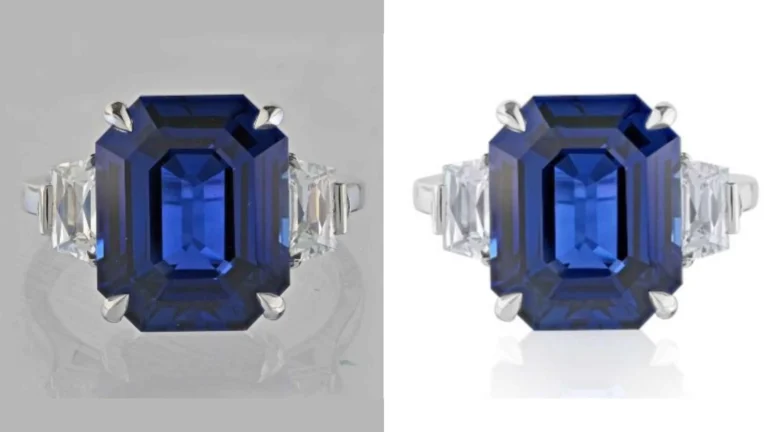
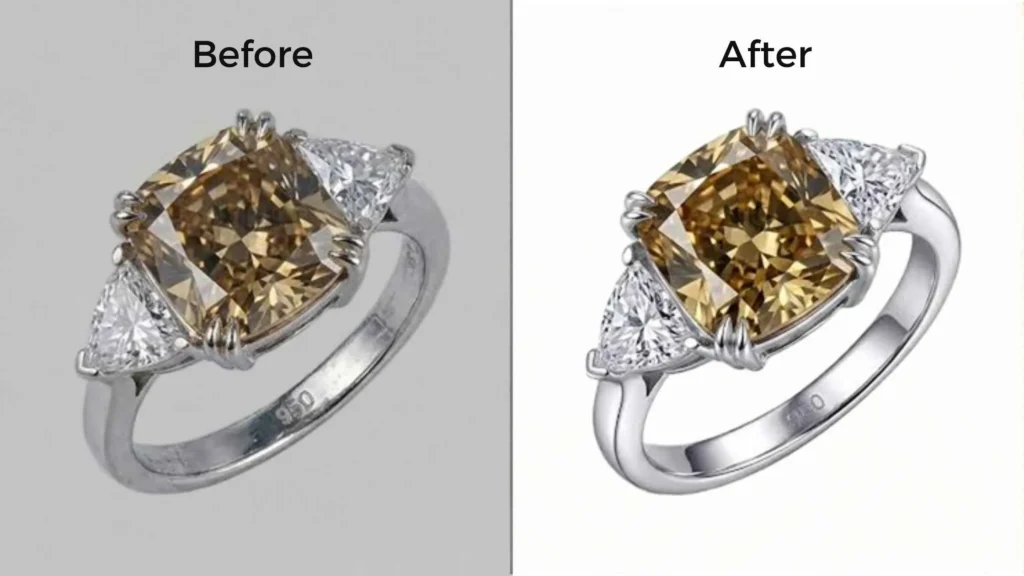
Good editing should make a photo clearer, not different. The finished image has to match the piece the buyer will actually open at home. Start with white balance, since gold and silver can shift easily under different lighting conditions. Then remove dust, lint, and distracting reflections, and lift contrast gently so stones sparkle without losing detail in the whites. If you need a refresher on fixing color casts, see what color correction is and how it works.
Retouch with restraint. Cleaning a small scratch is fine, but don’t make the metal look plastic or the stones unnaturally bright. Keep the same background, light angle, and editing style across every product, so your catalog looks consistent whether you shot it at home or in a studio.
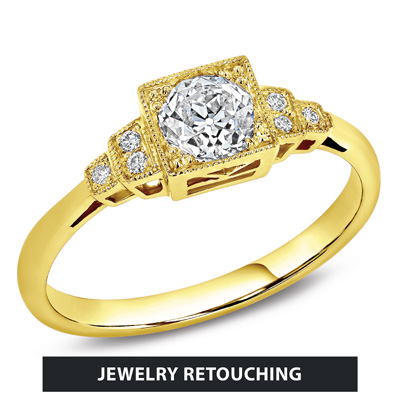
Jewelry retouching goes beyond basic photo editing. Cleaning metal, restoring true shine to stones and removing reflections of the camera take practice, so many sellers hand this step to specialists. Read about jewelry retouching services or the jewelry photo retouching for ecommerce brands.
Common Jewelry Photography Mistakes
- Using a phone flash or a bare bulb, which creates hard hotspots on metal.
- Skipping the cleaning step, since dust and fingerprints show up clearly at close range.
- Changing the angle or lighting between products, so the catalog looks uneven.
- Moving the camera or the piece between focus stacking shots.
- Over-editing shine and color until the piece looks different in person.