Key Takeaways
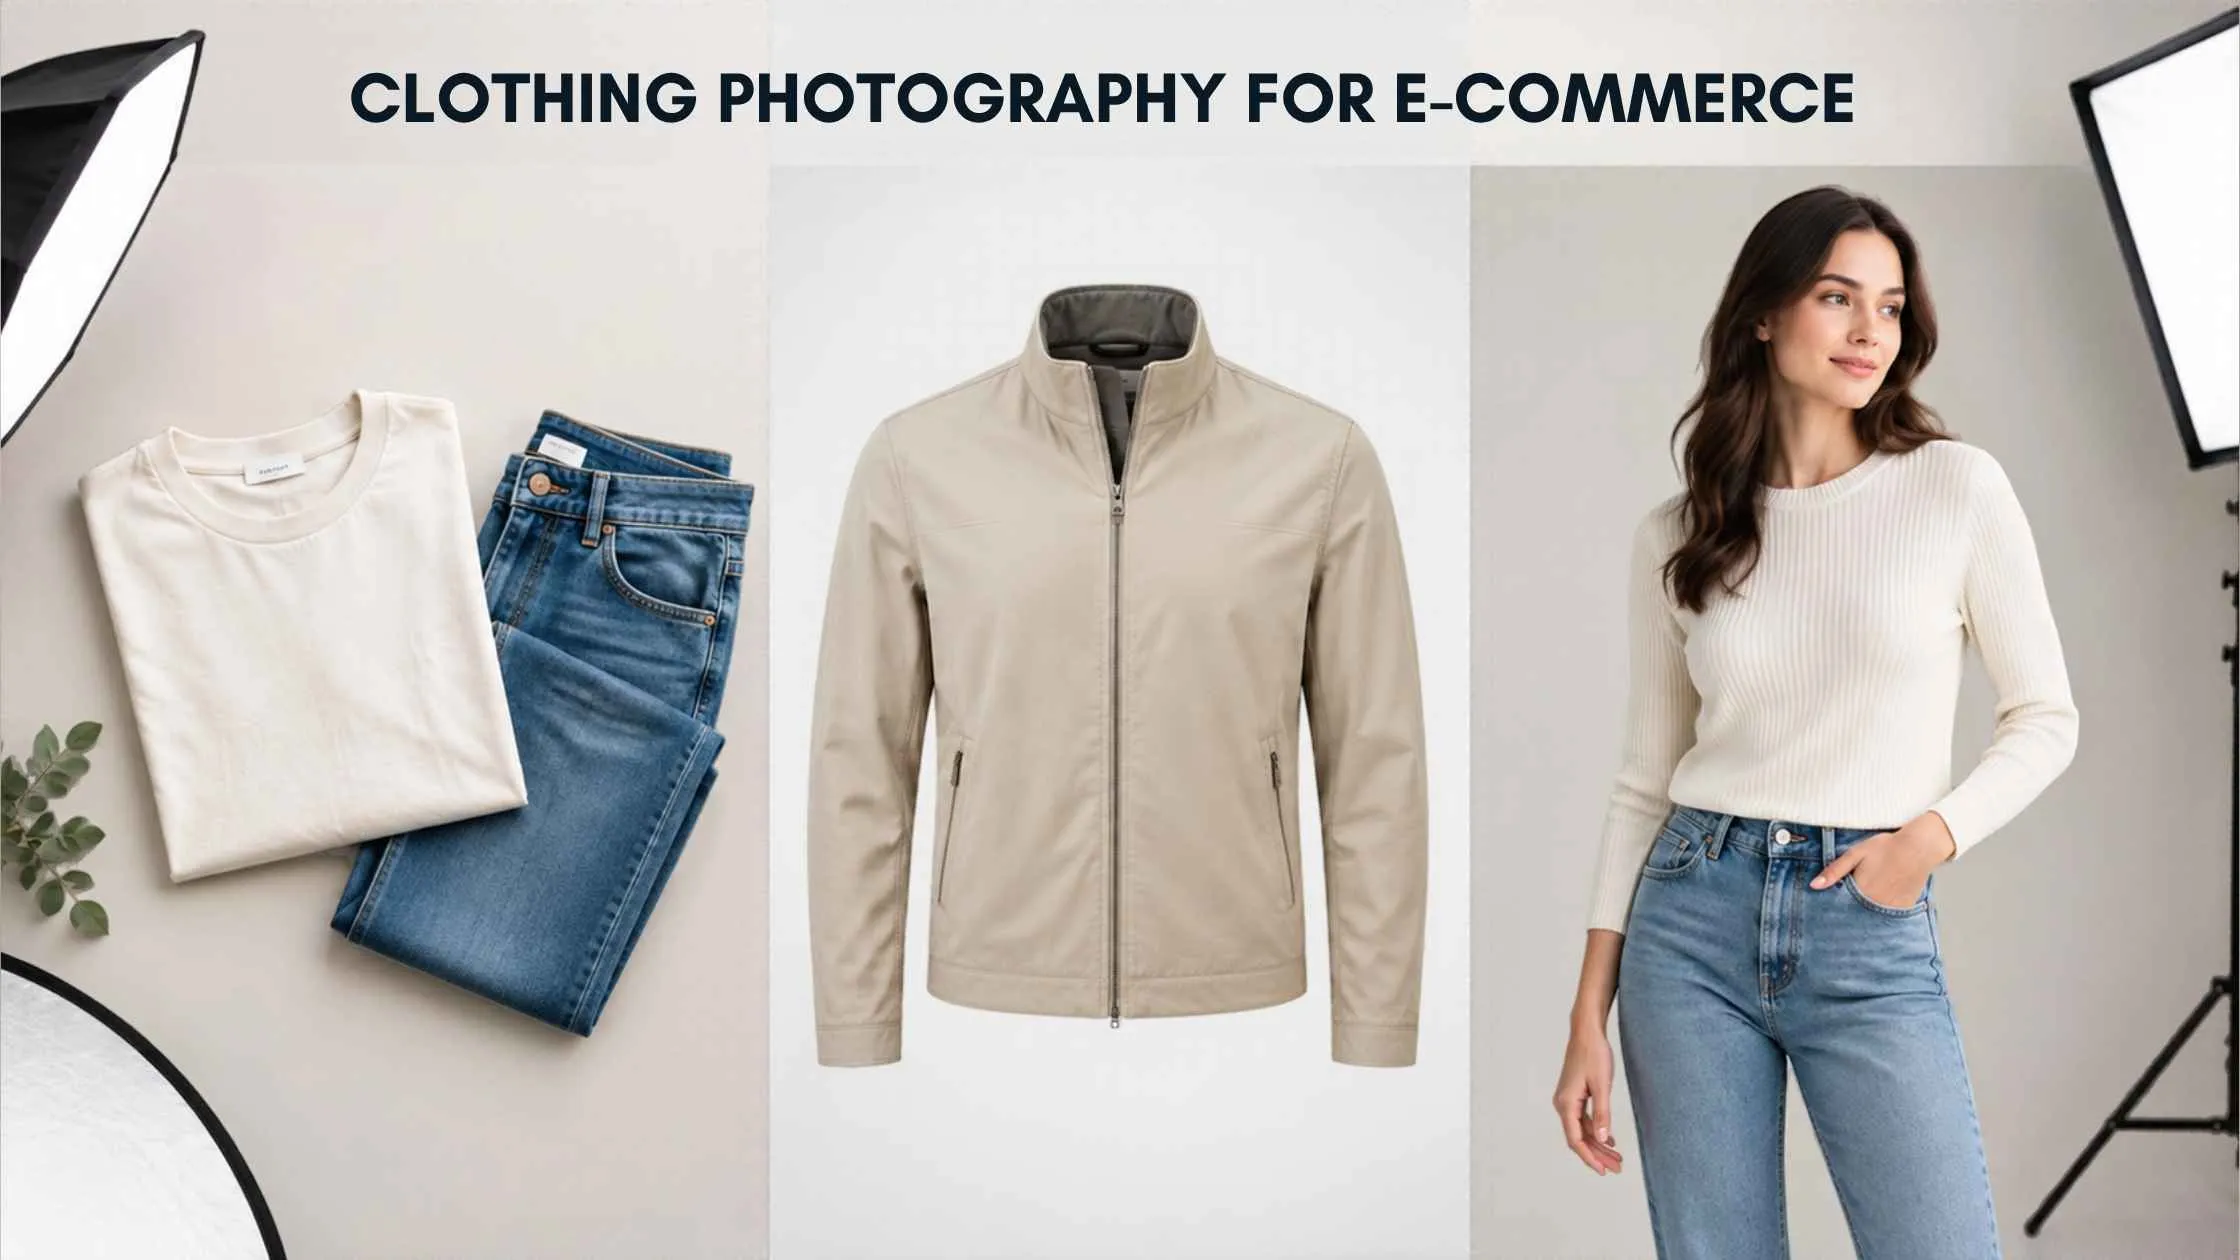
- The most common and quickest approach is to shoot clothes in a flat lay. It is perfect for small catalogs and such items as t-shirts, knitwear, and accessories.
- Another option is to use a ghost mannequin: it is cheaper than hiring a model but still gives the image a nice look and makes garments look presentable.
- Finally, one cannot overestimate the value of shooting on a model: they demonstrate fitting and styling tips while showing clothes’ material and drape.
- Besides the method, proper lighting and equipment also matter. For clothing photography, natural lighting and color editing skills are particularly crucial.
- Moreover, one should always shoot products on the same background, from the same angle and distance, and in the same frame size.
- All these factors contribute to having a consistent look and feel of an ecommerce catalog.
Your customer cannot feel the fabric or try the clothes on, so your photos have to do that job. A consistent look across all your images (same lighting, angle, framing and color accuracy) builds trust and helps reduce returns. Fit and color surprises are among the most common reasons shoppers send clothes back, so apparel photography carries more weight than it does for many other product types. Below are the main tips and equipment you need for clothing product photography, and you can find a wider overview in our guide to creating high quality product photos for ecommerce stores. If you would rather leave the editing to a team, our fashion photo editing services cover it for US online stores.
Clothing Photography Methods
Each method has a different budget and product category. Take a closer look at the table below and decide which one suits you best.| Method | Best for | Pros | Cons |
|---|---|---|---|
| Flat lay | T-shirts, knitwear, small catalogs | Budget-friendly, quick to set up, and requires minimal equipment | May not accurately show the garment’s natural shape and fit |
| Hanging | Jackets, shirts, dresses | Quick to set up and useful for simple catalogs | Garments may look flat or lose their shape |
| Ghost mannequin | Tops, jackets, dresses, premium stores | Clean 3D shape, no model needed | Needs extra editing to remove the mannequin |
| On-model | Fashion brands, fit-sensitive items | Shows fit and style, feels lifestyle-driven | Higher cost; needs a model, styling, and more time |
Flat Lay Photography
Flat lay photography is a great choice for small retailers and business owners who want to keep their budget low. You can go for a neutral background, or you can make it colorful and unique to match your brand’s identity. Shoot from directly above with the camera parallel to the garment, and smooth the fabric so sleeves and hems sit square. A plain backdrop also keeps things simple later, because a background removal service can swap it for pure white if your store needs that.
Hanging Clothing Photography
Hanging photography is useful when you need to photograph many products without spending too much time on each one. With a simple hanger, a solid surface to hang them on, and some lighting, you will achieve decent results. Steam the garment first, hang it against a plain wall or door, and use the same style of hanger on every item.Ghost Mannequin Photography
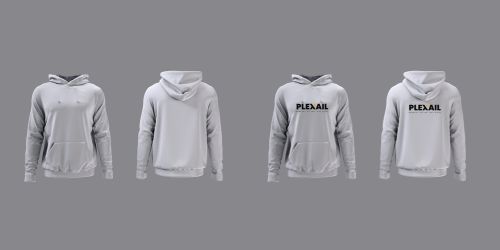
The ghost mannequin method creates the appearance of clothing being worn by an invisible person. To execute this method, you need to photograph garments on mannequins and edit them so that the final image does not show the mannequin. You also take one extra shot of the inside back neckline, so the editor can fill in the hollow area behind the neck. Our post on the ghost mannequin effect in fashion photo editing shows how the final image comes together.
On-Model Clothing Photography
Sometimes customers want something beyond a flat lay picture. They like to see exactly how the product looks and fits on a real person. Which is why an on-model fashion photoshoot is a great way to help a fashion ecommerce business succeed. Because a fashion photoshoot with a model costs more, many stores save it for their best sellers and use flat lay or ghost mannequin shots for the rest of the catalog. Retouching keeps skin, fit and fabric looking natural, and our tips on fashion photo retouching for clothing brands explain what to fix and what to leave alone.
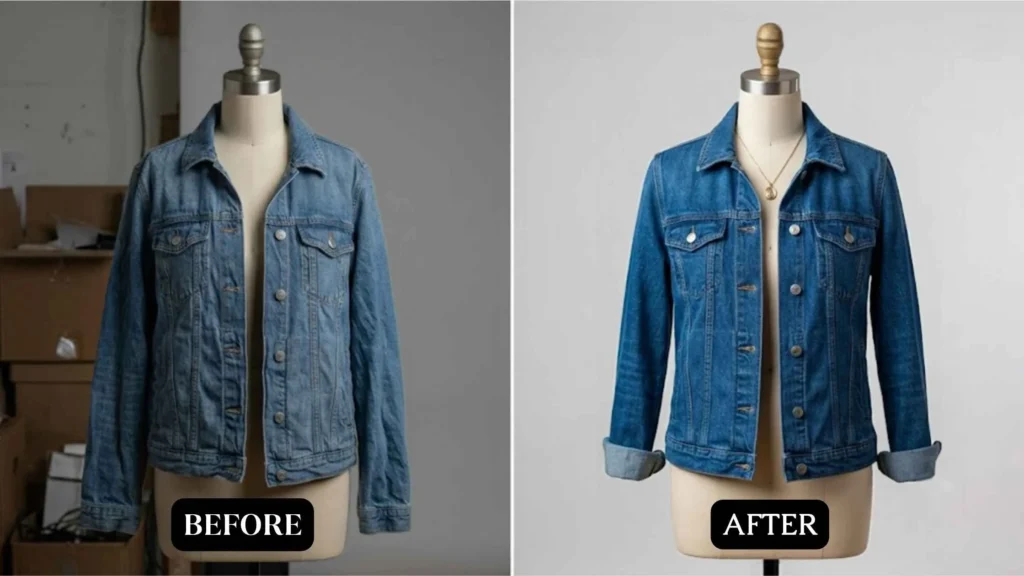
Gear and Studio Setup
When it comes to apparel photography, there really isn’t a lot you need to spend on the room. Just a simple corner layout is all you need to start with and it will provide consistency without having to put in any other work. For a longer shopping list, check our roundup of the top 10 photography equipment.
- As a camera, you can use a simple DSLR or even a modern smartphone camera.
- A tripod to maintain consistent shots.
- A white background made from paper or fabric.
- Two soft lights, either softboxes or a large window, plus a white reflector or foam board to bounce light into the shadows.
Extras such as steamer, clips, pins, a lint roller, and a mannequin if you plan to try ghost mannequin shots.
We personally suggest marking the floor with tape for your tripod and product position. Thus, you will have identical shots each time, which will save you hours of editing if you shoot more than 10 products.
Lighting for Accurate Color
Color accuracy is what determines the success of clothing product photography. If the customer gets a garment that does not match the color in the picture, there is a high chance that they will return it.
- Choose soft light and position a light on each side at around 45 degrees to avoid shadows while maintaining the texture of the fabric.
- Set the white balance. Use a gray card or the camera’s custom white balance to ensure that the whites appear white and not yellow or blue.
- Avoid mixing light sources. Turn off the ceiling lights if using daylight or studio lamps, as different types of bulbs create different color casts.
- Avoid color casts. Bright walls, floors or nearby objects can bounce their color onto the garment, so shoot in a neutral space or use white boards to block them.
- Avoid harsh light, such as direct sunlight, which flattens the garment and produces unflattering shadows.
Even careful lighting can drift slightly once photos reach a screen. If a shade looks off, read our explainer on what color correction is and compare the edited file against the real garment before you export.
Styling and Preparing Garments
A little preparation goes a long way in reducing the amount of work needed in post-production
- Steam all garments. Wrinkles are the most challenging problem when it comes to clothes photography, and they are much easier to remove with a steamer than through post-production.
- Remove any lint or loose threads with a lint roller before shooting.
- Pin or clip any loose fabric at the back to ensure the garment is well-fitted and looks good when worn on a mannequin or model.
- Use tissue paper to provide extra support in delicate areas such as the sleeves and collars of knitwear and shirts so that the garment maintains its shape during the shoot.
- Frame each shot identically within the picture. Ensure that you leave equal space around the garment and shoot the same shots, such as front, back, side, and a detail of fabric or stitching.
Editing Clothing Photos
When editing photos of clothes, you should strive to enhance the image rather than totally change it.
- Remove all the unnecessary items like spots, creases on the background, and, in case of a ghost mannequin, the mannequin itself.
- Make sure the colors are accurate. You can do it by comparing the image on your screen to the actual clothes. That step is vital, so take your time to get it right.
- Always crop photos equally and keep the same background. Square-shaped images, for example, 2000 x 2000 pixels, are preferred for most e-commerce sites.
- Export the photographs in JPEG format with an sRGB color profile and compress files so pages load quickly.
- Remember to name the file like blue-cotton-shirt-front.jpg so that search engines can easily find it.
- Add alt text that describes the item, for example “blue cotton shirt, front view”, so the image can appear in search results and works for screen readers.
Clean cutouts take the most time in clothing photo editing. Soft or fuzzy edges on knitwear, fur and fringe need image masking rather than a basic path, while garments with sharp edges suit a clipping path service. Getting this right keeps every product on the same clean background.
Common Clothing Photography Mistakes
- Mixing window light with ceiling lamps, which gives each photo a different color cast.
- Skipping the steamer and planning to fix wrinkles in editing, which adds time to every image.
- Changing the angle or distance between products, so the catalog looks uneven.
- Pushing colors too far in editing, so the garment no longer matches what arrives at the customer’s door.
- Shooting on a cluttered background that pulls attention away from the clothes.
When It Makes Sense to Outsource Editing
Most teams can handle the shoot themselves. Editing is where the hours disappear, especially once you add dozens of new styles each season. If you sell in the US and need fast turnaround on cutouts, ghost mannequin joins and color matching, our ecommerce photo editing services can take that work off your plate. Our comparison of outsourcing vs in-house ecommerce photo editing shows where the costs tip, and you can request a free sample to check the quality on your own images first.