Key Takeaways
- The biggest mistake in skin retouching is sacrificing texture for smoothness. Plastic-looking skin reads as an obvious edit, not polished.
- Frequency separation lets you fix uneven skin tone without making skin look plastic. It separates color and texture onto separate layers, so you can work on one without touching the other.
- Spot Healing Brush works well for small blemishes; the Healing Brush gives more control for larger or trickier imperfections.
- Layer discipline (working non-destructively, one technique per layer) is what makes professional retouching correctable and precise rather than a series of irreversible guesses.
The Goal: Natural, Not Plastic
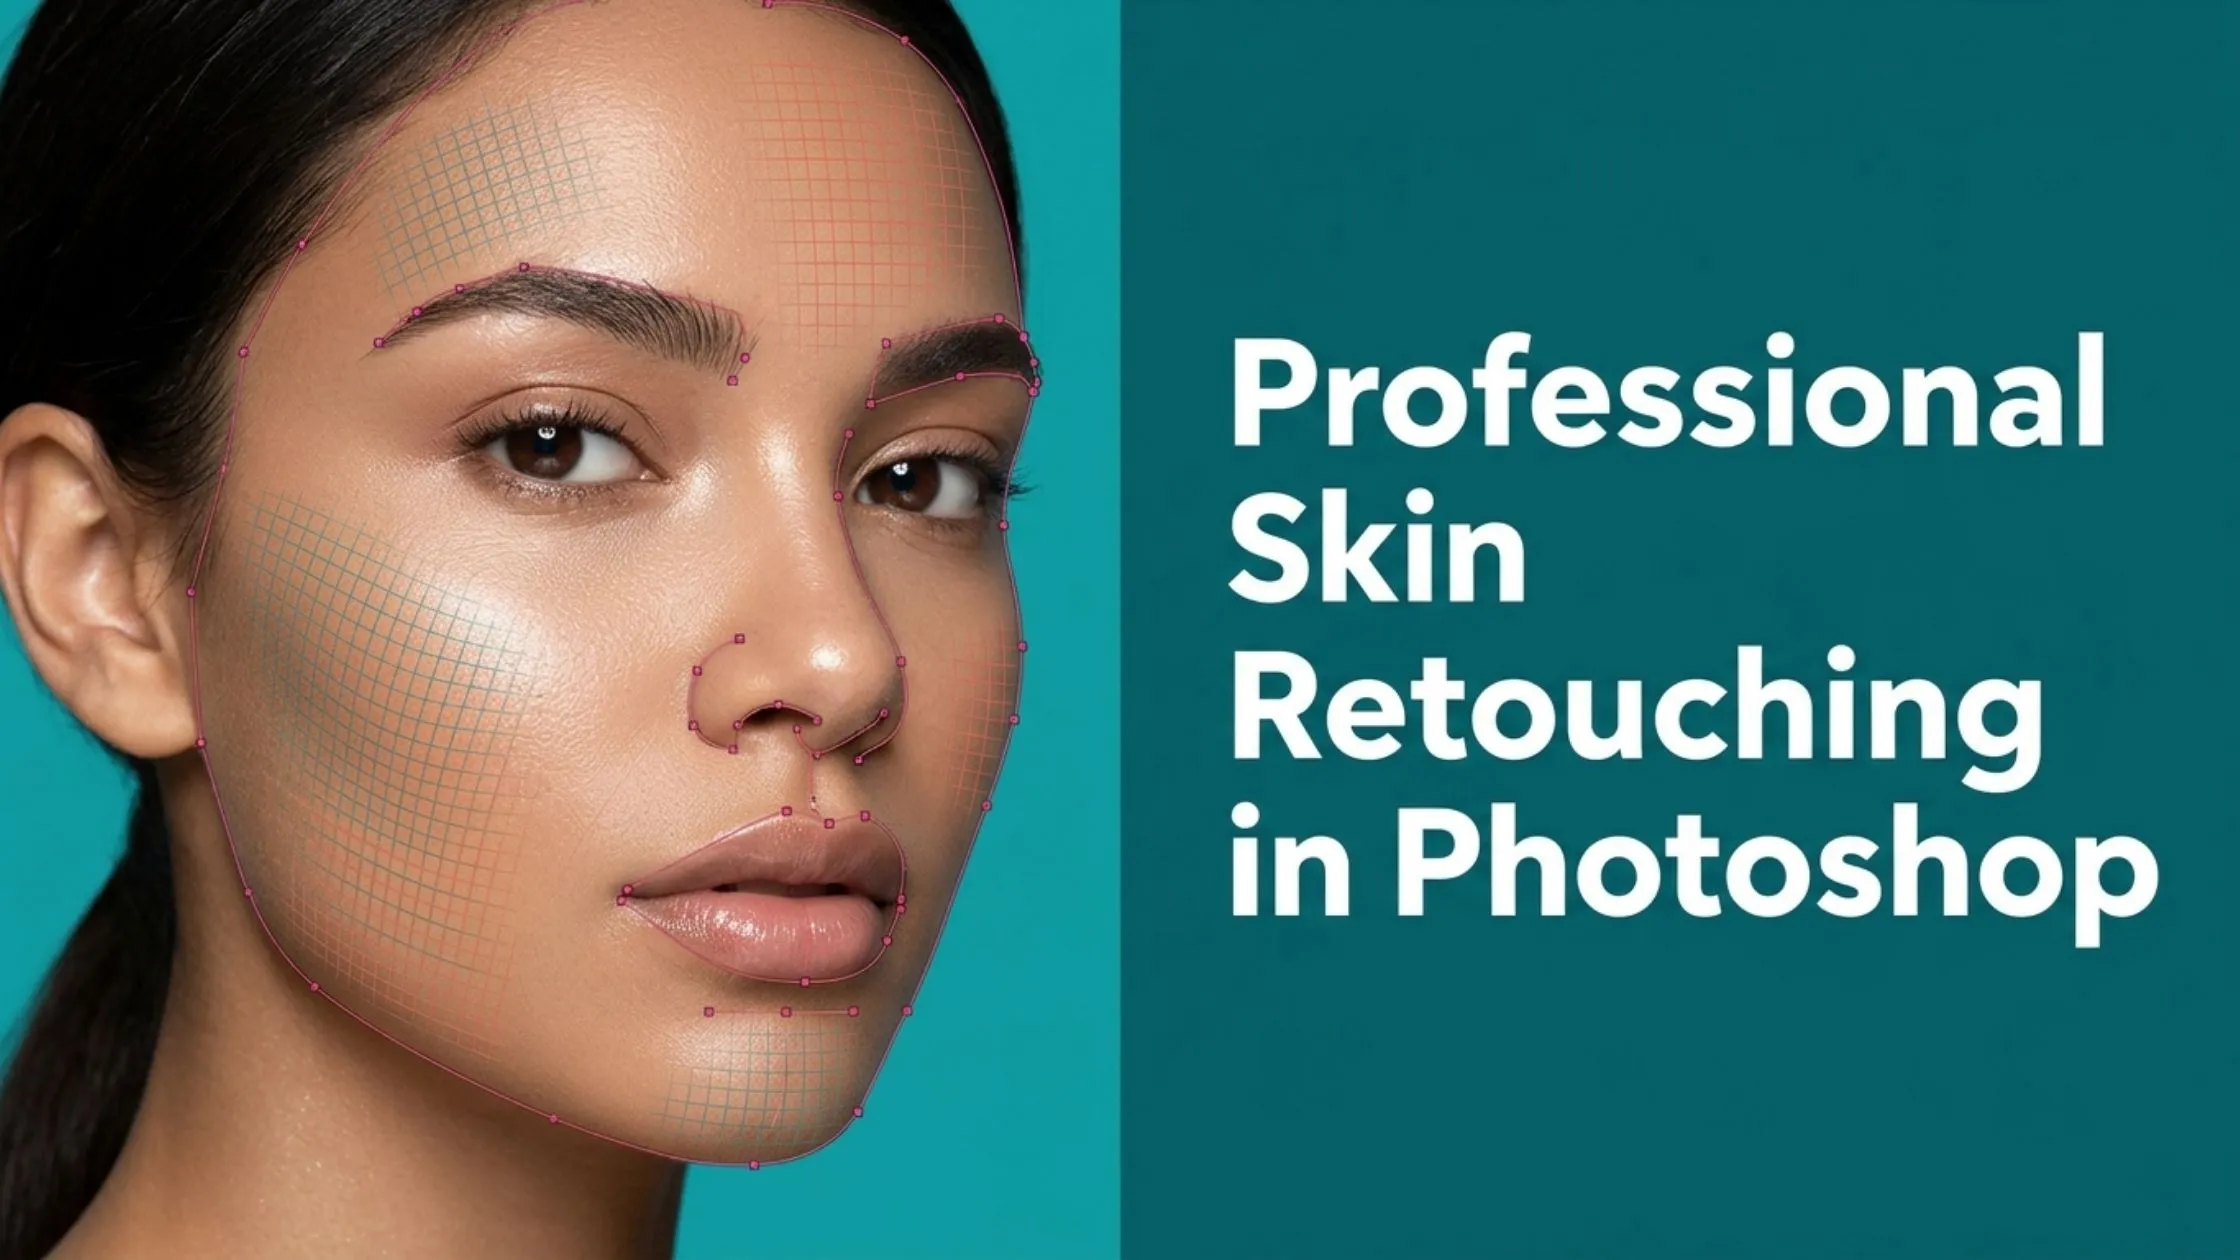
The benchmark for high-end skin retouching is what you see on premium magazine covers: skin appears flawless, yet pores and real texture are still visible. The work balances removing genuine distractions (blemishes, redness, uneven tone) while preserving the natural contours and texture that make skin look real, not airbrushed into an obviously edited plastic sheen.Setting Up Your Workspace for Precision
Photoshop’s default setup is fine for casual editing, but retouching goes better with a workspace built for it. Keep the Layers panel pinned and visible, the Toolbar within reach, and the Options bar at the top. You’ll be switching tools constantly, so everything should be a click away.
Layer discipline matters just as much as the workspace. Duplicate your background layer (Cmd+J on Mac, Ctrl+J on Windows) and name it something specific, like “Blemish Work.” Give each major technique (spot healing, frequency separation, dodge and burn) its own layer. If something goes wrong, you delete that one layer without touching the original. Professional retouching is largely about this kind of organization, not just technique.
Spot Healing Brush vs. Healing Brush
The Spot Healing Brush is the quick-win tool for small blemishes: click, and Photoshop blends surrounding pixels cleanly. Set the brush size slightly larger than the blemish; too small creates a halo effect, too big blurs surrounding texture. Enable Content-Aware in the options bar for smarter fills, and work on a fresh layer with “Sample All Layers” turned off so every change stays separate and reversible.
For scars, moles, or larger uneven patches, the Spot Healing Brush struggles; the Healing Brush takes over. Hold Alt (Windows) or Option (Mac), click clean skin near the imperfection, then paint over the area you want to fix. This gives precise control over exactly what blends in, with layer masks used to restrict the effect to specific zones when needed.
Frequency Separation: Smoothing Without Losing Texture
Frequency separation is the technique that makes high-end retouching possible: it separates skin texture (high frequency) from color and tone (low frequency), letting you smooth one without destroying the other. This is why well-retouched photos look genuinely polished, not plastic. For correcting the overall color of skin rather than its texture, see our tips on color correction in portrait photography
The basic setup: duplicate the background layer twice. Take the bottom layer and blur it a little, somewhere around 3 to 5 pixels. That gives you your Low Frequency layer, where the colors melt into each other without any harsh edges. The top layer becomes High Frequency, using a High Pass filter with a 1-2 pixel radius to preserve fine detail. A Smooth Tone layer sits between the two, where the actual tone-smoothing work happens without touching texture.

Refining Edges and Bringing Back Detail
Soft skin with fuzzy edges looks unfinished; hairlines, jawlines, and necklines need crisp definition. Select and Mask handles this: select your subject with the Quick Selection Tool, open Select and Mask, set Radius to 2 to 5 pixels (higher for tricky hair edges), boost Smoothness to clean up jagged lines, and add a 0.5 to 1 pixel Feather for natural blending.
To bring detail back after smoothing, duplicate the smoothed layer, run a High Pass filter with a 1- 2 pixel radius, and change the blending mode to Overlay or Soft Light. This restores pores and real texture without reintroducing the blemishes you already removed, the balance between smooth and real that separates professional work from an obvious filter.
A Quick Note on AI Tools
Photoshop’s Neural Filters have a Skin Smoothing tool (Filter → Neural Filters → Skin Smoothing) that gives you a quick head start. It runs in the cloud, so Adobe can keep improving it over time. Treat it as a first step, though. If you really want polished results, finish the job with the manual techniques above.When DIY Retouching Isn’t the Right Call
Mastering this workflow takes real time and practice. If you’re a photographer facing a tight deadline, a brand launching a collection, or need magazine-quality results fast, outsourcing to a specialist retoucher is often the more practical choice than building this skill set from scratch under time pressure.