Key Takeaways
- The Crop Tool (shortcut C) handles most everyday cropping: freeform crops, fixed ratios, and straightening.
- Use the rule of thirds grid to place your subject off centre for a more natural balance.
- Uncheck ‘Delete Cropped Pixels’ to crop non destructively and recover the original framing later.
- For social or print, crop to a preset or custom ratio so the image fits where it is going.
Most people trim a photo and move on. That is a missed opportunity. Where you cut the frame decides what someone looks at first, and in Photoshop it takes about ten seconds to get right. Below we start with the plain crop, then cover the few moves that genuinely change a photo: fixed ratios for social, non destructive crops you can walk back later, and the straighten tool for wonky horizons.
Why It Matters More Than It Looks
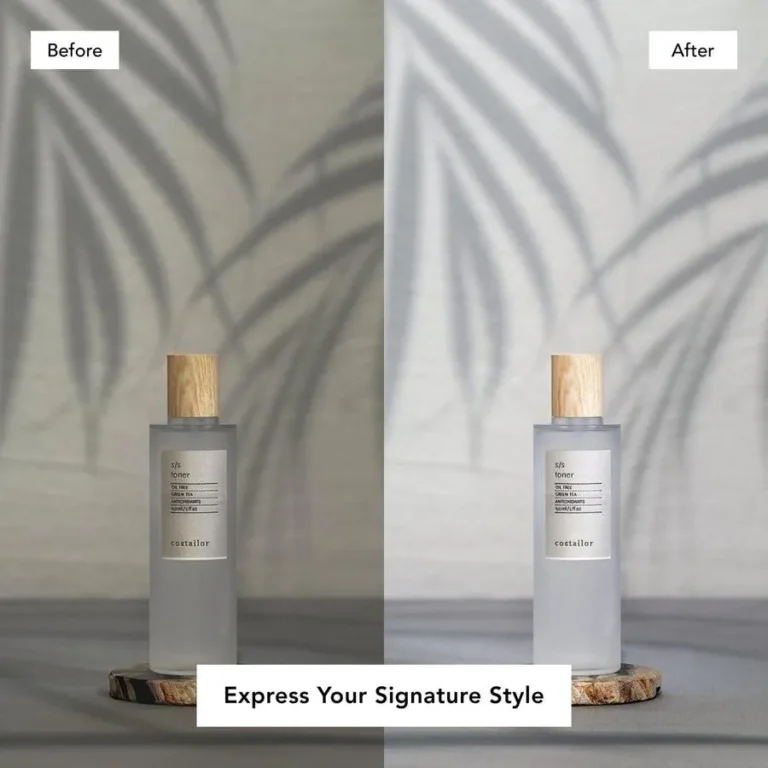
Nearly every photo captures more than it needs: dead space, background clutter, things tugging attention away from the subject. Cropping strips that out and reshapes the frame. It is one of the highest impact edits precisely because it changes what a viewer notices first, and it needs no advanced skill to do well. Picture a product shot cropped tight on the item versus one with half the frame empty. Same photo, very different pull.
The Basic Crop in Four Steps
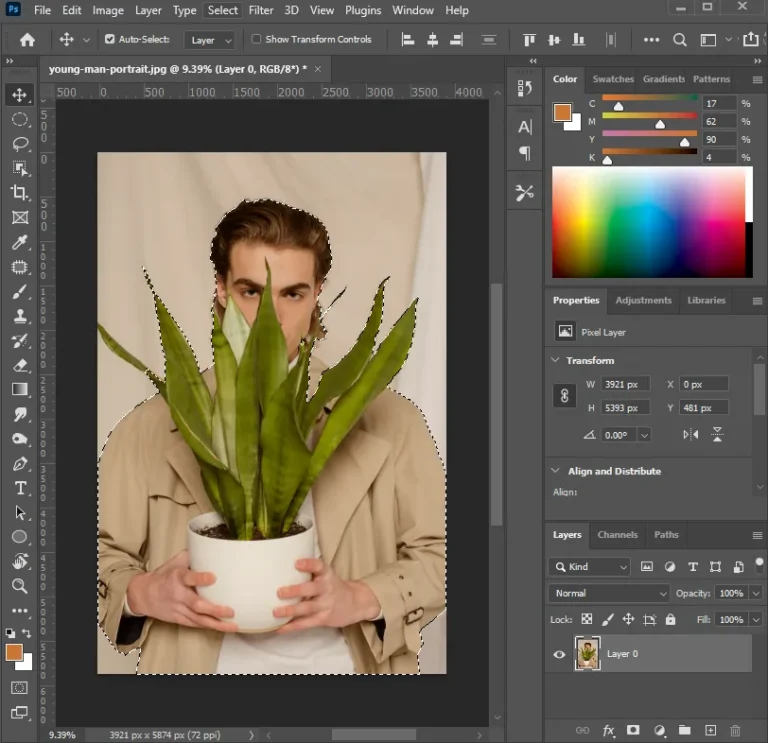
- Grab the Crop Tool. Press C or pick it from the toolbar. A border with handles appears around the image.
- Drag the handles. Corner handles change both dimensions at once, while side handles move one edge. Everything inside the border stays.
- Reposition. Click and drag inside the frame to slide the image around until the composition feels right.
- Confirm. Press Enter to apply.
Use the Grid, Not the Centre
That grid that appears while cropping is a composition aid, not decoration. Put your subject on a grid line or an intersection instead of dead centre and the shot usually looks more balanced. Photoshop lets you switch the overlay style if you prefer a different guide.

Freeform or Fixed Ratio
- Freeform. Drag without locking a ratio when you are cropping purely for how it looks and exact size does not matter.
- Fixed ratio. For social, web, or print, type a preset or custom ratio so the image fits its destination. The swap arrows flip landscape to portrait instantly, no restarting.
Read about – How to Edit Product Photos for E-commerce Stores?
Crop Without Losing Your Options
Uncheck ‘Delete Cropped Pixels’ in the options bar before you crop. The cut away area is hidden, not deleted, so you can re crop or bring back the original framing whenever you want. This is a lifesaver when you are making several versions of one image.
Straighten and Get Creative
A slightly tilted horizon is a common annoyance. Use the Straighten tool inside the Crop Tool: draw a line along the horizon and Photoshop levels it, then fill any empty corners with Content Aware Fill or Generative Expand.
You are not limited to rectangles, either. For a circular crop, draw a circle with the Elliptical Marquee (hold Shift), add a layer mask, and export as PNG to keep the transparent corners. For any other shape, draw it with the Shape or Pen tool and use it as a clipping mask, which keeps the crop editable so you can reposition the image behind it any time.