Key Takeaways
- Photo editing covers exposure correction, color adjustment, and mood, not just filters.
- Free, beginner-friendly tools (Lightroom’s mobile app, Snapseed) teach the core skills without overwhelming a new editor.
- Basic edits can be learned in a matter of days; developing a consistent personal style takes months of regular practice.
- Some work — wedding photography, product photography, real estate, professional portraits — demands a level of precision that takes years to develop, which is where professional editing services genuinely earn their cost.
Photo editing is the process of adjusting and enhancing images after they’re taken: fixing exposure, improving color, and shaping mood, turning an average shot into something that actually holds someone’s attention for more than a second. For beginners, the good news is that the core skills are genuinely learnable, and you don’t need expensive software to start.
What Photo Editing Actually Involves
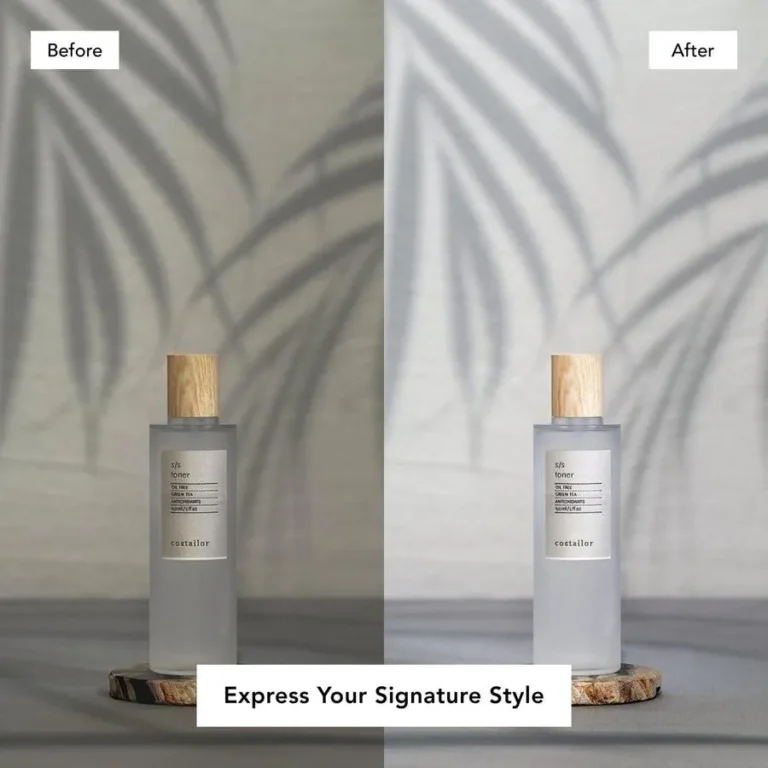
At its core, editing means correcting what a camera didn’t capture perfectly and shaping the image toward a specific mood or purpose. This includes exposure adjustment (fixing images that are too bright or too dark), color correction and grading (making colors accurate, then adjusting them for tone and emotion), and detail work like sharpening or removing distractions. None of this is about faking a better photo; it’s about bringing out what the actual scene or subject looked like, or was meant to feel like.Where to Actually Start as a Beginner
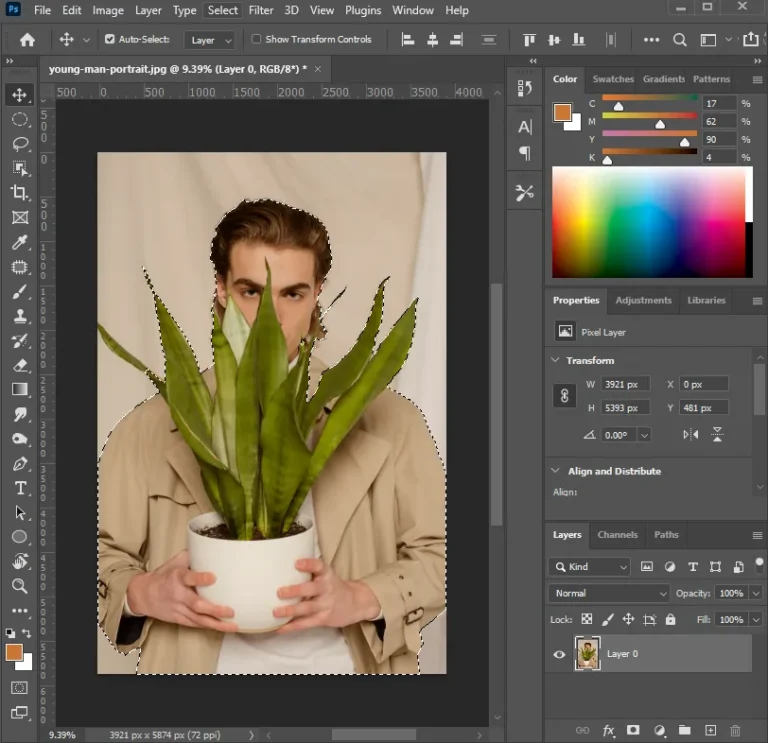
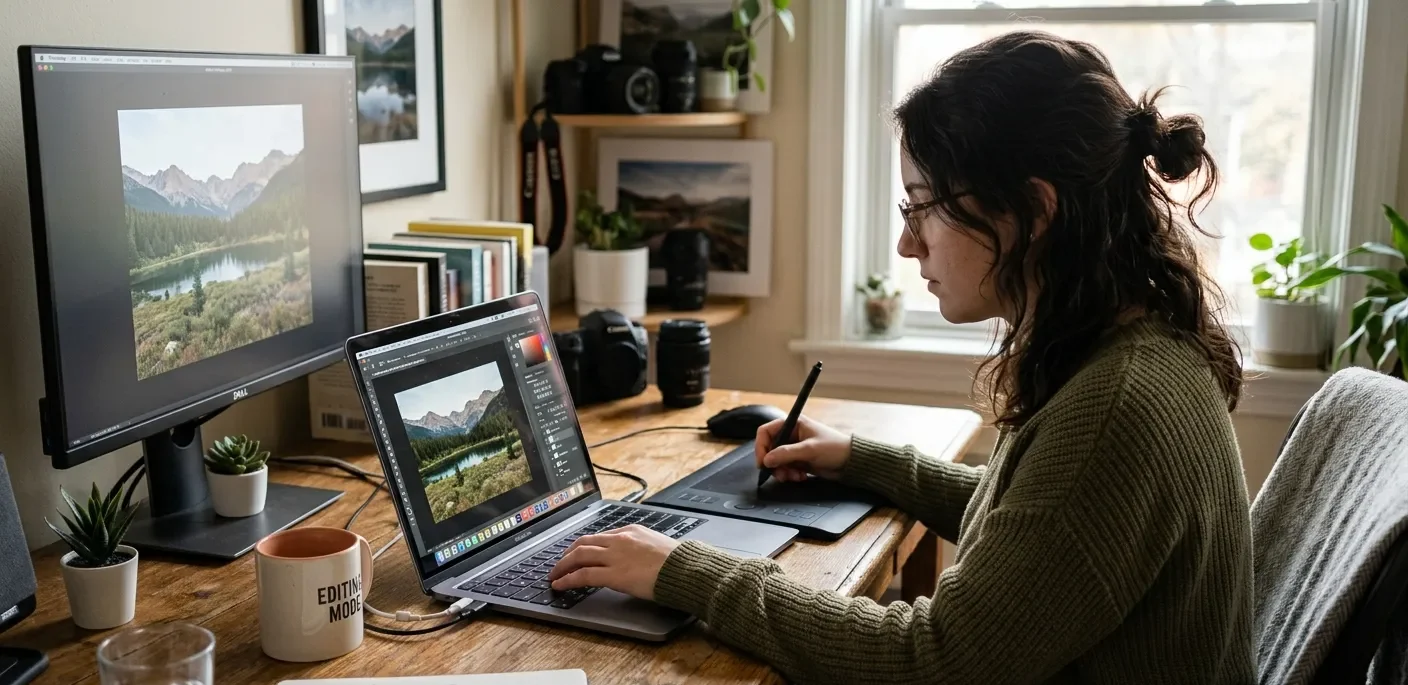
Free, mobile-friendly tools are the right starting point for most beginners. Lightroom’s free mobile app and Snapseed both teach core editing skills (exposure, color, basic retouching) without the complexity of full desktop software, and neither costs anything to try. Starting here, rather than jumping straight into Photoshop’s full toolset, builds a foundation that makes the more advanced tools make sense later, if you decide you need them.Realistic Timelines for Learning
Basic edits, exposure correction, and simple color adjustments can genuinely be learned in a few days of focused practice. Developing your own consistent editing style, the kind that makes your photos recognizably “yours,” takes a few months of regular, deliberate practice. This is worth knowing upfront so you don’t judge your early progress against a professional’s years of experience.
When DIY Editing Isn’t Enough
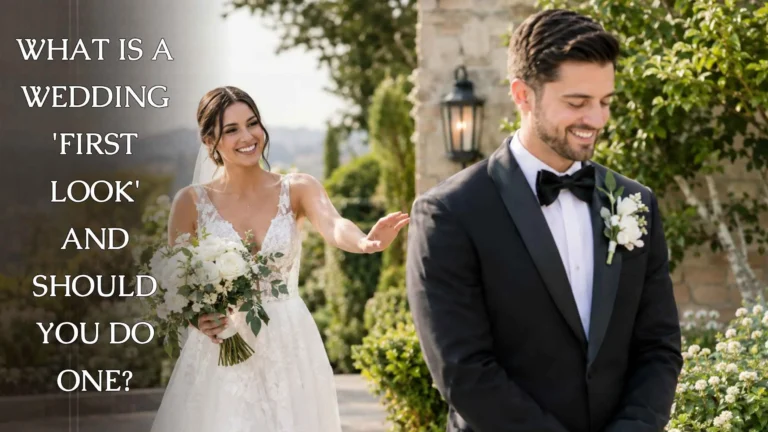
Some categories of work demand a level of precision and consistency that takes real time to develop: wedding photography (where hundreds of images need consistent treatment across varied lighting), product photography (where color accuracy directly affects sales and returns), real estate imagery (HDR blending, perspective correction), and professional portraits. For these categories, when your images represent your brand, business, or a client’s expectations rather than a personal project, the gap between DIY editing and professional-level precision genuinely matters.Frequently Asked Questions
What's the difference between photo editing and photo retouching?
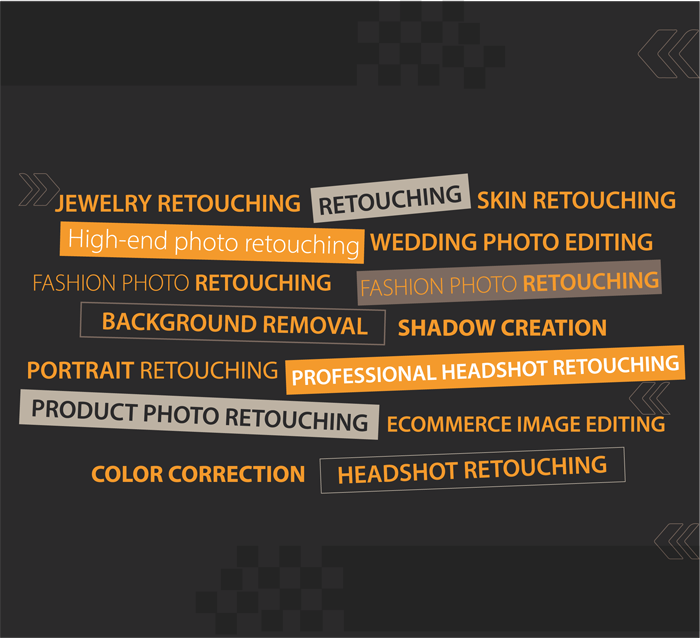
The task of editing mainly concerns a broader scope, such as exposure and color. Photo retouching goes deeper into detail and involves tasks such as removing imperfections and distracting elements.
Do I need Photoshop to start learning photo editing?
No. Free mobile apps like Lightroom Mobile or Snapseed can show the basics (exposure, colors, basic retouching) and are far more suitable for a beginner than the full desktop Photoshop application.
How much time is needed to develop a personal style in editing?
It takes just days to learn the basics, but several months to develop a personal style that will be applied consistently.
When should I delegate photo editing instead of doing it by myself?
When the pictures need to represent a company, brand, etc., and there are a lot of shots to process (a whole wedding album, product catalog, etc.), it requires more precision than editing can provide.
Which program to learn first: Photoshop or Lightroom?
For most people, it would be easier to start with Lightroom (or at least its mobile version), because it was designed for working with photos one already has. The advanced capabilities of Photoshop will come in handy later on.