Overview
Professional headshot retouching removes temporary imperfections (shadows, blemishes, stray hairs, background clutter) while keeping skin texture and facial structure natural. It’s used for LinkedIn profiles, corporate portraits, and personal branding, and differs from DIY filters mainly in consistency and restraint: a trained retoucher knows when to stop.Key Takeaways
Retouching enhances, it doesn’t reinvent. The goal is a natural, polished version of you, not a different face. Good retouching is invisible; you notice the person, not the edit.
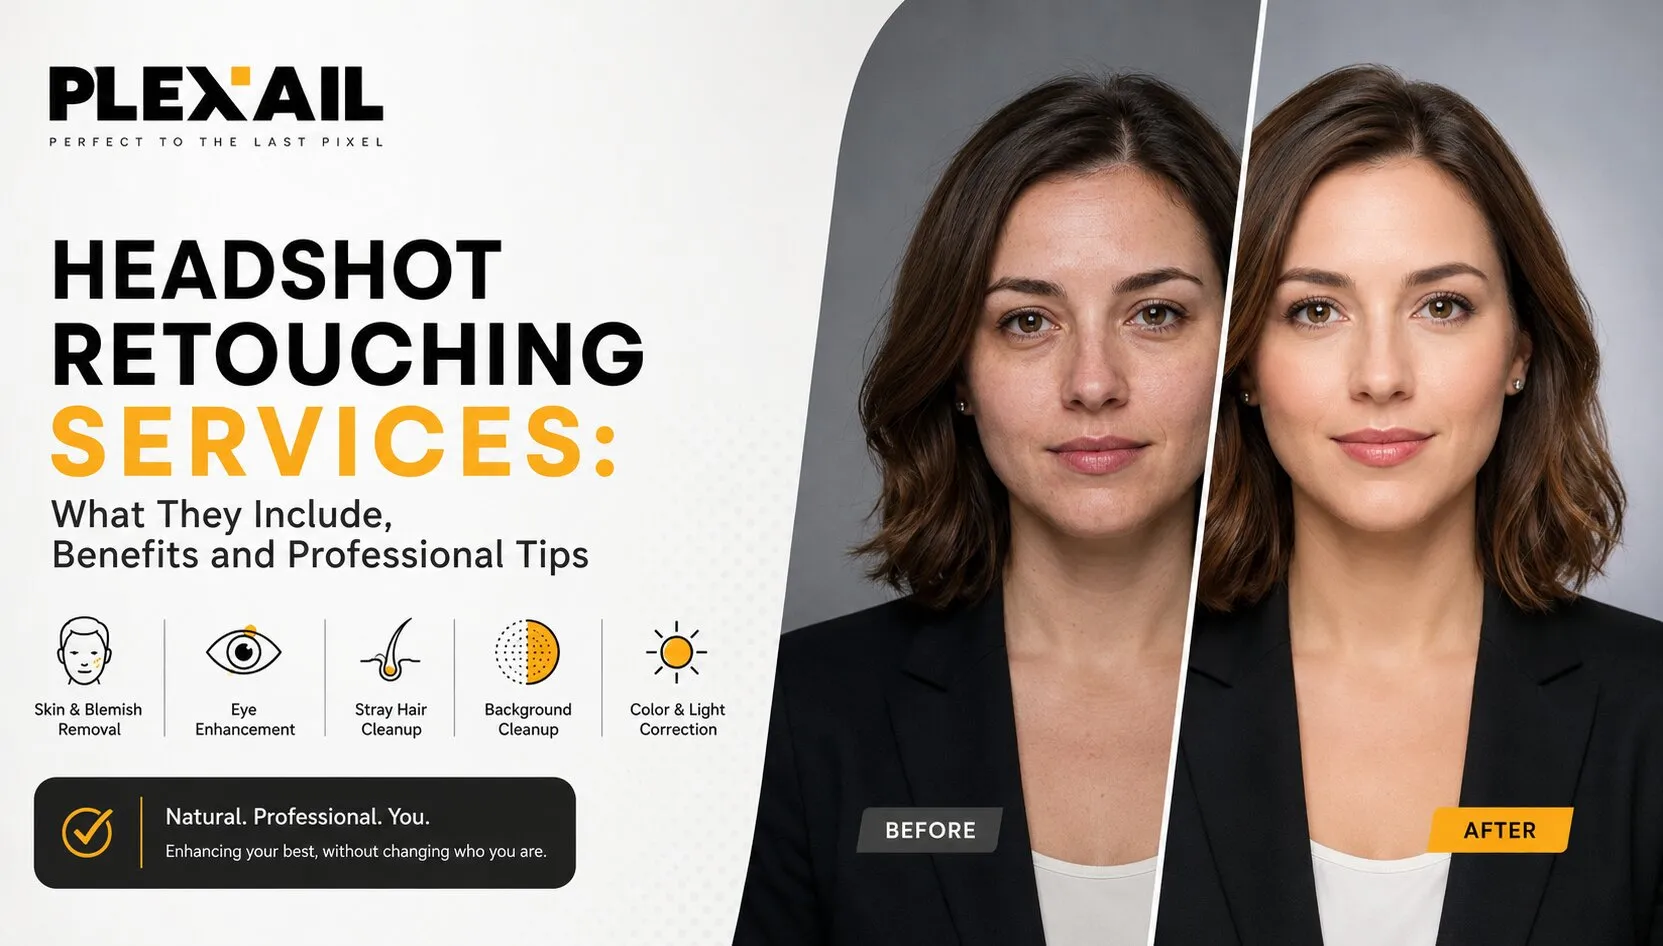
What’s included: blemish and dark-circle removal, stray-hair cleanup, skin tone and exposure correction, background cleanup, and subtle eye/detail enhancement.
DIY apps work for casual selfies. Professional headshot retouching is worth it for corporate portraits, actor headshots, and any image tied to your professional brand, where consistency and realism matter.
Order matters in the workflow: fix exposure, white balance, and color first, then move to blemishes, then fine detail. Skin texture should stay mostly untouched.
Colorizing black-and-white photos is closer to restoration than editing, and typically needs a specialist’s eye for accurate skin tone and lighting
A perfect headshot is what everyone wants, and “perfect” here means well-lit, a natural smile, not a hair out of place. Now open your camera roll. Reality usually looks a little different from your imagination. There are natural imperfections: a shadow under the eye, a distracting background, a slightly soft focus.
This is where headshot retouching comes in. It bridges the gap between imagination and reality, because people use their headshots for a company website, a LinkedIn profile, a portfolio, or personal branding, and each of those contexts calls for a few natural adjustments to make the image feel polished rather than posed.
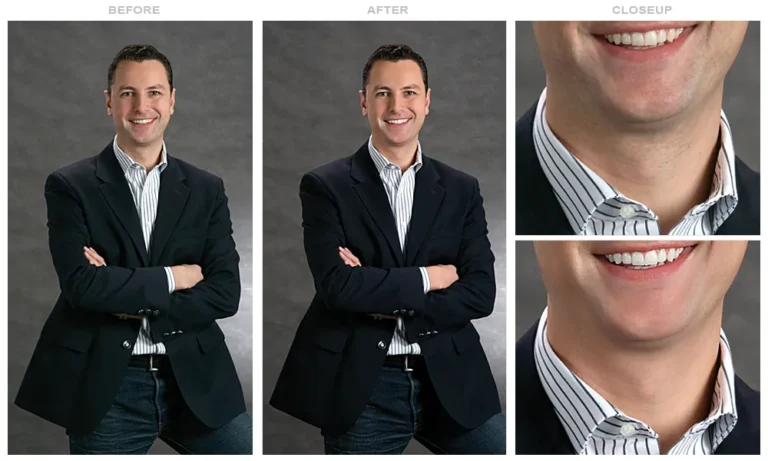
The purpose of proper retouching isn’t to transform someone into a different person. It’s about enhancing the image, highlighting natural features, and keeping the skin’s texture intact. When retouching is done properly, you notice the person first, not the editing.
What’s Included in Headshot Retouching?
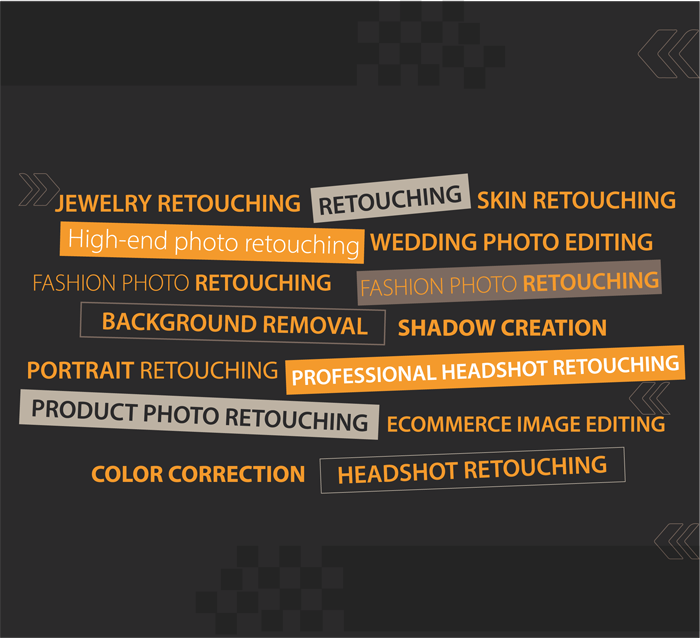
What actually gets retouched depends on what appears in the photo and what it’s being used for. That said, professional headshot retouching typically covers a consistent set of small, deliberate fixes:
- Removing temporary skin imperfections
- Reducing dark circles under the eyes
- Cleaning up stray or flyaway hairs
- Adjusting skin tone for accuracy and consistency
- Correcting exposure and white balance
- Improving contrast for a cleaner, more polished look
- Eliminating distracting objects from the background
- Subtle eye adjustments
- Removing shine without flattening skin texture
- Cropping and resizing for the intended platform
Why Choose Professional Headshot Retouching?
It’s a fair question: with so many free, fast photo editing apps available today, why pay for professional portrait retouching at all?
The honest answer is you probably don’t need it for casual selfies or social posts. It earns its cost specifically on professional portraits, where the stakes and the standards are different.
Professional portrait editing accounts for lighting, skin texture, facial structure, color tones, and the image’s intended use, all at once. A corporate headshot needs to read as natural but well-groomed. An actor’s headshot needs to still clearly resemble the person, without looking overly airbrushed. And when a business is retouching headshots for an entire team or roster, professional editing also ensures consistency: every photo matching in tone, lighting, and style, which is difficult to pull off manually across dozens of images. This is the same consistency challenge that pushes photographers and brands with high photo volume toward a dedicated photo retouching service rather than editing image by image.
How to Retouch Headshots: A Practical Order of Operations
If you’re learning how to retouch headshots yourself, resist the urge to go straight to the skin. Here’s a more reliable sequence:
- Fix the basics first: exposure, white balance, contrast, and overall color, before touching the face at all.
- Remove temporary blemishes that won’t be present later anyway, like a pimple or a stray hair.
- Leave skin texture alone. Pores and natural roughness should mostly stay intact; over-smoothing is the fastest way to make an edit look fake.
- Enhance minor details last: eyes, teeth, shadows, and structural features, while keeping the overall look natural.
This is really where experience shows. It’s less about which tool or button to use, and more about judgment: knowing what a specific image actually needs, and stopping before it needs anything more.