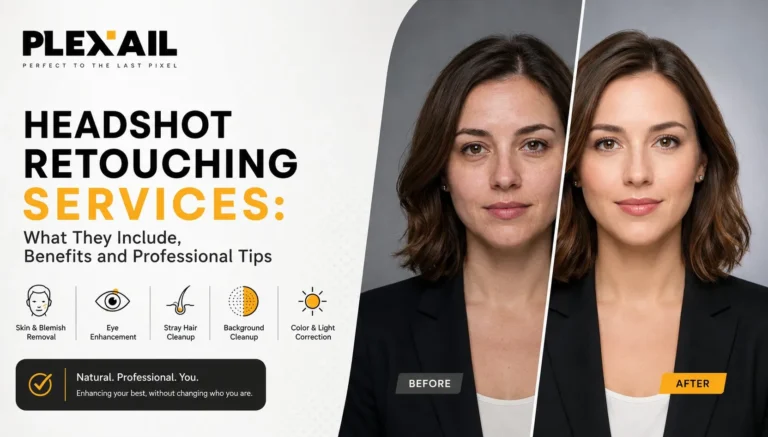
There is a delicate balance between making someone look good while preserving their identity. If you are shooting headshots for business people, family photos for weddings, or editorial photos for a brand campaign, then excellent portrait retouching increases confidence and adds credibility without screaming “photoshopped.”
The following are practical, field-tested tips for achieving just that. They are geared towards photographers and photo editors who want to provide professional, ready-to-use photos to help their clients book, sell, and market themselves.
First, begin with your purpose: know what the end product should convey before you do portrait retouching
Before you even fire up Lightroom or Photoshop, determine the message that the final photo should deliver. Does it need to convey warmth and friendliness to be used in a business profile? Or does it need to have an atmospheric look for an editorial? Purpose is key because it determines every decision that you will make along the way.
1. Selectively Cull Before Selective Editing
Too many people spend countless hours trying to perfect pictures that shouldn’t even be in their portfolios. Apply culling selectively: start by selecting strong facial expressions and sharp compositions, and then resolve to edit only those selected. The help of some culling software will speed up the process by pointing out closed eyes or blurry focus, but make sure you go over them again manually.
2. Develop a Consistent Foundation Using Non-Destructive Methods
Edit non-destructively using Lightroom Classic catalogs or layered PSD files so you can go back and repeat your edits.
Begin with These Essential Corrections:
- Exposure and Contrast: ensure the face of the subject has adequate midtones; do not make the skin too bright.
- White Balance: create a neutral skin tone on all subjects within the shoot; this is crucial for branding and client satisfaction.
- Lens Correction and Perspective Adjustments: eliminate subtle distractions from the image.
3. Preserve Texture, Minimize Distractions
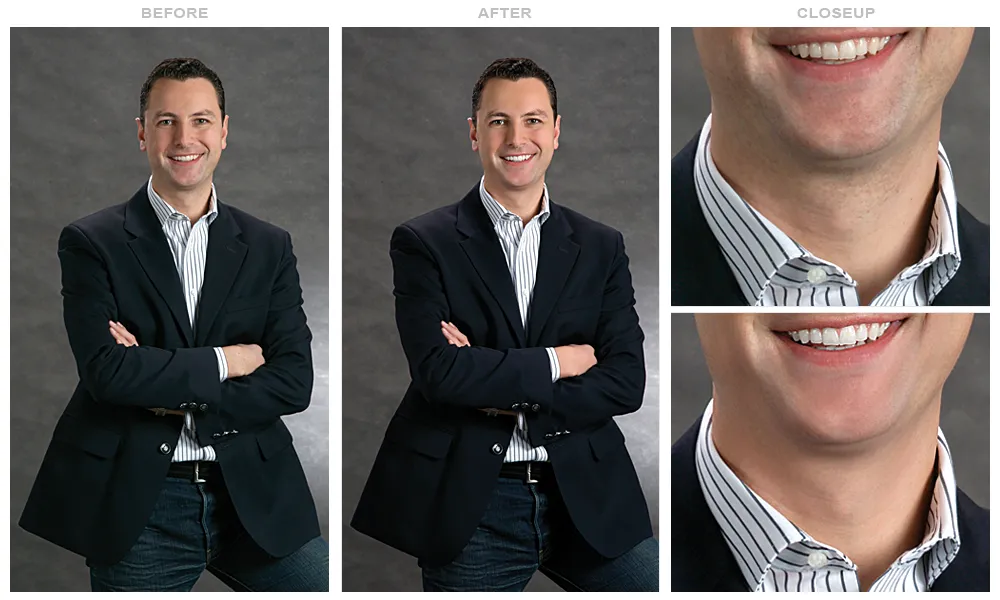
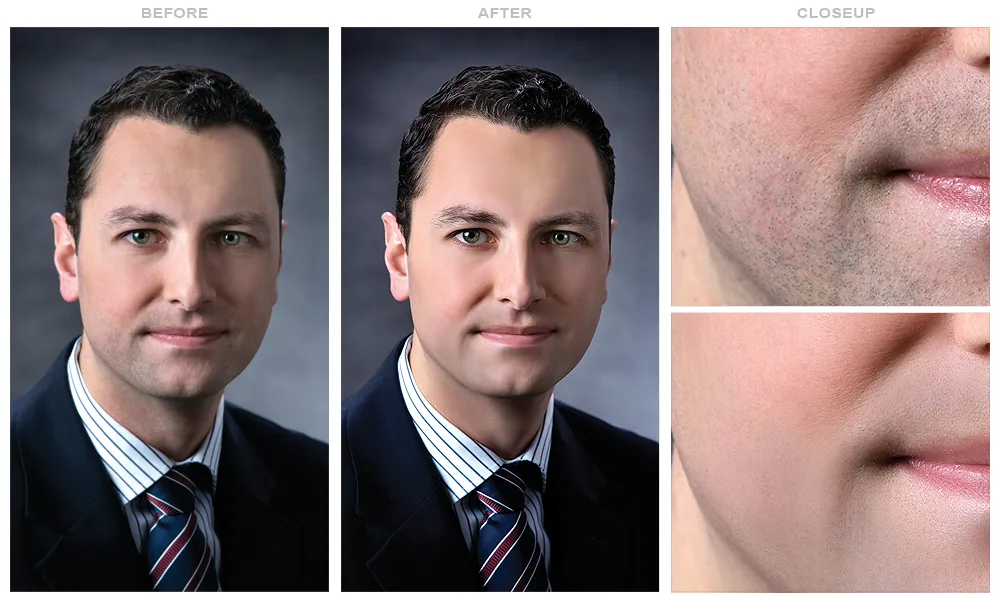
The distinction between an amateur’s smoothing and a professional’s retouching lies in the conservation of texture. The task is to remove distractions (imperfections, loose hairs) without losing the pores and details.
- Work with skin masks that target specific areas, rather than with overall blurring. You can use a person detection skin mask (available in Lightroom or similar tools) to work specifically on face and body skin.
- Softening with the texture and clarity sliders: Negative Texture slider values ranging from -10 to -30 with small negative Clarity values (-5 to 15) usually give great results.
- Spot healing occasionally. Work with the small brushes to get rid of the temporary spots and stray hairs; don’t erase freckles and other features that clients want to preserve.
4. Ensure that the Eyes and Smile Capture Attention
Eyes and smile express the person’s personality. Subtle retouching can create a lively appearance on the face while maintaining the natural look.
- Iris: increase the brightness slightly (+0.1 to +0.3), add some sharpening, like +10 to +20, and adjust saturation to obtain the natural color.
- Sclera (white of the eye): eliminate any yellowish tinge by lowering temperature and saturation, but do not whiten completely.
- Teeth: cool down the color a little bit and raise the exposure just a little. Don’t bleach too much because natural colors flatter people.
- Catchlights: emphasize the existing catchlights using micrododging or a small brush; do not create new artificial ones.
5. Improve Hair and Edge Quality to Enhance Dimensionality
- Hair encircles the face; improving it can create volume effects and give it some finishing touches.
- Hair masking will help you boost contrast and sharpness; highlight it with midtones to make it shiny.
- Apply rim lighting or highlight reflections where necessary to help you differentiate the subject from the background.
- Improve jagged edges after removing the background by using feathered masks and edge retouching.
Purpose-Based Color Grading, Not Fad-Based
Colors have to serve the purpose of the portrait. Remember three methods that can be used based on the genre of the shoot:
- Corporate: neutral whites, slight warmth to create flattering skin colors, no heavy grading. Control the saturation.
- Editorial: deep shadows, color grading teal in the shadows, warming up highlights, and grain.
- Lifestyle and Wedding: equal skin luminosity across all shots, warming up the highlights for golden hour effect.
7. Sharpening and Output for a Purpose
Export options should not be treated as an add-on but rather as a finishing touch to your pledge of professionalism.
- Sharpen for your final format: “Standard” for web, increased for matte printing, and reduced for glossy prints.
- Be wise about choosing your file format: JPEG for web proofing, AVIF for contemporary web galleries where applicable, and TIFF for archiving and print quality purposes.
- Keep resizing in mind: shrink your image for social media use and while keeping pixel detail intact; export full-sized TIFF files for printing needs.
8. Workflow Speed Without Compromising Artistry
When clients demand fast delivery, efficiency becomes a necessity. Choose a combination of automatic AI-enhanced basic editing alongside manual post-production work. While the AI profiles will generate consistent starting points, it’s important to check and adjust, particularly the color of skin and facial expression.
9. Ethics and Working with Clients
Always ask for client approval for major retouching that changes their look (alteration of body shape, intense skin retouching). Make sure you discuss the extent of the retouching they require; some will request perfect looks, while others will be happy with little retouching.
Real-World Example
A corporate client booked headshots for a 20-person team. After culling for best expressions and consistent framing, a single AI-based profile provided baseline exposure and color. Individualized masking refined skin texture and brightened eyes. Final consistency across all images, neutral white balance, identical crop ratios, and subtle highlight control created a cohesive suite of headshots that boosted the client’s website conversion by reflecting a unified professional image.
At what point must I get professional help for portrait retouching?
If you need high-quality and effective results suitable for any brand campaign, team, or even a huge gallery of wedding pictures, our professional portrait retouching service will definitely help you save time. At Plexail, we have a team of professional retouchers who are experienced in their work, care about creating natural photos, and are always ready to work with a large volume of images.
What are some cases where it is wise to hire professional portrait retouching services?
When excellent, scalable, and timely work needs to be done, for example, in the instance of brand promotion, business team photo, or wedding gallery with many photos, then Professional Portrait Retouching Services will prove efficient and effective. Here at Plexail, we have professionals who deliver natural and personalized results while retouching a huge batch of portraits all at once.
Want professional and natural retouching? Get in touch with the Plexail team:
Phone: +91 9819259097
Email: info@plexail.com