Key Takeaways
- HDR photography and a genuine wide-angle lens are the technical foundation; avoid fisheye lenses, which distort space in ways that mislead buyers.
- A tripod and natural light produce far better results than a handheld shot without professional flash.
- Editing (correcting distortion, cropping thoughtfully, color balance) is where a good photo becomes a great one, not an afterthought.
- Thinking from the buyer’s perspective, what do they actually want to see in this room, should guide composition more than any single technical rule.
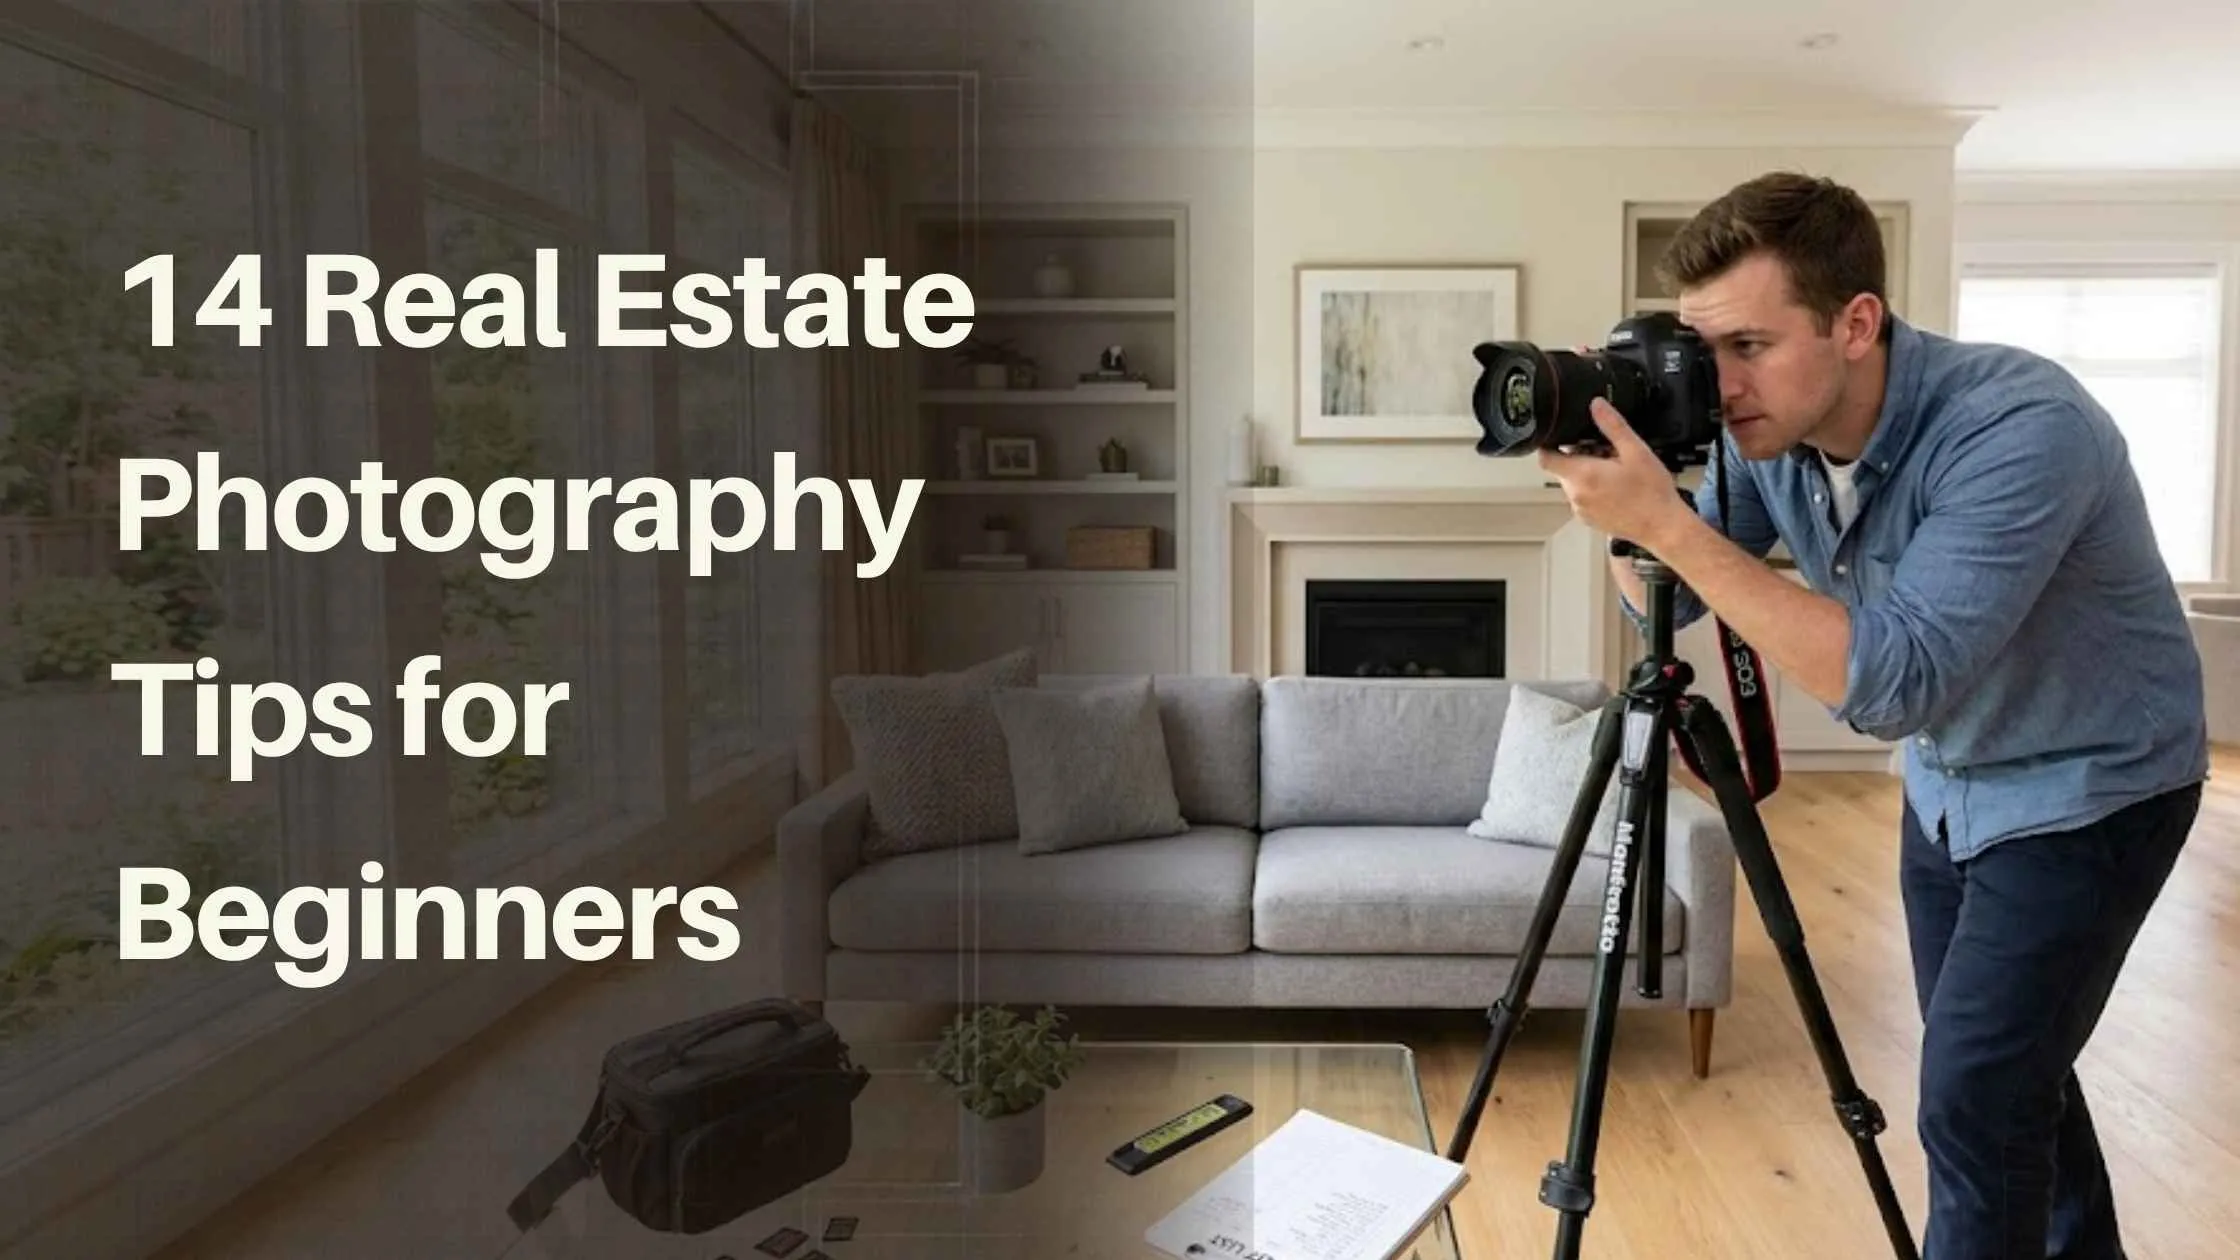
Real estate photography has become one of the most important factors in how a property sells, and it’s also become more competitive as more photographers enter the space. Here are 14 practical tips to help you take listing photos that actually work, along with a few notes on where editing picks up where the camera leaves off.
Fourteen Tips of Real Estate Photography for Beginners
- Use HDR Photography. HDR combines multiple exposures of the same scene, shot at different shutter speeds, into one image that balances bright windows against darker interior lighting. This produces far more accurate, detailed results than a single exposure can capture in a room with mixed lighting conditions.
- They stretch space in a way that makes rooms look different from reality, and that can frustrate buyers who show up expecting something bigger than what’s actually there. A proper wide-angle lens shows the room as it really is while still fitting enough of it into the frame.
- Shoot with natural light and a tripod. Daylight and a tripod work well together: you get clean, bright photos even at slower shutter speeds. Skip the tripod, and you risk blurry shots and uneven brightness from one photo to the next.
- Consider a Full-Frame Camera. A full-frame sensor captures more detail and a wider field of view than a cropped sensor, which matters more for real estate work than raw megapixel count.
- Highlight Each Room’s Best Feature: Every room has a specific selling point: natural light, a unique nook, generous storage. Build the shot around that standout feature, and try a wider aspect ratio when it shows more of the space. A wider frame helps buyers see what the room offers and makes them more curious to see the rest.
- Correct Distortion and Color Issues: Check photos carefully for lens distortion and inaccurate color before finalizing a listing set, since these issues can misrepresent a space and create a mismatch between the photos and the actual property.
- Fix Bending Vertical Lines. Lens distortion often bends vertical architectural lines, doorframes, walls, and window edges in a way that appears unnatural. This is correctable in Photoshop’s Lens Correction tools once you know what to look for.
- For larger properties, consider a few drone shots to show the grounds from above. If a room is empty, ask yourself whether virtual staging would help buyers picture living there.
- Don’t overdo the exterior shots. Buyers usually care most about what’s inside, so let the interior get most of the attention. Too many exterior photos can bury the images that actually drive interest; lead with a strong exterior shot, then move quickly into the interior.
- Shoot From the Buyer’s Perspective. Small shifts in camera position can meaningfully change how a room reads. Think about what a buyer actually wants to see, then frame the shot around that instead of falling back on the same standard angle every time.
- Edit with intention. Crop thoughtfully, take out distracting furniture or awkward gaps, and make good use of the whole frame. Done well, these small choices can make a tight room look more open and usable in photos than it feels in person.
- Compose Around the Room’s Function. Once you know what a photo needs to communicate, arrange the shot to show that function clearly: a kitchen’s workflow, a living room’s flow into adjacent spaces, rather than just capturing the room generically.
- Watch the Small Details: Use UV and reflection filters to manage glare on sunny days, and avoid mixing natural and artificial light sources where possible, since this creates color inconsistency which is difficult to correct later.
- Shoot in Manual Mode. Manually setting ISO and shutter speed gives you far more control than automatic settings, and it’s worth the learning curve for genuinely professional results.

Frequently Asked Questions
What's the most common technical mistake in real estate photography?
Using a fisheye lens instead of a proper wide-angle lens is one of the most common issues. It distorts the room’s proportions and gives buyers a misleading picture of the actual space.
Why does HDR matter so much for interior real estate shots?
Interior rooms often have both bright window light and darker interior lighting in the same frame. A single exposure can’t capture both well; HDR blending combines multiple exposures to show detail across the full lighting range.
Should I edit real estate photos myself or outsource it?
For a single listing, editing yourself is reasonable if you have the skill. For consistent volume across multiple listings, outsourcing to a specialized real estate editing service tends to produce more consistent, professional results and saves you time
Is virtual staging worth using for vacant properties?
Often yes, since empty rooms are harder for buyers to visualize functionally, and virtual staging is typically far less expensive and faster than physical staging.